Chips, we have chips!
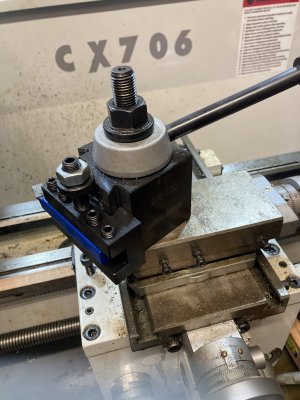
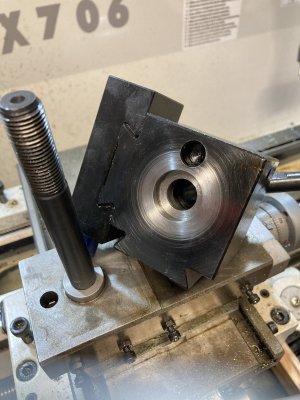
I finally got lathe pretty well cleaned up and lubricated, bolted to the bench and it was time to have at it. The first thing I want to do is get the quick change tool post mounted. I need a bigger, longer bolt for that so I decided to start with 5 inch 9/16-18. The idea is to turn the head down to fit in through the compound like the original:
View attachment 24031
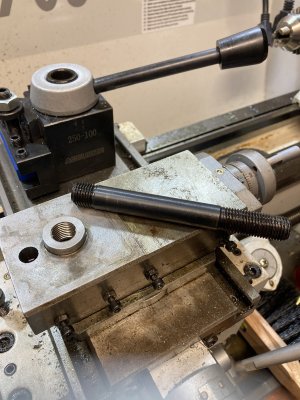
All I could get was a Grade 8 bolt and the interrupted cut seems to have knocked the cutting edge off my tool bit. And what a pain finding shims to get it close to centre height. Now I need to dig out the grinder and refresh the cutter. Then finish reducing the head thickness and turn it to the right diameter.
Still...CHIPS!!
Craig
You sound just like the VERY HAPPY CAMPER that I would be if I were you! There is something about those first chips...... Oh ya!
Congrats to you!
I made the same part for another member who also has a new BB Lathe.
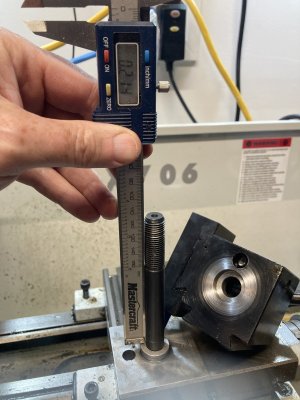
It turns out that the bolt wasn't imperial. It was really metric m16-1.5. I'd be checking that carefully if I were you. The nut that goes on that bolt is kinda special and I wouldn't be wanting to use anything else.
Especially if you want to add a hand tightener arm later.
I know you said that all you could find was Grade 8. But why did you choose a Grade anything bolt? There is no need for grade anything on that bolt. The application is extremely low torque compared to what a bolt like that needs to handle. I ended up getting a standard 3/4" bolt and making a new one out of that. As a farmer, I can get bolts cheaper than stock so that's what I usually use anyway.