-
Scam Alert. Members are reminded to NOT send money to buy anything. Don't buy things remote and have it shipped - go get it yourself, pay in person, and take your equipment with you. Scammers have burned people on this forum. Urgency, secrecy, excuses, selling for friend, newish members, FUD, are RED FLAGS. A video conference call is not adequate assurance. Face to face interactions are required. Please report suspicions to the forum admins. Stay Safe - anyone can get scammed.
-
Several Regions have held meetups already, but others are being planned or are evaluating the interest. The Calgary Area Meetup is set for Saturday July 12th at 10am. The signup thread is here! Arbutus has also explored interest in a Fraser Valley meetup but it seems members either missed his thread or had other plans. Let him know if you are interested in a meetup later in the year by posting here! Slowpoke is trying to pull together an Ottawa area meetup later this summer. No date has been selected yet, so let him know if you are interested here! We are not aware of any other meetups being planned this year. If you are interested in doing something in your area, let everyone know and make it happen! Meetups are a great way to make new machining friends and get hands on help in your area. Don’t be shy, sign up and come, or plan your own meetup!
You are using an out of date browser. It may not display this or other websites correctly.
You should upgrade or use an alternative browser.
You should upgrade or use an alternative browser.
CNC plasma cutter build
- Thread starter David
- Start date
Yeah, I've thought about this. I only recently found an open source windows emulator called VirtualBox. Haven't tried it yet, but I'm interested in giving it a go.@David_R8
You might be able to run a virtual machine on your Mac to run pc software. I’m sure somebody here’s got the know how but it ain’t me.
I'll need to find a copy of Windows too.
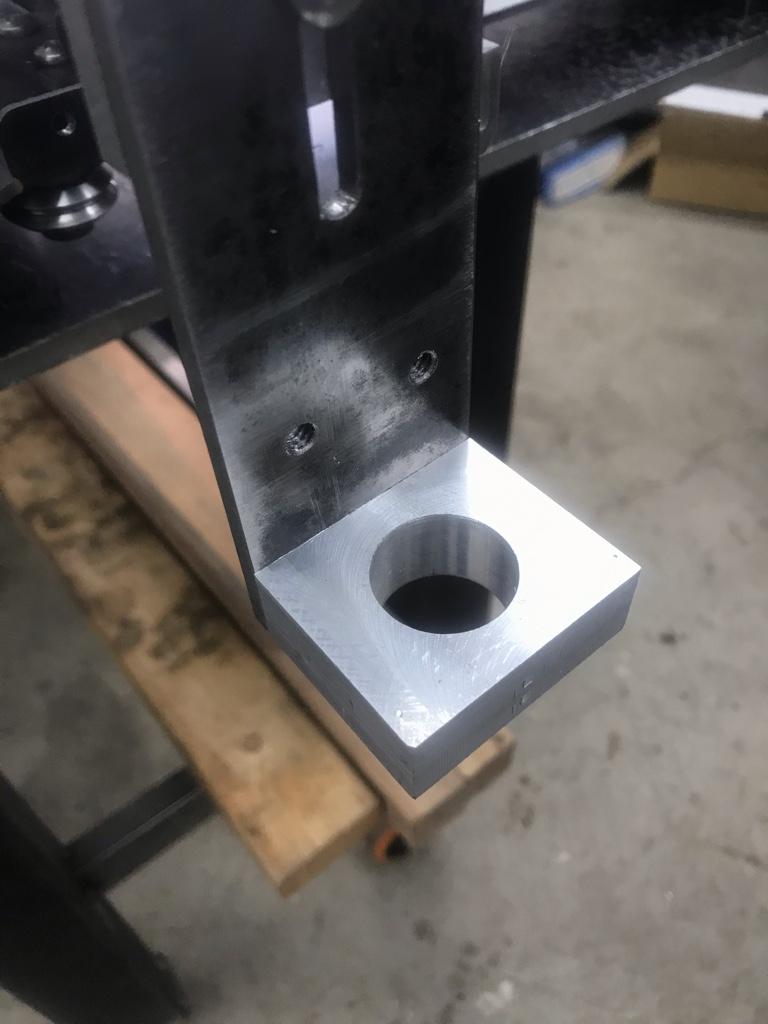
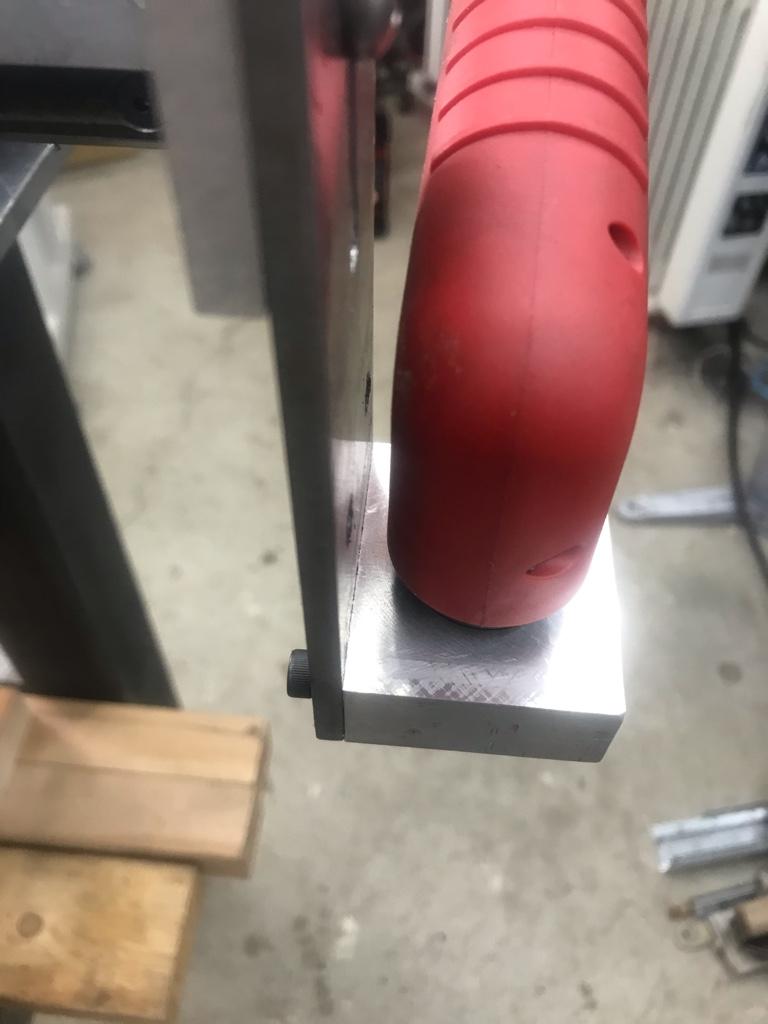
Bit more progress today.
Made the bracket that mounts the torch holder bracket.
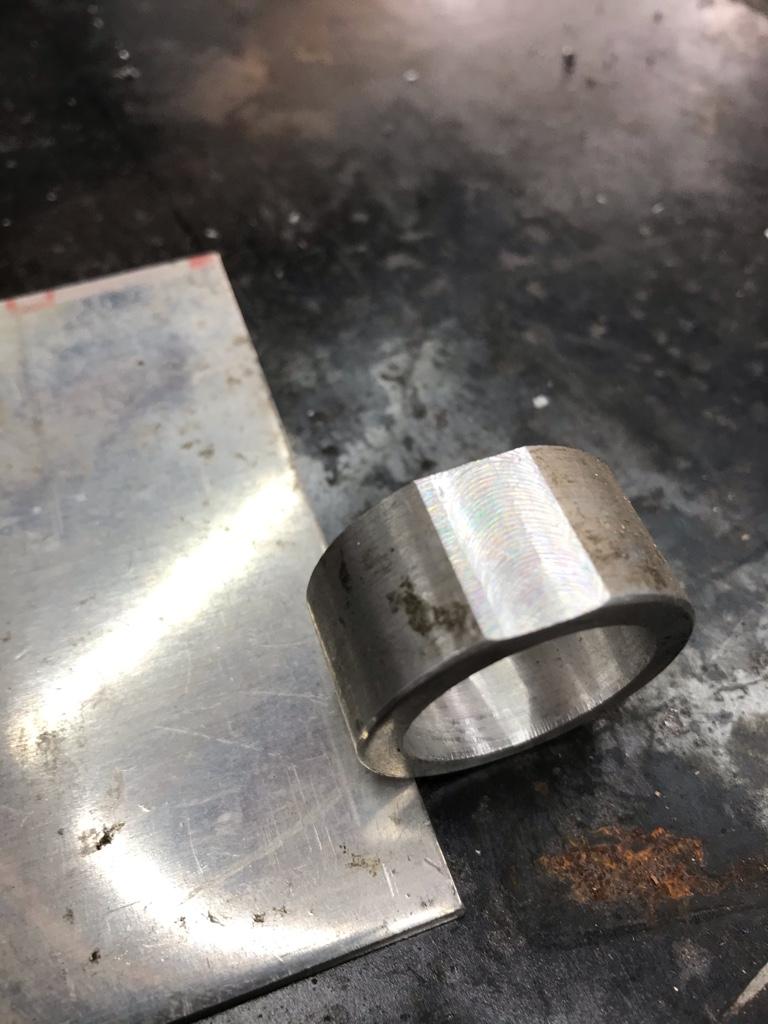
Made a start on the actual ring to hold the torch.
Had an aluminum piece with a hole almost the same dimension as the torch head. Bored it out on the lathe and parted it off at the right length.
Now I just need to figure out how to attach the ring to the bracket.
I might TIG a rectangular piece to the side of the ring, drill and tap it for a cap screw through the upright bracket.
Made the bracket that mounts the torch holder bracket.
Made a start on the actual ring to hold the torch.
Had an aluminum piece with a hole almost the same dimension as the torch head. Bored it out on the lathe and parted it off at the right length.
Now I just need to figure out how to attach the ring to the bracket.
I might TIG a rectangular piece to the side of the ring, drill and tap it for a cap screw through the upright bracket.
Bit more progress today.
Made the bracket that mounts the torch holder bracket.
Made a start on the actual ring to hold the torch.
Had an aluminum piece with a hole almost the same dimension as the torch head. Bored it out on the lathe and parted it off at the right length.
Now I just need to figure out how to attach it to the bracket.
LOL..... a bracket for a bracket, an actual ring, and a piece with a hole in it? Sorry couldn't help it

What I have liked for attaching circular objects to flat surfaces is to drill a larger hole in the outer portion of the ring and the right size hole in the side of the ring that mounts to the bracket. You can then use the screw drive through the outer ring larger hole? ...or weld it as you say....")
What I have liked for attaching circular objects to flat surfaces is to drill a larger hole in the outer portion of the ring and the right size hole in the side of the ring that mounts to the bracket. You can then use the screw drive through the outer ring larger hole? ...or weld it as you say....
I like this idea too.
I have a roll pin I could use to stop the ring from rotating about the screw.
I like this idea too.
I have a roll pin I could use to stop the ring from rotating about the screw.
Or two screws? top and bottom? Don't know what stresses will be on it as it drags the cable around but you could put a strain relief on the arm. I plan on suspending the cable above the table. I saw that DAC had his dragging over the edge but anyone that tig welds knows the cable dragging over something messes up the welds sometimes...or is that just me...?
 That dragging stress will wiggle the fasteners loose eventually. Welding might be the best solution for long term reliability. Just my 2 cents
Today’s progress.
Took a couple of iterations to get here.
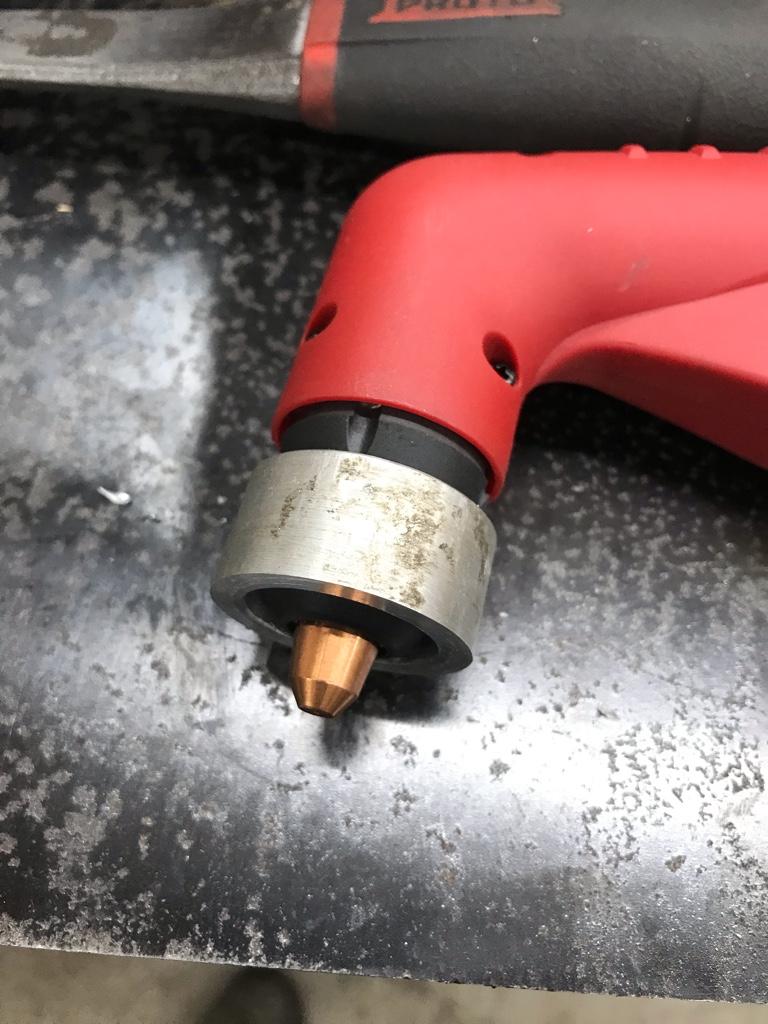
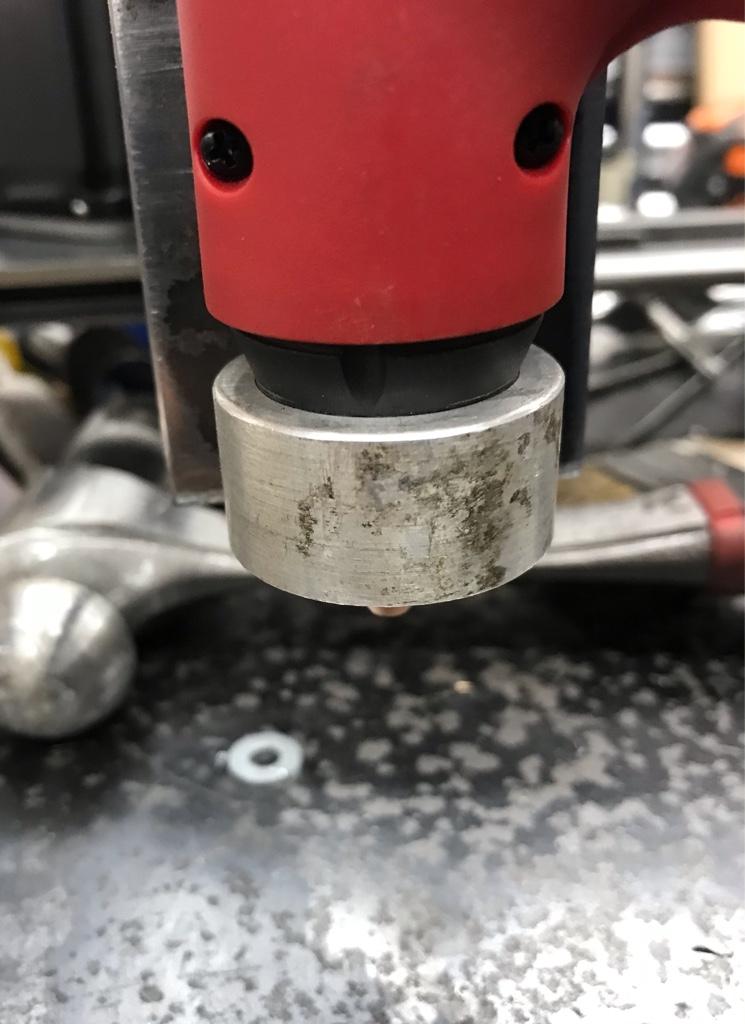
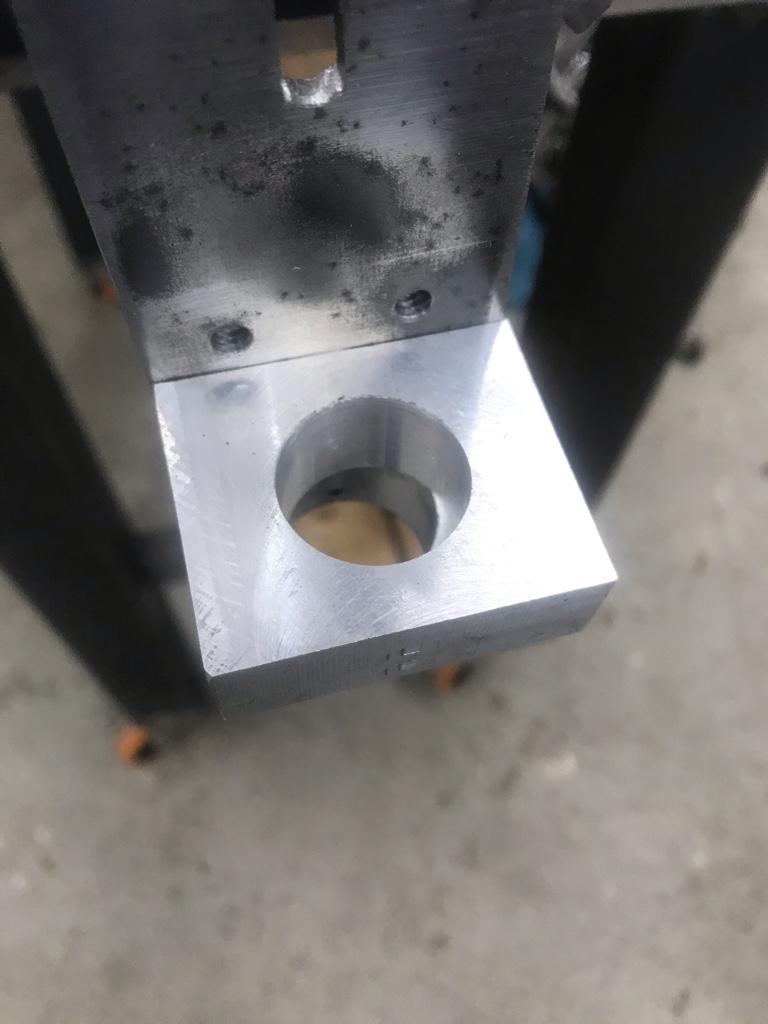
Milled a flat on the torch collar so it would stay in one place while I messed around with locating it.
See the hole peeking out from behind the torch? That’s a 1/4-20 hole that I made to mount an aluminum plate which had the collar attached.
Turned out the screw heads interfered with the torch body so that version was scrapped.
Second iteration ended up by drilling the steel plate and directly attaching the collar. Should have started with that in the first place.
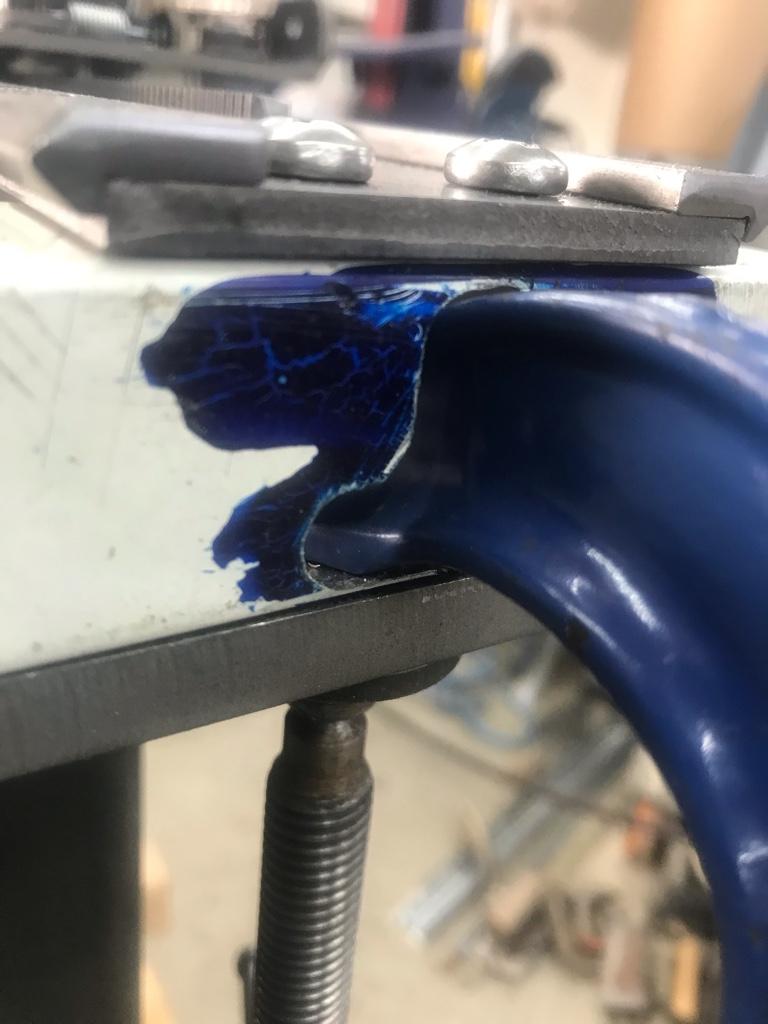
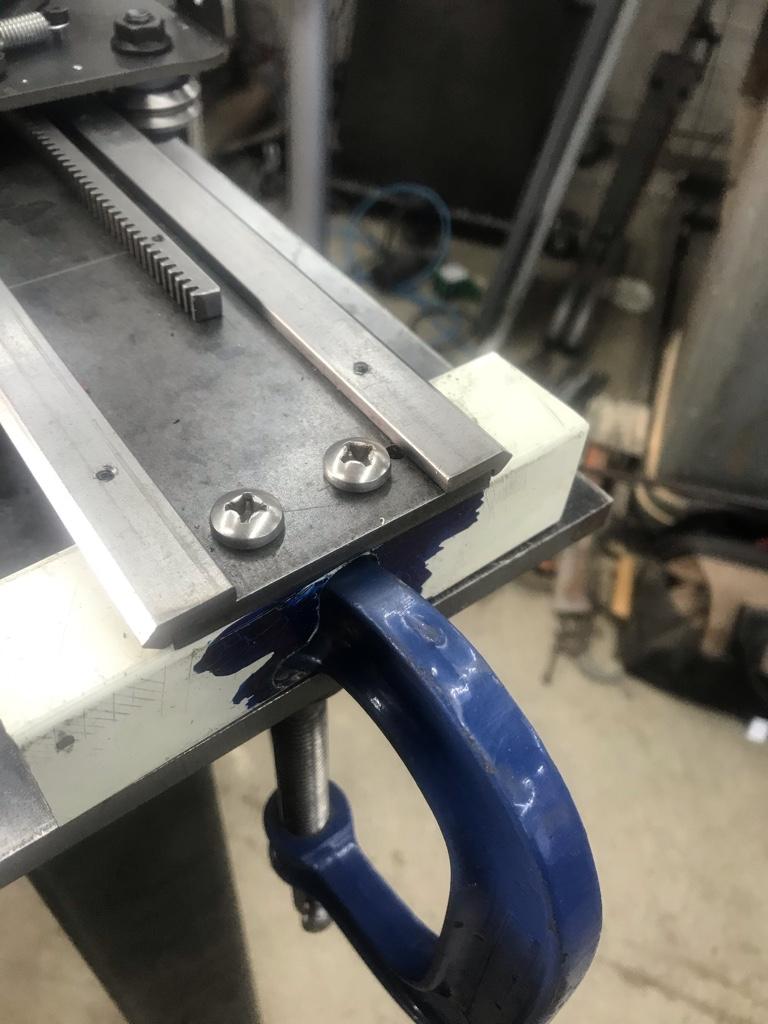
I have also been thinking ahead to how to hold the thing down to the table and made a happy discovery.
The X-axis is exactly 24” wide, the same as my welding table.
So it fits perfectly across the width.
I think I’ll swap out end plates for a couple of pieces of square tube. I’ll cut out one side and mount the with the open side facing out so I can clamp it down.

Took a couple of iterations to get here.
Milled a flat on the torch collar so it would stay in one place while I messed around with locating it.
See the hole peeking out from behind the torch? That’s a 1/4-20 hole that I made to mount an aluminum plate which had the collar attached.
Turned out the screw heads interfered with the torch body so that version was scrapped.
Second iteration ended up by drilling the steel plate and directly attaching the collar. Should have started with that in the first place.
I have also been thinking ahead to how to hold the thing down to the table and made a happy discovery.
The X-axis is exactly 24” wide, the same as my welding table.
So it fits perfectly across the width.
I think I’ll swap out end plates for a couple of pieces of square tube. I’ll cut out one side and mount the with the open side facing out so I can clamp it down.
Yup... that's my next iteration in a nutshell!@David_R8 have you seen this video? Check out the torch holder fixture. Shows up earlier but I noted about 00:39.
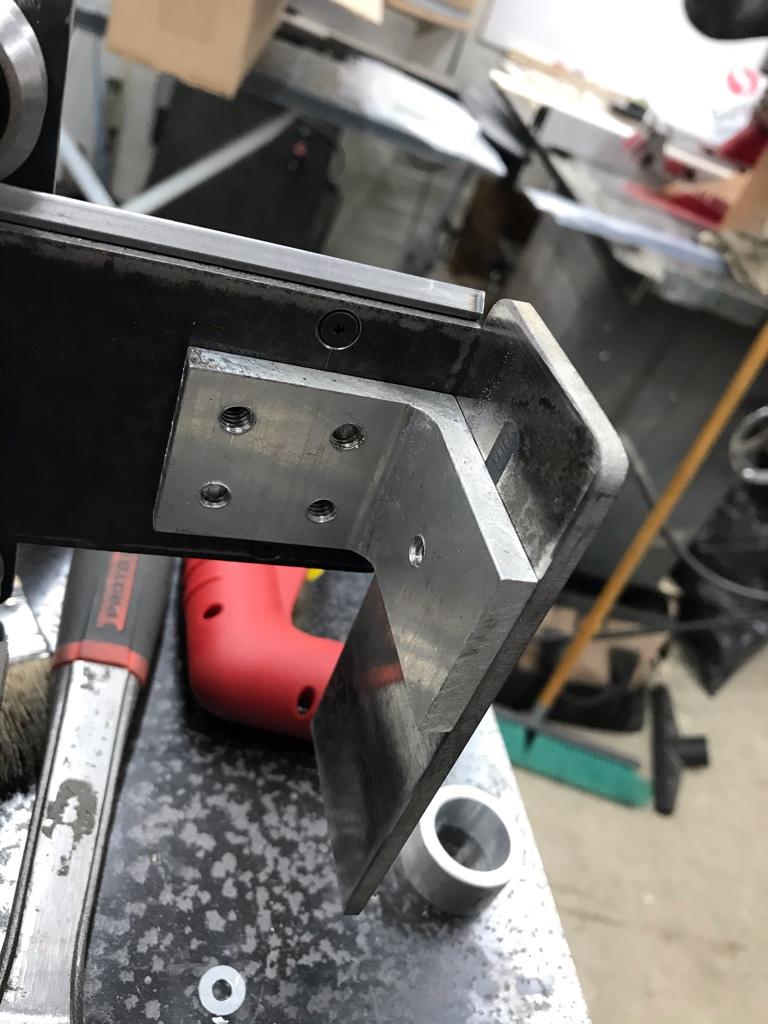
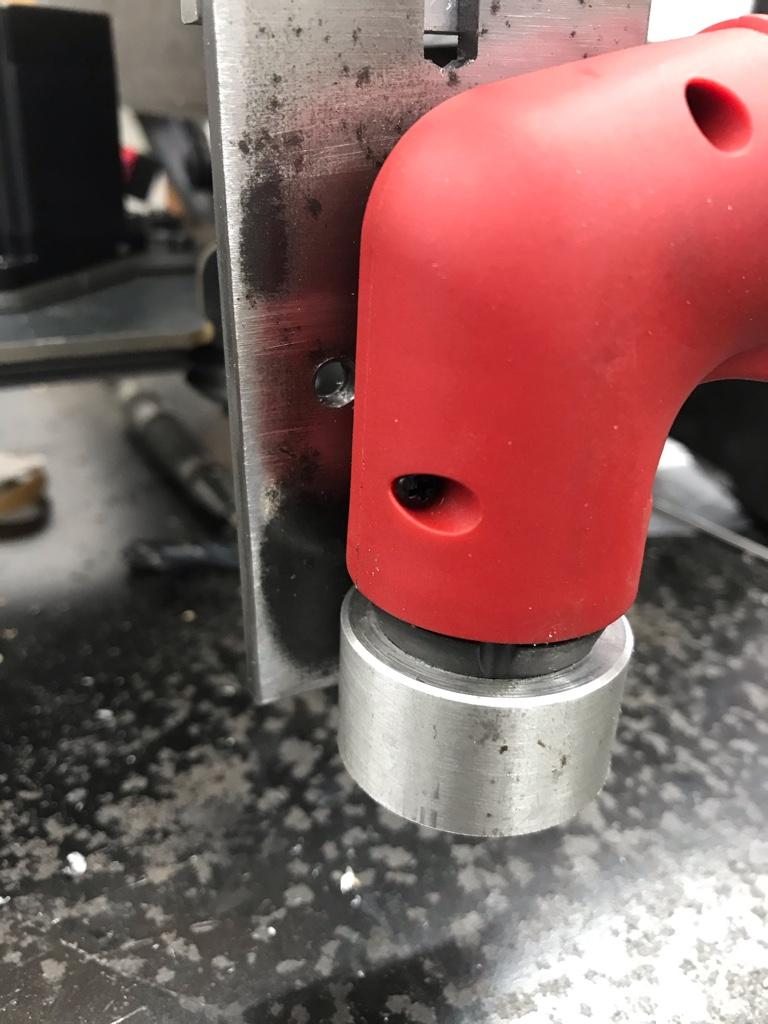
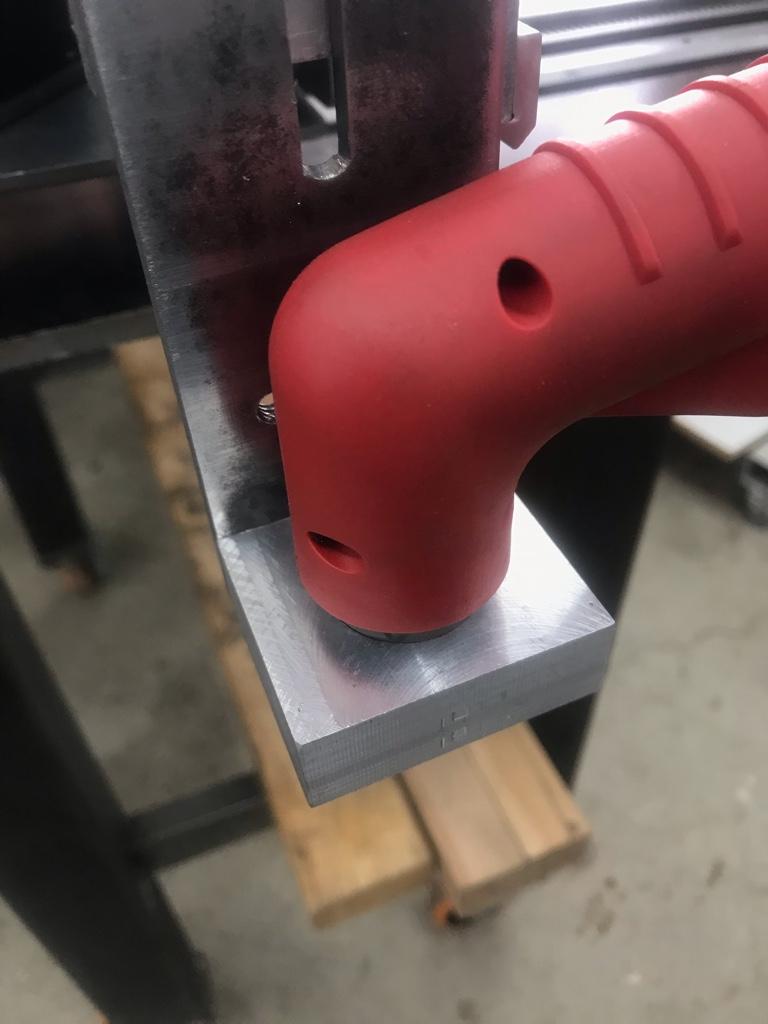
A bit of work last night to make a better torch holder.
2x2 block, bored to 1” in the 4-jaw. I plan to cut it vertically, parallel to plate so it can clamp the torch head.
Also need to mark and drill to attach it to the vertical plate and mill recesses for 10-24 SHCS to hold the two halves together.
I might also break out the rotary table and radius the front [emoji1]
Ignore those two holes. They are from a prior attempt to make a mount. [emoji23]
Last edited:
Hang on to your hats!
Lock up your children!
The plasma cutter is ALIVE!
I don't see any smoking holes in metal

Well, alive in the sense that I made a CAD drawing, converted it to G-code, sent it to the controller and the steppers moved the right amounts in the right directions.I don't see any smoking holes in metal
Next I have to build an enclosure for the electronics and fab up the actual cutting table.
Last edited:
Well, alive in the sense that I made a CAD drawing, converted it to G-code, sent it to the controller and the steppers moved the right amounts in the right distances.
Next I have to build an enclosure for the electronics and fab up the actual cutting table.
This makes my projects sound like child's play

You'll notice that I haven't yet slotted my face plate...This makes my projects sound like child's play
You'll notice that I haven't yet slotted my face plate...
You're slotting it. That's a huge step up the machining skill scale from what I did to mine.
Well, alive in the sense that I made a CAD drawing, converted it to G-code, sent it to the controller and the steppers moved the right amounts in the right directions.
Next I have to build an enclosure for the electronics and fab up the actual cutting table.
Nice work @David_R8 You got it beat now! I have been reading on the process of the CAD drawing to the gcode in the Arduino. Still can't say I am comfortable with it but think I can get there. Good to know I have someone to ask if I have questions. It sounds like if you wanted to just put gcode into the arduino, you could without doing a cad drawing too, eh? Or would that be more difficult. Say you just wanted a square cut. Could you just punch it in? or still easier to do a drawing and let the elves do the programming?