It's an old sweedish holbruck. Works great!
What size?
It's an old sweedish holbruck. Works great!
14"What size?
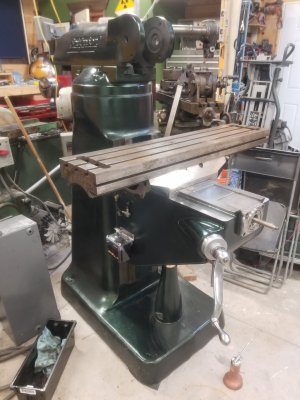
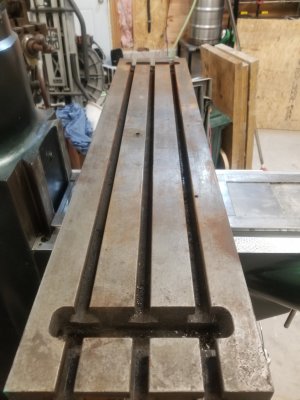
Thank you very much!Looks wicked!
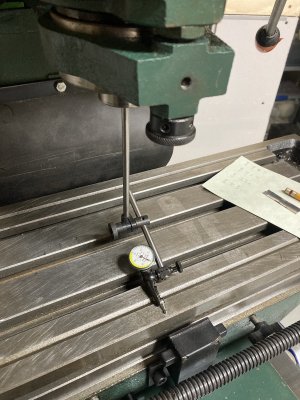
Lots good enough for me, though.
Thanks for advice on the table, I'll get on that. So far the Y axis screw and nut have worked out great. Next to .003" backlash with a little adjustment and no tight spots along the screw. I want this as a manual machine so that's more than good enough for what I need.For your back lash / - see if you have a good feel over the range of table travel. I changed out my x and y spindles and nuts as it was fine in the middle but way too tighr at the bitter ends. Made sense to re-new with power feed. Nice and clean feed now.
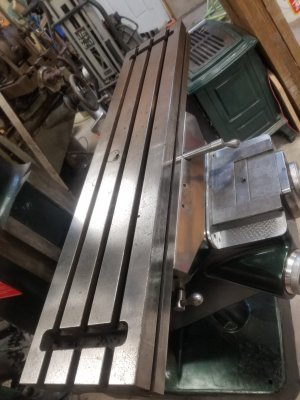
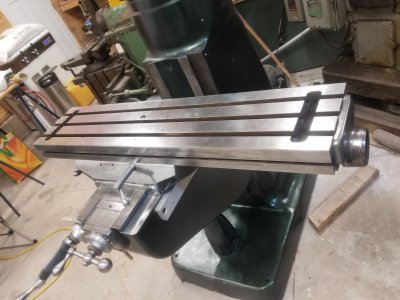
That table looks GREAT! Thanks for advise. Is everyone just using a bench stone (such as https://www.leevalley.com/en-ca/sho.../33018-aluminum-oxide-oil-stones?item=08M0401, since thats what I got on hand), or are we talking precision ground stones.....?Re table clean-up, I agree with @Brent H about stoning and checking. To improve the appearance, I use a simple approach: keep the surface wet with oil for a week or more. Then use a razor scraper to remove the patches of surface rust. Finally, wipe down with fine scotchbrite or similar. My mill table had much more built-up rust than yours and it looks like this now:
I see I get to go online shopping today as well! Thanks for the knowledge! This has got to be one of the best forums I've been a part of in many years.agree with both of you. A good stone will show the high spots rather instantly and fix them too. Even a table that looks horrible can usually be stoned to work great! Very very happy with the three I have done.
Also, you can easily fix any pecker marks with Devcon Steel Epoxy. A little oil and some light scraping and then stoning and they look just fine.
That table looks GREAT! Thanks for advise. Is everyone just using a bench stone (such as https://www.leevalley.com/en-ca/sho.../33018-aluminum-oxide-oil-stones?item=08M0401, since thats what I got on hand), or are we talking precision ground stones.....?
So far the Y axis screw and nut have worked out great. Next to .003" backlash with a little adjustment and no tight spots along the screw. I want this as a manual machine so that's more than good enough for what I need.
Well, they have been ordered! I got 2 round and 2 of the rectangular ones, see what I prefer. I'll make sure to keep one of each nice and clean and away from users with less discerning tastes in stones.That will work but if it is already used, it might not be the best plan. It might have bevels in it. Table dressing stones should be new and only used on flat surfaces.
Well, they have been ordered! I got 2 round and 2 of the rectangular ones, see what I prefer. I'll make sure to keep one of each nice and clean and away from users with less discerning tastes in stones.
On Monday I got to go play in the shop for a bit, so here are some photos.View attachment 28198
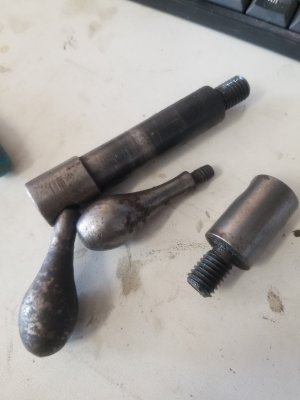
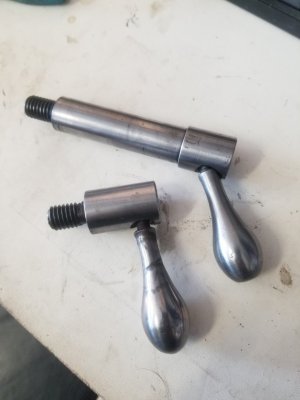
Got these nasty arse looking things cleaned up. Started with emery, moved up to an aggressive polish compound I use for badly corroded aluminum, then on to some S7 so brighten them up. They will never be perfect, but are looking a lot better! One day, time allowing, I'll make some new handles.
View attachment 28199
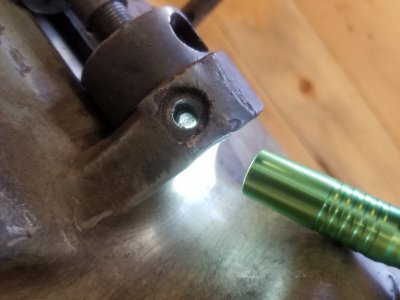
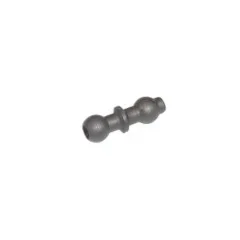
This little guy called Reverse Trip Ball Lever (PN 1033-03 at {https://machinerypartsdepot.com/quill-housing-spindle-quill-breakdown}) caused me about 4 hours of frustration to get loose. The dammed thing broke off deep. I ended up using a clamp to jam the quill stop rod down, drilled very very gingerly, ruining a few bits in the process. Then I managed to get a 4-40 tap JUST started on half a thread and ever so carefully worked it out of the home it had made for itself. There was a beer after that one! I've got a nice piece of durabar and shall try to make one of these I think. View attachment 28200
This is the way that part should look.
View attachment 28203
View attachment 28202
GREAT SUCCESS!!!
NAAAHT!
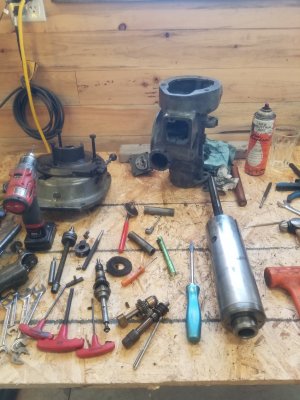
Along with that feeling of elation I got some some bitter and hard to digest disappointment. My spindle bearings, that I was so happy were in great condition, seem to have been hiding a rusty skeleton from me. With the quill assy away from the rest, the spindle sounds like a pissed off grizzly, and feels like sand.... Somehow, someway, this has been hiding (I guess all that nice thick grease up in the head covered up the feel?). After all my checking and re-checking... So I guess I've gone to far now. Ordering more parts tonight and will strip the quill in the morrow'.
More beer shall be required for this.
I'll keep everyone posted.
Cheers to all.
Thanks for the kind words! I tried this a few years back with PM and an old lathe, and got nothing but negativity.Thanks for sharing this restoration with us! Your mill is looking GREAT and will be such a pleasure to use - after all, you turned the beast into a beauty!
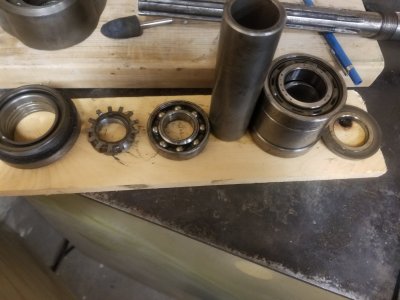
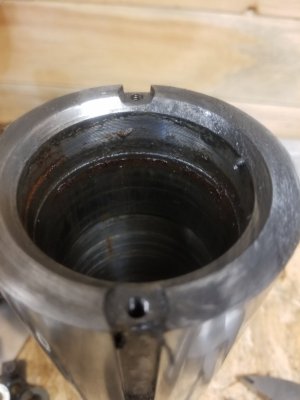
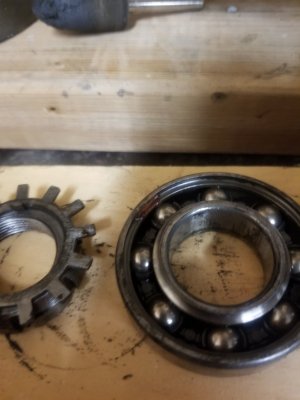
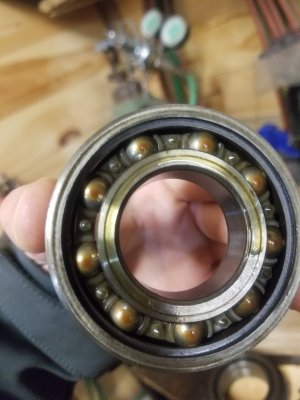
H&M Machine remove the oiler and grease ( AHHH!!!) their bearings. What are your thoughts on this? I more prefer to maintain my things, maybe this is meant more for industrial shops where things tend to be neglected? Or is just the way things are now? I'm not sure what to think about it.....
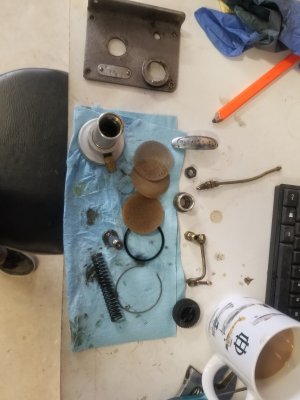
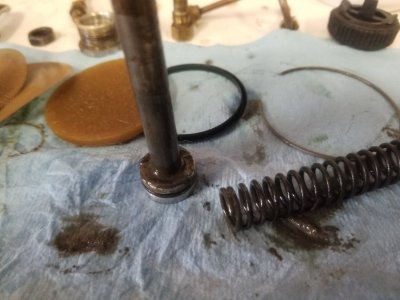
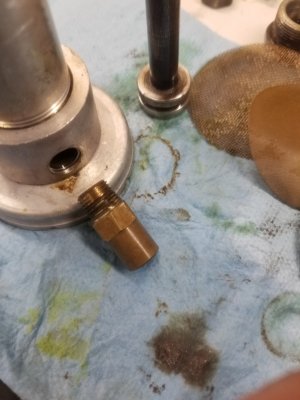
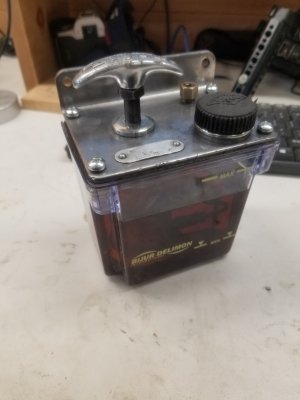
my clock spring let go too.So I found my first legit problems other than the bad bearing. The clock spring let go, explains the quill being heavy. I also discovered that the one shot oilers tank is cracked. Going to keep at it when I get a few minutes here and there. Life gets in the way of living some how!
View attachment 26381
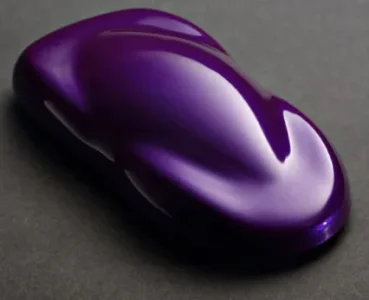
I know I'm poking the hornets nest here; but what colour should I paint it? I was thinking a nice AMC metallic blue. (if I tried this on PM I figure I'd get banned! ).

That's what I like about this group - they are even able to find nice things about the pictures of projects I post. ("At least it's small enough you can't put your name on it.") 😛Thanks for the kind words! I tried this a few years back with PM and an old lathe, and got nothing but negativity.
my clock spring let go too.
paint is this colour
View attachment 28358
with this colour highlights
View attachment 28359
