Well, It's been a while hasn't it. Happy New Year to all and I hope it is a healthy and safe one!
I can only explain my absence as getting my ass kicked by life. I'm back now and starting to feel a little bit more like myself, so I'll give you the update on the Bridgeport.
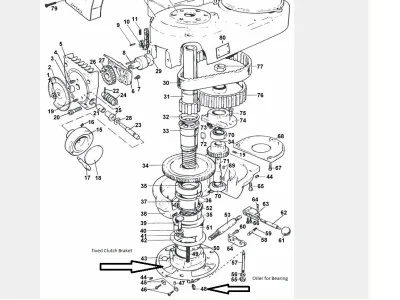
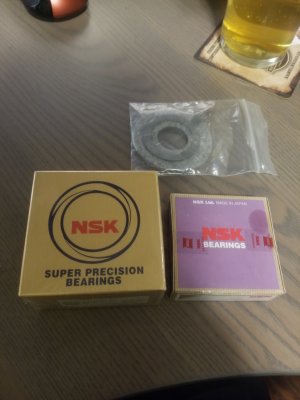
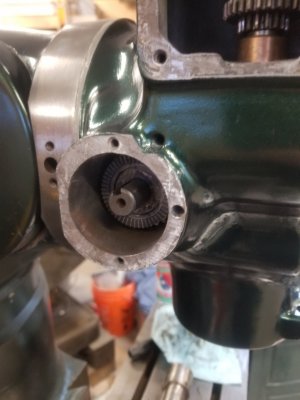
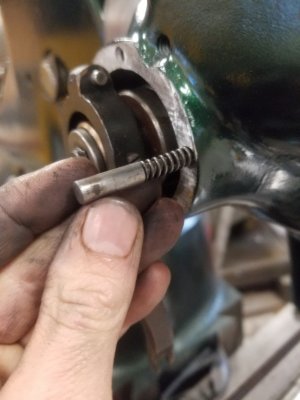
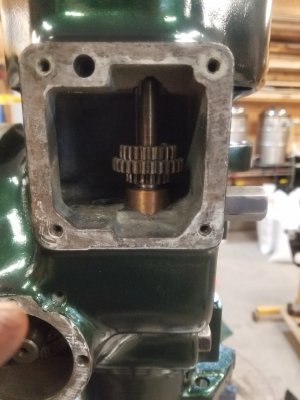
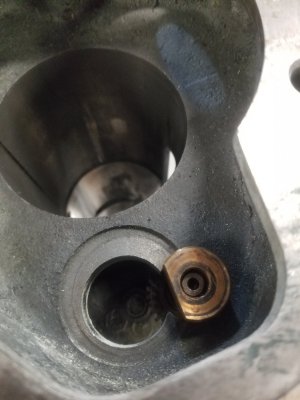
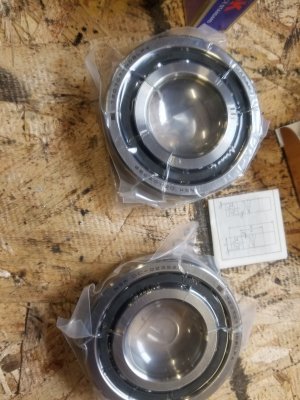
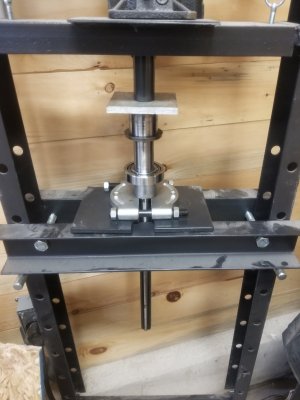
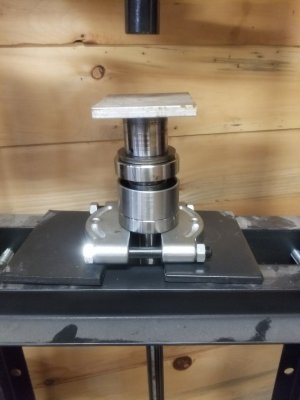
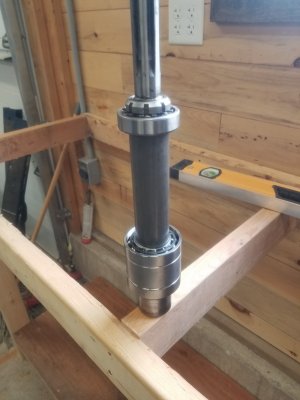
Jan 09, After being sick for almost two whole weeks, I felt up to going into the shop. I unboxed my nice new bearings in the most sterile way. As if I was bringing a new life into this world. I was full of excitement that this new year holds. I pressed my lower spindle bearing stack together on the spindle. I followed all the manufacturer recommended procedures. I was proud. Too proud; because of-bloody-course I put the spindle shield on upside down. I thought "o well, I'll press them off and turn it around", and then proceeded to turn the spindle shield from one part into 10. Sulked into the house and ordered a new one.
View attachment 29993
View attachment 29994
View attachment 29995
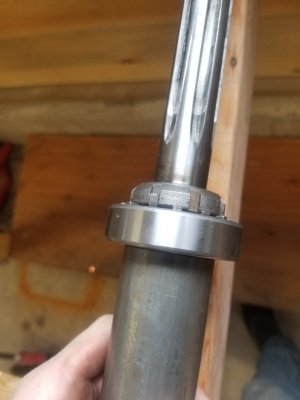
Jan 14, My part has arrived. I went to the shop and pressed the lower spindle bearing stack together without incident. I then proceeded to press on the upper spindle bearing and ensured all the spacers were centred. I had borrowed a spanner from work to put the the nut back on this. With the spindle in the soft jaws of my vise, I torqued the nut as per H&W machinery's instructions. Once that was tight to the point prescribed, I used a punch to bend up the locking tab on the washer. A good job done today. A celebration beer is in order.
View attachment 29996
View attachment 29997
Jan 22, Free from chores and the honey do list, I sneak to the shop.
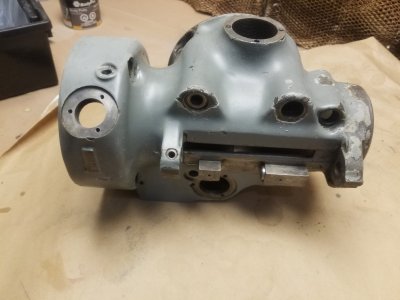
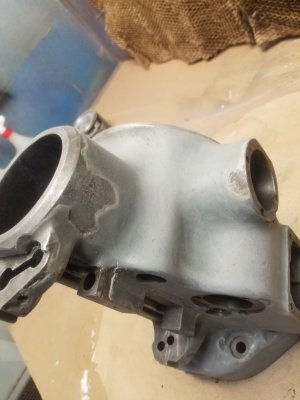
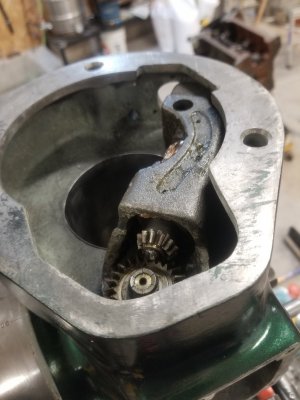
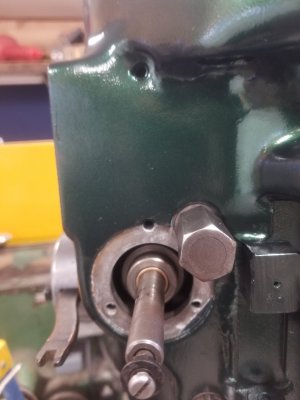
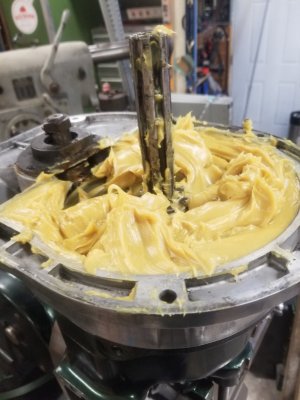
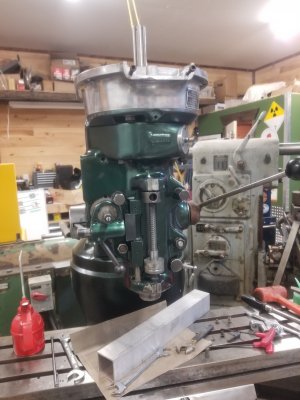
Today I felt like assembling the upper end. I started by removing all the installed parts I previously installed in the feed assy. This will set the theme. I installed the spindle into the quill. Then the quill into the head. Then took the quill out of the head to reinstall the sleeve up at the top. I then replaced the down drive shaft and clock-spring assy. After this I can only explain the progress as walking in sand up hill. Every step I took made me have to go back. I do not know what was up with my head that day, but wow, I was a dullard. Like wandering through thick fog at night I soldiered on stupidly into more assembly. Things were moving along slowly, but forward. Then I got to the bull gear and quill drive sleeve. I stacked it all up, put the grease shield on and dumped the requisite amount of high price grease into the bull gear area. At this point I noticed that the quill was not all that free spinning, so I consulted master Google about my issue. Turns out I should have stayed in bed. I, for some reason, had a washer from the drive sleeve UNDER the grease shield.... meaning take out grease, remove grease shield, remove drive sleeve. I felt deflated. I dont know if my being sick had something to do with this or what, but I felt like a total idiot. I put this right but didn't to many morephotos. I'm hoping to pick up again this weekend with a clearer head.
View attachment 29998
Photo is after I got it back together.... grease everywhere.
View attachment 29999
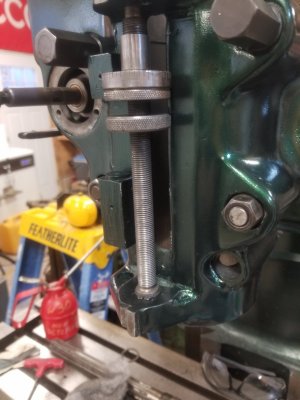
This was it for the day. Please ignore that terrible quill down feed handle. It will be remade, just needed one for testing and this is what was around.
I know this may not be the best update of them but it took alot of effort and ego deflation to get to this point. I will continue through this and hope to post more often with cheerier demeanour.
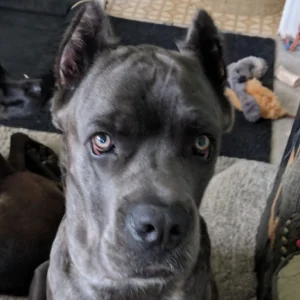
One last photo. RIP Grizzles.
View attachment 30000

