• Scam Alert. Members are reminded to NOT send money to buy anything. Don't buy things remote and have it shipped - go get it yourself, pay in person, and take your equipment with you. Scammers have burned people on this forum. Urgency, secrecy, excuses, selling for friend, newish members, FUD, are RED FLAGS. A video conference call is not adequate assurance. Face to face interactions are required. Please report suspicions to the forum admins. Stay Safe - anyone can get scammed.

RF30 Basement Install

Hi Craig,

I have about 20 pieces of 3/4 plywood cut into 2’x8’ sections (4x8 sheet cut in half). You can borrow as many as you think you need to put down onto the gravel to make the hoist roll easier.
Very very generous lol. That stuffs pricey now a days....
 
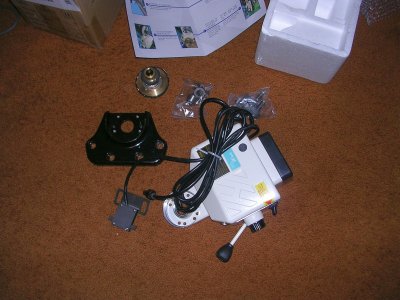
So following @David_R8 's lead. I purchased a powder feed from VEVOR for $200 CDN landed.

Delivered.JPG


The PF was delivered Monday so I've been busy making a mount plate.

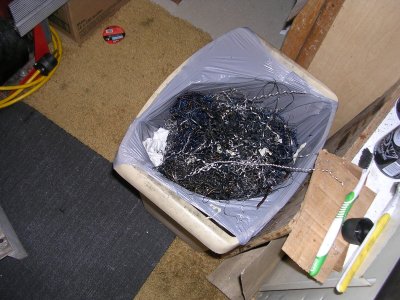
Swarf.JPG


And lots of swarf in the process.

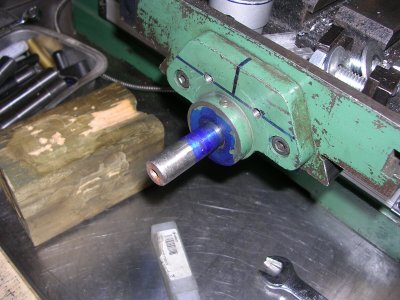
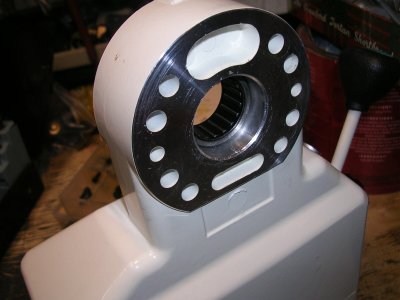
LSBracket.JPG


The PF is to be mounted on the LH side of mill on this lead screw bracket. The boss will be the registration and note the gitz oiler. In this image I have already drilled and tapped the mounting holes in the lead screw bracket.

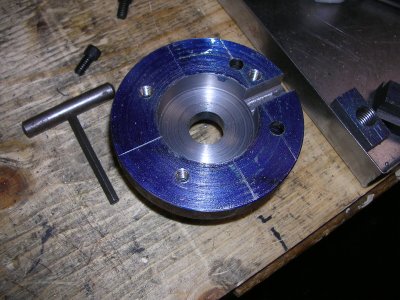
MountMillSide.JPG


This is the mounting plate. 3-1/2" round stock with registration recess. The rectangular slot gives me access to the gitz oiler. In this image the PF and mill mounting holes have all been drilled and tapped.

PFRegister.JPG


This is the mill side of the PF. Note the registration recess.

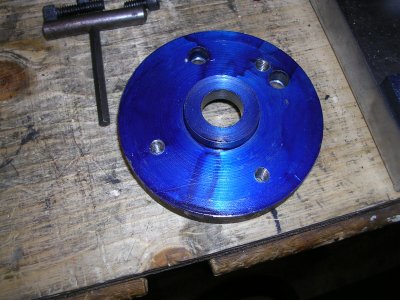
MountFPSide.JPG


This is the PF side of the mounting plate with registration boss.

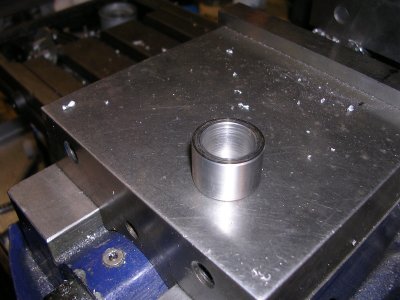
Bushing.JPG


I had to make a bushing for the interface between the PF roller bearing and the lead screw. The one provided wasn't any where near the right size.

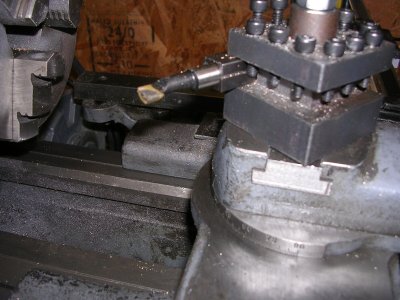
BoringTool.JPG


I used a milling head tool mounted in a boring bar holder to perform the bushing and drive gear boring. It worked pretty good.

Gear.JPG


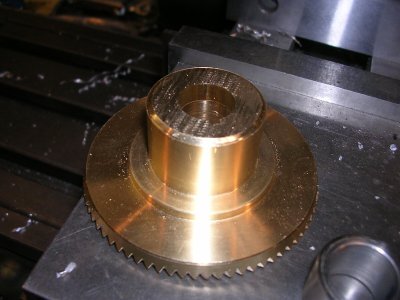
This is the drive gear shortened and bored out 5/8" to 17mm.

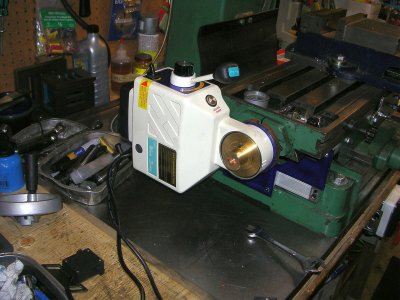
Mounted.JPG


Here she is all mounted up. I used 1/4-20 SHCS to mount everything. All seems to work fine although as @David_R8 mentioned it is kind of noisy. Also it does make cranking by hand a little heavier. That might get better with time.

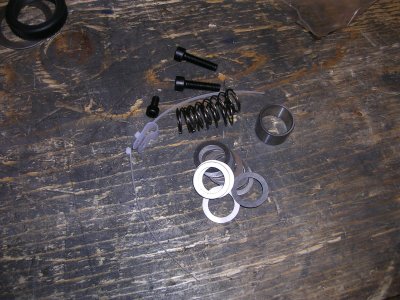
MiscStuff.JPG


This is some stuff that was supplied. The bushing is the one I had to replace. Haven't a clue what the springs are for or how the shims are to be used. The instructions don't mention them at all.
 
Last edited:
Looks good!
You definitely got an X-axis unit as the orientation of the lever is completely different from mine. Is it left to move the table left or is it reversed?
 
Looks good!
You definitely got an X-axis unit as the orientation of the lever is completely different from mine. Is it left to move the table left or is it reversed?

You're right, your lever is 90 deg but it's labeled the same way. I'm betting you can position that as you wish some how. As for which way is left and which way is right I didn't pay attention. I'll report back once I have flats on the lead screw for the gear sets screws to land on. Can you post an image of how you mounted the limit switch please.

Craig
You caught me out as I haven't installed the limit switches yet.:oops:
 
Ya, ok. does the mounting plate have a distinct bend to it?

As for lever and feed direction. Left is left and right is right. What does yours do?
Yes it does have a bend.
For me, toward me is right, away from me is left.
 
This video shows the springs at about 6:15ish

This ones explains the shims at about 5:00 ish

I heard Davids PF and it sounds about the same as mine.
Welcome to the PF club.
 
Ok now I understand when the mounting bracket is bent.

That's not your machine is it? I'm thinking a new limit switch mounting plate is in order.

As for the F/N/R lever orientation goes, there looks to be a screw holding the speed adjustment knob on and a set screw holding the direction lever on. I'm betting you can change the lever orientation if you want.
 
That's not your machine is it? I'm thinking a new limit switch mounting plate is in order.

As for the F/N/R lever there looks to be a screw holding the speed adjustment knob on and a set screw holding the direction lever on. I'm betting you can change the lever orientation if you want.
That's a screen shot from the first video Brent posted.
Thanks for the tip on the lever, I'll have a look as I find it a bit disorienting at the moment.
 
That's a screen shot from the first video Brent posted.
Thanks for the tip on the lever, I'll have a look as I find it a bit disorienting at the moment.

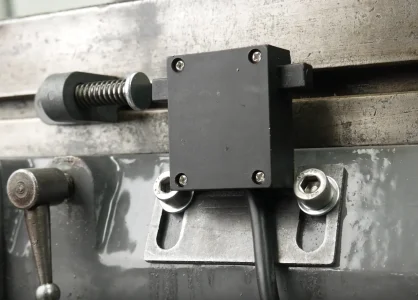
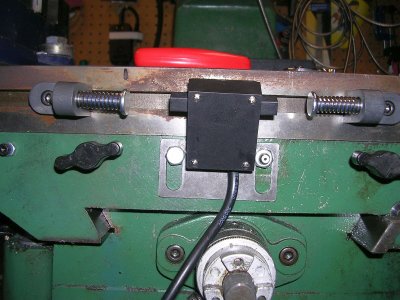
I compromised and mounted the Limit SW a little off center.

LimitSWMounted.JPG


I drilled and tapped one new mounting hole. I need to keep one of the original mounting hole accessible as it serves as a table lubrication port.

NOW having done this...… I would appear the switch triggers backwards:oops: To kill motion to the right you have to press the button on the right.:confused:

How does yours behave?

Craig
 
Back
Top