Parker Majestic refurb

YYCHM

(Craig)
Premium Member
Yup.
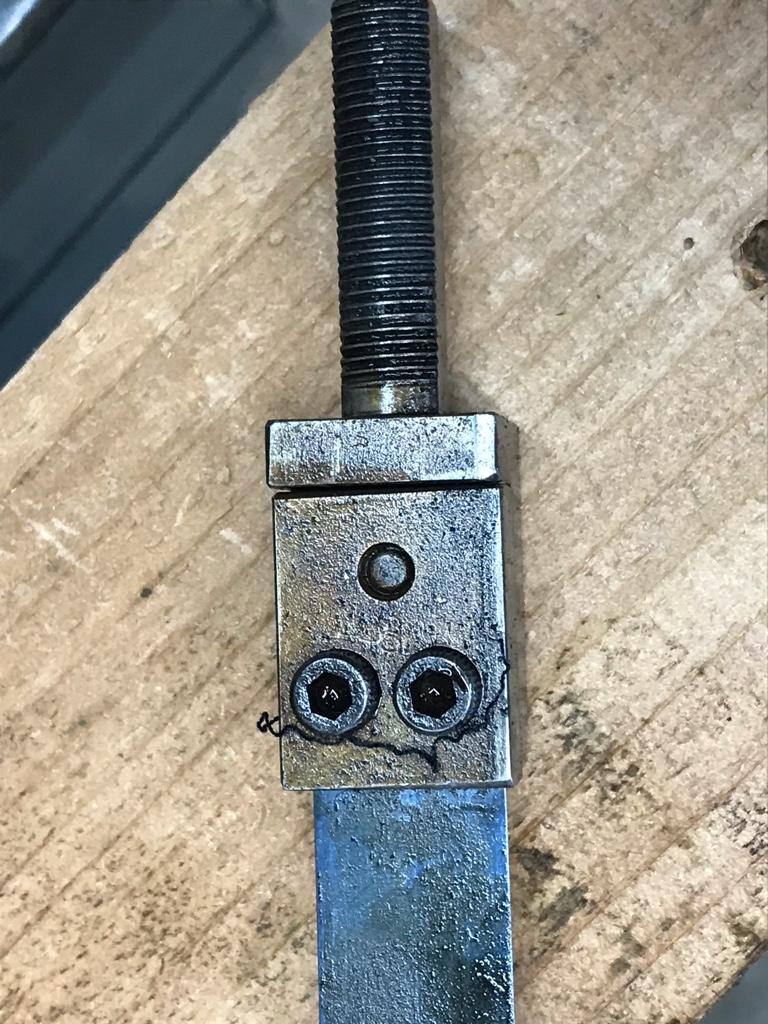
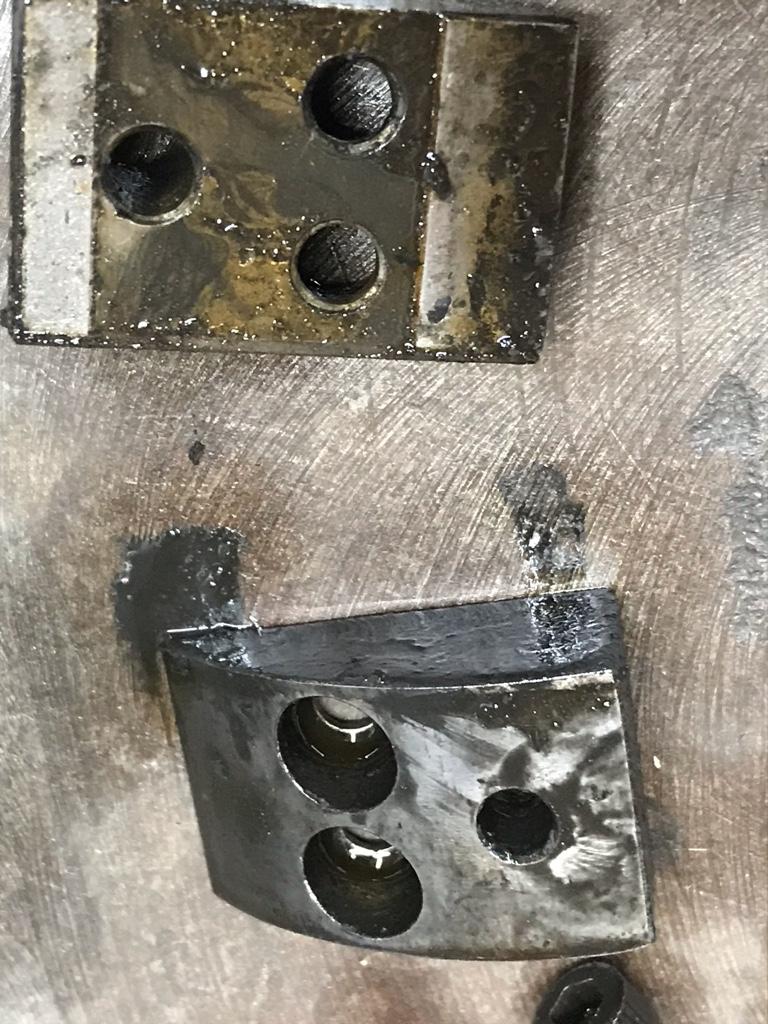
The rectangular block and the square drive thing are not original.
Underneath the square drive there is this round shaft and similar circular wear pattern which I suspect is from the original lever.

Is that what takes the roll pin you were trying to size?
 

DavidR8

Scrap maker
Administrator
Moderator
Premium Member
Is that what takes the roll pin you were trying to size?

Yup.
The hole in the round shaft is larger than the hole in the square drive thing so it kinda flops around because it’s not held securely. Plus it’s a loose fit on the shaft.


Sent from my iPhone using Tapatalk
 

DavidR8

Scrap maker
Administrator
Moderator
Premium Member
That is good detective work @David_R8. I bet it got sloppy over time and they improved it by adding the rectangular bushing bolted to the outside. I would agree with you that making a new, better fitting bushing and using a square drive will work just fine.

Surprisingly the fit of the shaft in the chuck housing is good, maybe a thousand or two of wiggle.

Whatever grease/oil that was put in there in 1963 has given up the ghost and is no long providing any lubrication.

I think when I clean and properly lubricate everything less force will be required to actuate the chuck.


Sent from my iPhone using Tapatalk
 

DavidR8

Scrap maker
Administrator
Moderator
Premium Member
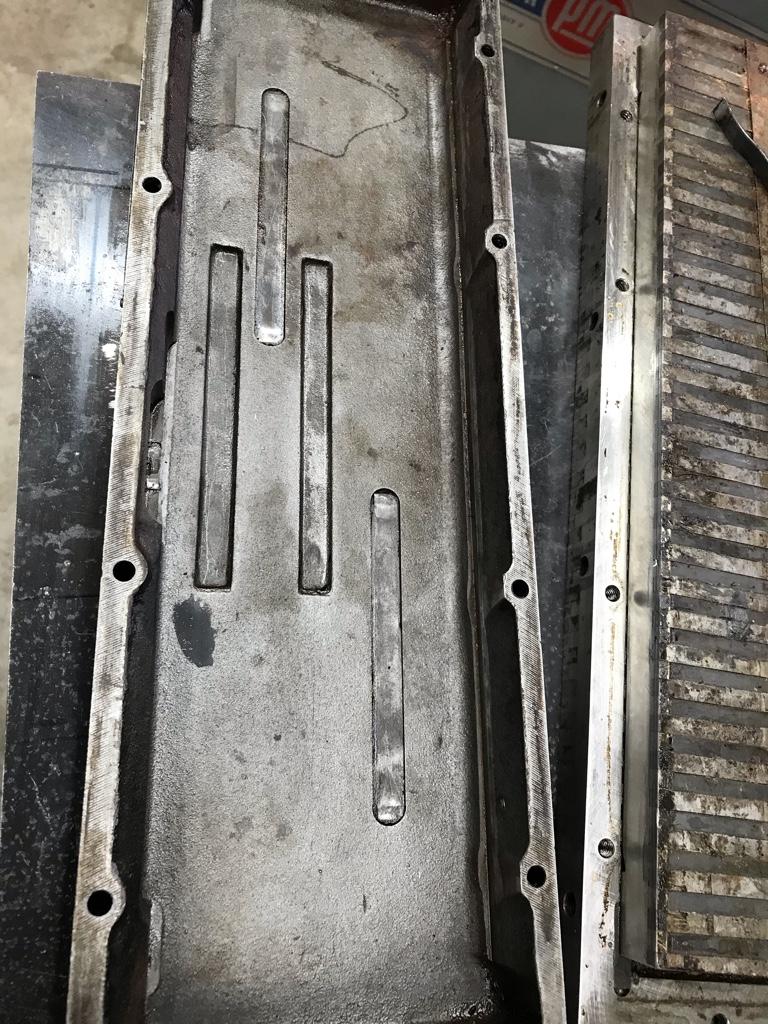
I reassembled the chuck this morning.
Cleaned out the dried grease.
a18f9aef08c282f12a04fadbe75a0144.jpg


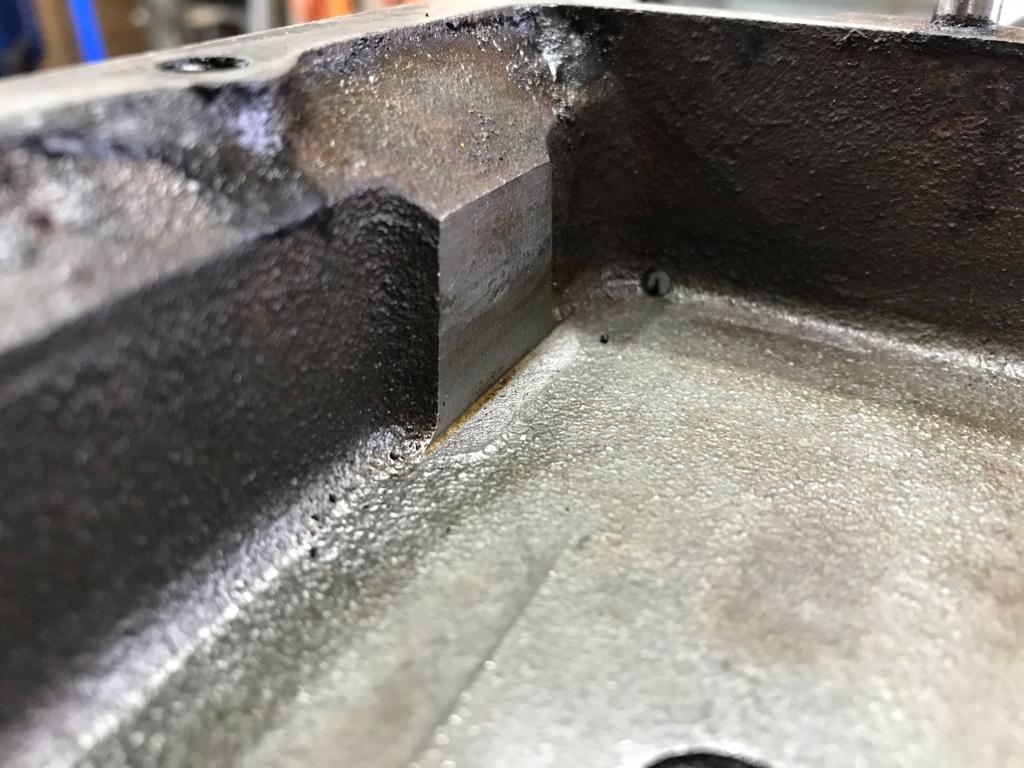
I was all set to fill it with 90w oil as directed by the Walker rep when I spied a hole in a corner.
9cfc85396195c6d5bc70ad2686e42534.jpg


Wanting to follow their advice and put oil in the base, I enlarged the hole to take a 10-32 set screw. I dipped the set screw in Permatex and screwed it in snug.
Filled it with a quarter inch of 90w oil, applied more Permatex to the edge of the base and popped on the mag plates.
Other than the plates being about 30 lbs and very hard to hold, it was a dead easy job.
The actuation shaft is still lousy but that's a job for another day.

I then turned my attention to cleaning the bed. I stuck a rag in the coolant outlet and liberally brushed the bed with paint thinner. Like some kind of archaeology dig, layer, upon layer of grinding grit slowly came loose. I scooped it out the muck and eventually got it grit free.
About a half dozen rags later, it's pretty clean.
On the other hand I am less clean.
 

DavidR8

Scrap maker
Administrator
Moderator
Premium Member
I lifted the table to inspect the ways.
1607736321870.png

1607736354573.png
They are in excellent condition with scraping marks fully visible and consistent along the length.
Unfortunately one of the steel tapes that moves the table was cracked almost all the way through.
So I need new drive tapes.
 

DavidR8

Scrap maker
Administrator
Moderator
Premium Member
What's a drive tape and is it in your images?
Sorry no pics as I was completely covered in way oil and muck.

The table is moved by steel bands that look like the bands used to hold crates together.
There are two drums on a shaft connected to the table hand wheel.
The inboard ends of the bands are connected to the drums and the other ends connected to each end of the table.
To move the table to the right, the hand wheel is turned clockwise, winding up the tape connected to the left end of the table and pulling the table to the right.
At the same time, tape connected to the right end is unwound from it's drum.
 

DavidR8

Scrap maker
Administrator
Moderator
Premium Member
Here are some pics of the parts for the table drive.
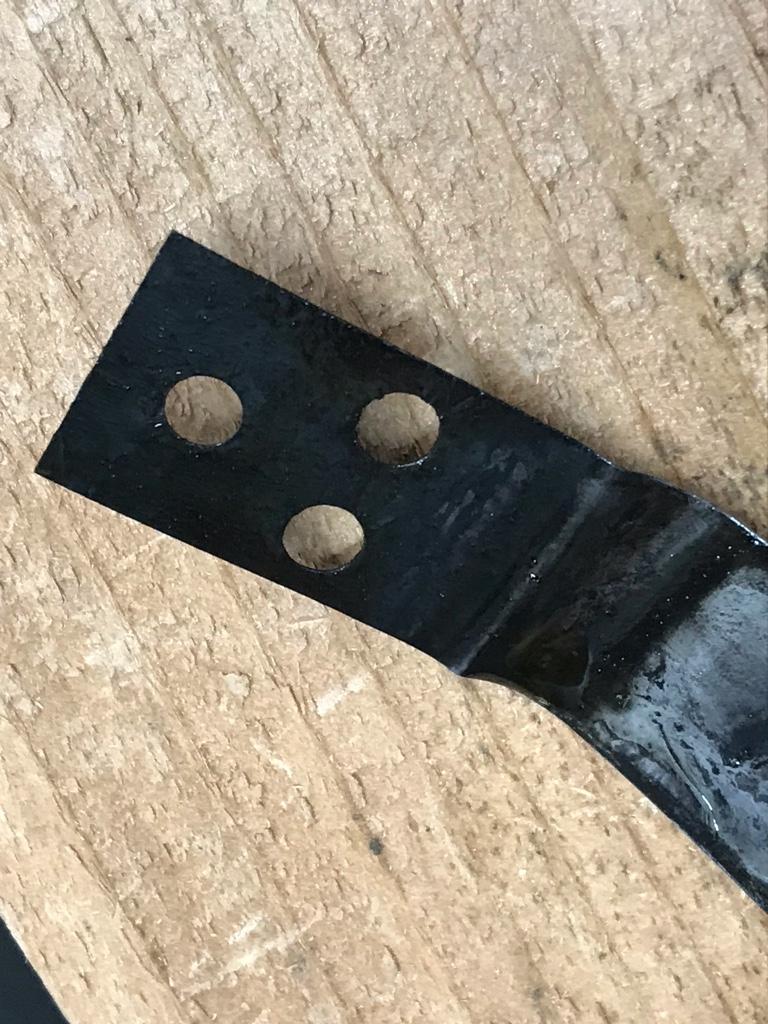
This is the hub end of the band.
2650577c2a221f3883e977be4b9d7bd1.jpg


This is the end that attaches to the table.
ca7d54d9817a33e110b2b3a6eaff48e6.jpg

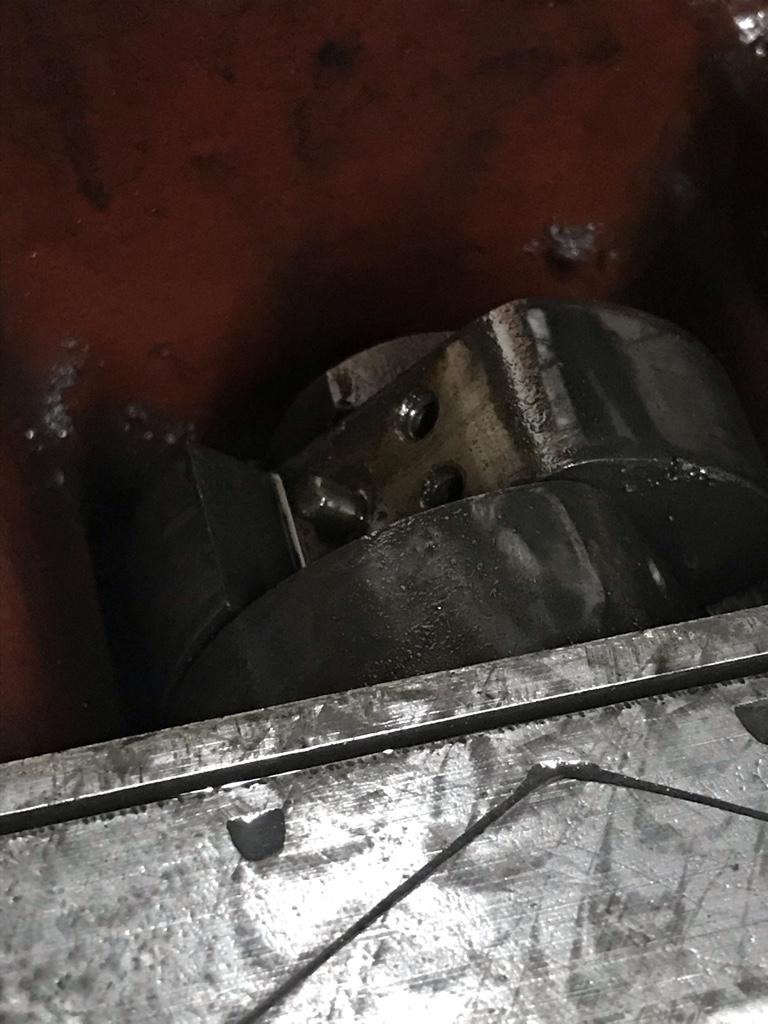
This is the hub taken from the front of the machine.
The hub closest to the camera is for the left side of the table, the other is for the right side.
096e5b1ad00d96c0078af3748206411d.jpg

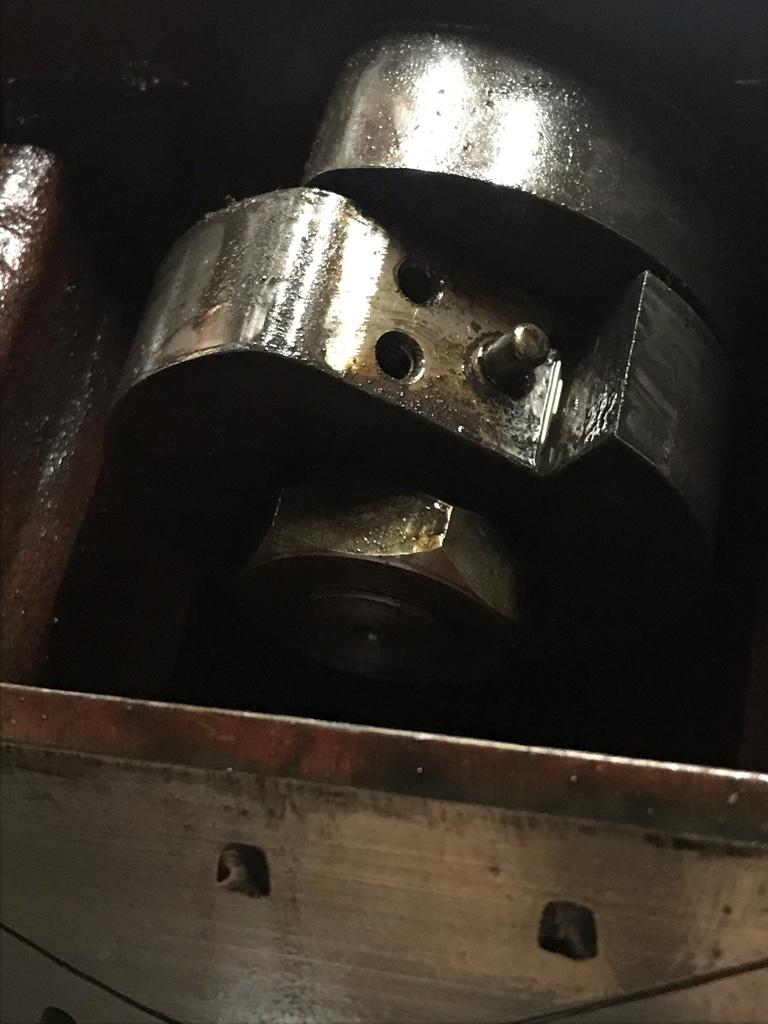
This is taken from the back of the machine.
66880ba9695c8937eff31057f4240e7e.jpg


These are the clamps that secure the band to the hub.
f551e5bc635a3784b6e23308360c68b5.jpg


Sent from my iPhone using Tapatalk
 

DavidR8

Scrap maker
Administrator
Moderator
Premium Member
What is the trouble David? Need Drive tape? what size are you needing?

Yes the drives tapes are end of life.
The one for the left side of the table broke at the hub end and the other has a crack in the same location.

Thé band is .01” thick and .75” wide.
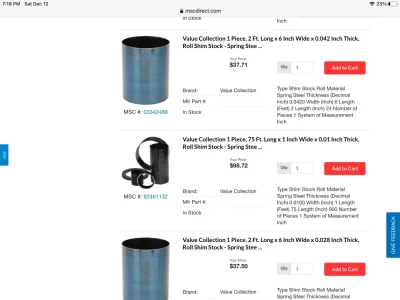
I can find .01” x .50” wide shim tape but not .75”.
I’m also considering turning a new hub amd using a cable as another Parker Majestic owner has done on two machines.
Friday afternoon I sent an email to Parker Majestic to see if they can still supply them. Will see what happens Monday.
Do you know of a source?


Sent from my iPhone using Tapatalk
 

DavidR8

Scrap maker
Administrator
Moderator
Premium Member
https://www.kbctools.ca/itemdetail/?itemCode=1-955-A10

I imagine the trick would be how to accurately cut it. The stuff I have like that cut with scissors no problem, but might take some finesse to make a nice edge on one side. Spray adhesive on a sacrificial piece of wood comes to mind. How long are they?


Thanks Peter, the left side is about three ft and the right side about 4 ft maybe.
Maybe sandwich it between two pieces of plywood and run it through my table saw.
The other option I thought about was to wrap it around a piece of 4” pvc and slice it off with my horizontal bandsaw.
For $14 it’s worth a try.
 

francist

Super User
I once “narrowed” (okay, channeled for any car guys) a tape measure spring to use as a clock mainspring. I turned a circular recess into a block of maple (wood lathe, standard tools) the width of the coiled spring and to the final depth that I wanted to achieve. I then wound the spring into the recess and proceeded to grind off the excess width which was of course sticking up proud of the maple block. I used the top surface of the block as the point to stop grinding, much like a file stop or filing block.

It was ugly, painful, and messy, but I got the job done and with a pretty good edge too. I used an angle grinder (did I mention ugly?) but there might be other ways with more finesse. Surface grinder jumps to mind.... ;)

Seems to me I may still have that stupid block around still complete with steel grinding water stains all over it :)

—frank
 
Top