• Spring 2024 meetup in Calgary - tentative date Saturday, April 20/2024. Other regions are also discussing meet ups. If you want one in your area get going on organizing it! discussion
  • We are having email/registration problems again. Diagnosis is underway. New users sorry if you are having trouble getting registered. We are exploring different options to get registered. Contact the forum via another member or on facebook if you're stuck. Update -> we think it is fixed. Let us know if not.
  • Spring meet up in Ontario, April 6/2024. NEW LOCATION See Post #31 Discussion NEW LOCATION

New vise jaw product

Susquatch

Ultra Member
Administrator
Moderator
Premium Member
That is pretty neat John - do you buy the epoxy in two big 1 gallon jugs - $90 on amazon for example.?

Sorry, I missed this question for unexplained reasons. I was reviewing your design and spotted it.

Sometimes my bride calls me "The Glue Man". It isn't a compliment. But perhaps it is deserved. I do keep a good selection of glues on hand.

I also keep various kinds of epoxy on hand.

My favorite is Devcon and I usually have several big cans of the putty steel and the liquid steel which are the absolute best for important jobs when strength is required. But it isn't cheap. And I prefer to weigh the two parts to get the right mix ratio.

For small quantities I like the jb-weld because it's easy to mix at 50/50 and is quite forgiving.

For lower strength, I like minwax high performance wood filler. It's cheap, easy to use, and very forgiving on the mix ratio. But not very strong.

For general purpose work of all kinds, I keep a jug of Bondo Fiberglass Resin on hand. It's easy to mix, you can add fillers, and it sticks to darn near everything. You can get it darn near every place too - home hardware, Canadian Tire, Home depot, etc etc. You can use all kinds of different fillers and dyes too from fiberglass to steel or aluminium swarf. Lots of that available in your own shop I bet...... Just stuff the cavity full of loose swarf, pour in the epoxy, and wait.

Ive never tried that crystal clear stuff that Amazon sells but I bet it would work as well as the bondo. Someday I'll make a live edge table using that.
 

Janger

(John)
Administrator
Vendor
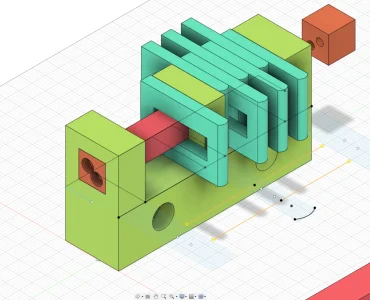
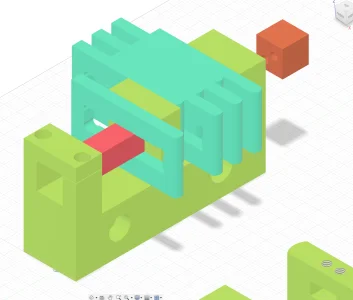
I had another idea I worked on yesterday. To make more room for the fingers I went up above the vise jaw. So now the vise jaw is a fat one 2" thick and the fingers rest on top of that. This frees up about 4.5" for the part. The part would be up higher and require some innovation to use parallels. The red bar is also now 0.75" square instead of 1x2".

1650207889431.png
 

Susquatch

Ultra Member
Administrator
Moderator
Premium Member
I had another idea I worked on yesterday. To make more room for the fingers I went up above the vise jaw. So now the vise jaw is a fat one 2" thick and the fingers rest on top of that. This frees up about 4.5" for the part. The part would be up higher and require some innovation to use parallels. The red bar is also now 0.75" square instead of 1x2".

View attachment 23171

I like it a lot John!
 

Susquatch

Ultra Member
Administrator
Moderator
Premium Member

Susquatch

Ultra Member
Administrator
Moderator
Premium Member

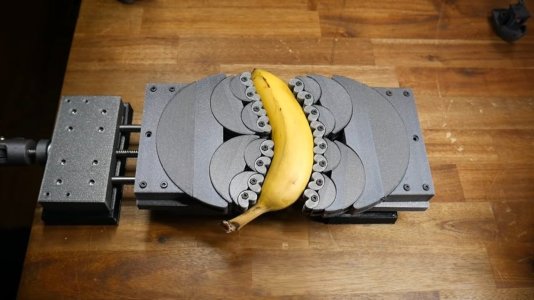
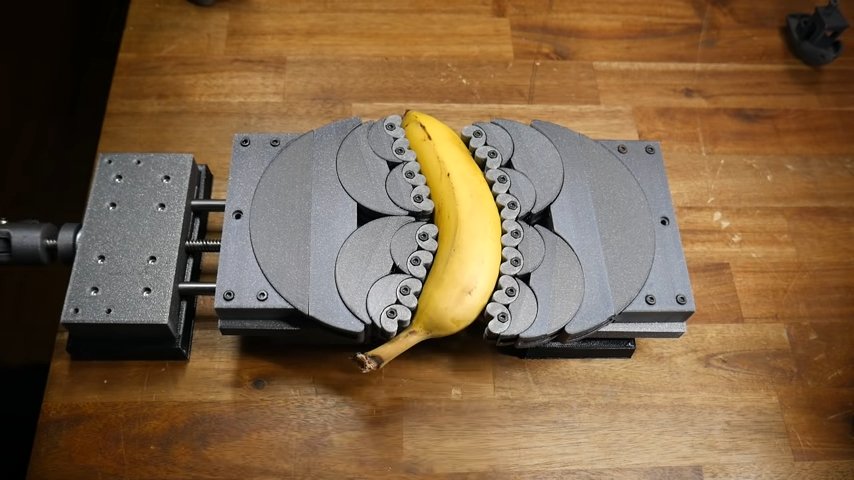
That has to be one of the coolest things I've ever seen. A Banana peeler would be so handy. I bet you could use the banana holder for other things too......

Seriously though, there are a lot of parts on parts on parts on parts on that thing. Gotta wonder how rigid it is. Then again, if it's only used for holding soft parts, who cares!

Very very cool!

Where did you find that?
 
Don't have one wish I did, saw a YouTube video of a restoration of one. Search for Fractal Vise, original design is actual old.

Apparently they hold extremely solid as it is equal pressure contact.
 

Susquatch

Ultra Member
Administrator
Moderator
Premium Member
Don't have one wish I did, saw a YouTube video of a restoration of one. Search for Fractal Vise, original design is actual old.

Apparently they hold extremely solid as it is equal pressure contact.

Thank you! Here is an article on it.


Very very cool!
 

Janger

(John)
Administrator
Vendor
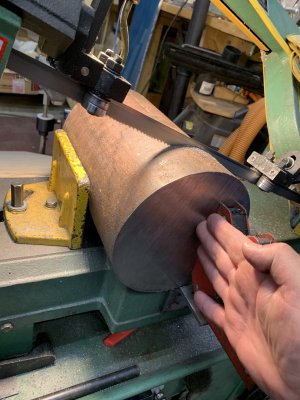
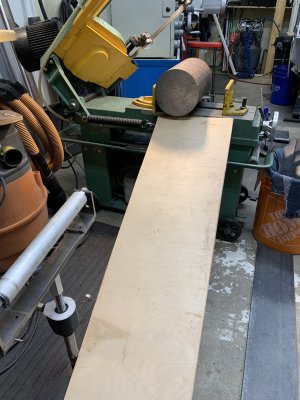
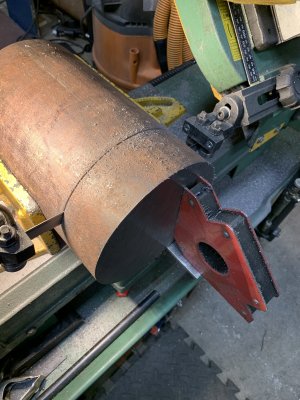
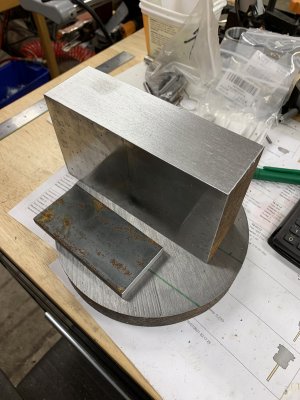
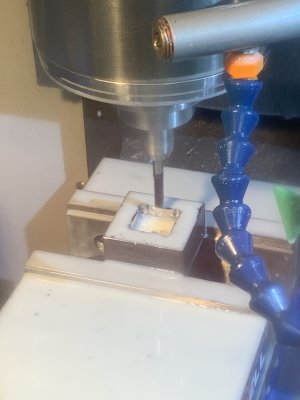
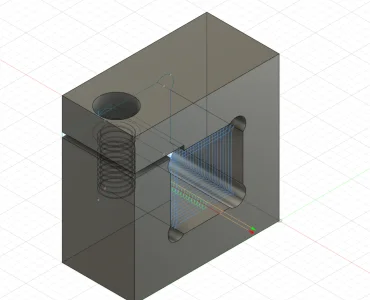
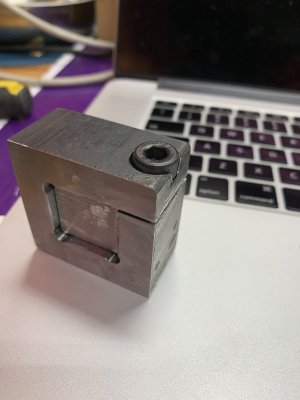
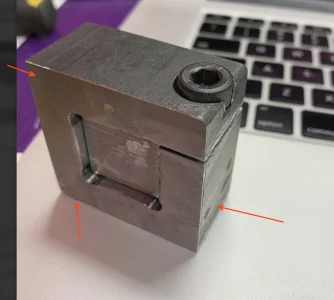
I got this test piece made. Even doing up the bolt as tight as I can the middle still slips by tapping with a hammer. The part is only clamping the middle in one tiny place - light is visible all around that spot. I could extend the saw slit into the back half. The walls are 1” wide and 1/2” thick. Ideas?
 

Attachments

  • A6A369D0-FBBA-4B25-8681-F00F5144DB13.jpeg
    A6A369D0-FBBA-4B25-8681-F00F5144DB13.jpeg
    317.7 KB · Views: 13
I got this test piece made. Even doing up the bolt as tight as I can the middle still slips by tapping with a hammer. The part is only clamping the middle in one tiny place - light is visible all around that spot. I could extend the saw slit into the back half. The walls are 1” wide and 1/2” thick. Ideas?
3 more holes (one in each corner) to allow the corners more flex which will allow the unit to clamp equally on all sides.

This way it will act more like a band.
 

Susquatch

Ultra Member
Administrator
Moderator
Premium Member
I got this test piece made. Even doing up the bolt as tight as I can the middle still slips by tapping with a hammer. The part is only clamping the middle in one tiny place - light is visible all around that spot. I could extend the saw slit into the back half. The walls are 1” wide and 1/2” thick. Ideas?

I think @Degen s suggestion will help, but maybe not enough. Fundamentally there are no forces to shrink the bottom or the left leg. And even the top leg will struggle on the left side. Bending will not close the gap at the legs.

I can't think of a way to rescue it beyond what @Degen suggests though. I'll sleep on it.
 

Janger

(John)
Administrator
Vendor
The real goal here is the clamping on the vise jaw of the orange 1x1x1 block. My original intent was to put set screws in the top and just push down on the orange block. @Dabbler thought it would be weak and suggested a clamping structure. Hence the test above. I could put set screws on two or three sides. ?

I just had another thought - the top could be a separate unit completely ie saw all the way across and then use two bolts one on each side at the top. maybe that is the simplest way.


1650207889431-png.23171
 

Susquatch

Ultra Member
Administrator
Moderator
Premium Member
Hey @Janger, I've gone to bed but noodling your problem. I've forgotten what it is you are trying to do here. Can you point me to the goal?

Even thinking on it for a while hasn't changed my view. Your setup is only clamping on the screw leg. All the other legs are way stronger than the screw and are not going to clamp anything. Even if they bent, the overall length will exceed remain the same. It really isn't like a band that slips. It's more like blocks that won't compress. And even if they could, the center block is weaker than they are so it will still be loose.

Even cutting slits all the way around (inside or outside) will not likely solve the compression/bending issue because of the square shape. But it will help.

You might gain significantly though by using two screws on an angle. Essentially pulling two V blocks together. That way each screw acts on two legs and all legs can be shortened to clamp the center block.
 
Top