• Spring 2024 meetup in Calgary - tentative date Saturday, April 20/2024. Other regions are also discussing meet ups. If you want one in your area get going on organizing it! discussion
  • We are having email/registration problems again. Diagnosis is underway. New users sorry if you are having trouble getting registered. We are exploring different options to get registered. Contact the forum via another member or on facebook if you're stuck. Update -> we think it is fixed. Let us know if not.
  • Spring meet up in Ontario, April 6/2024. NEW LOCATION See Post #31 Discussion NEW LOCATION

My next CNC project - a PrintNC router

ShawnR

Ultra Member
Premium Member
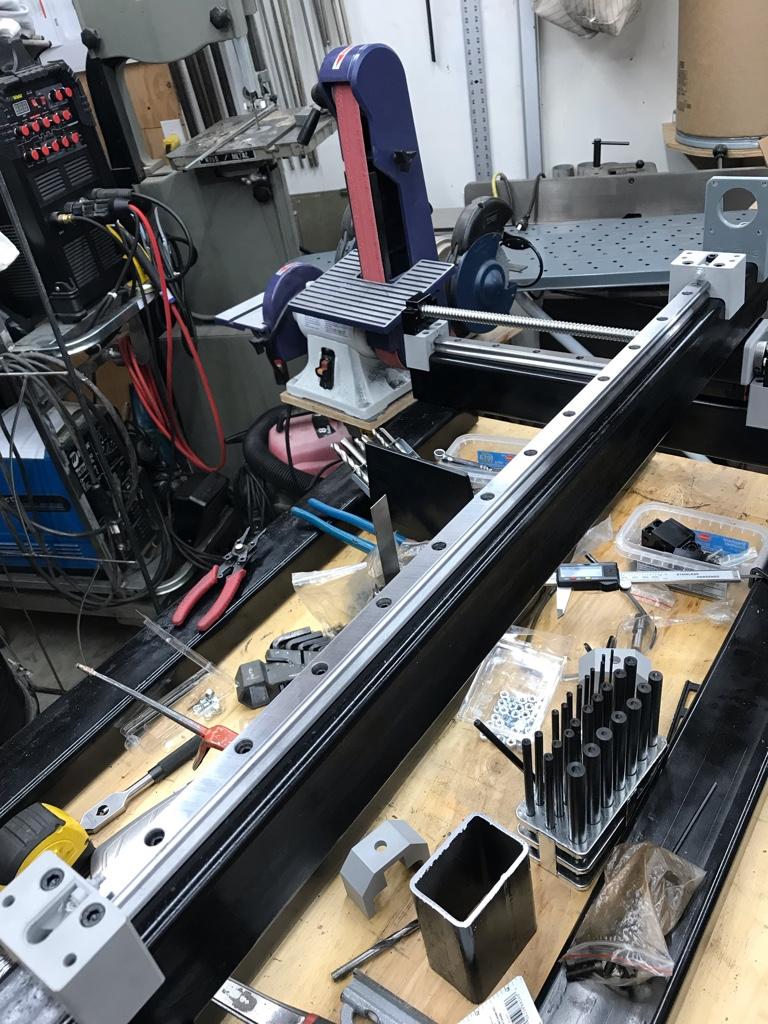
Big step today. I submitted the order for all the parts.
Linear rails
725mm HGR20 QTY (2)
425mm HGR20 QTY (2)
250mm HGR20 QTY (2)

Ball screws
825mm 1610 Ball Screw QTY (1)
525mm 1610 Ball Screw QTY (2)
300mm 1204 Ball Screw QTY (1)
HGW20CC QTY (6)

@David_R8 Where did you order these supplies from? McMaster or elsewhere? Sorry if I missed it. You might have mentioned it somewhere. I wondered about making my Plasma cutter with ball screws and 1x2 tubing instead of the gear rack. Since you mentioned that this router build could do plasma too, I am wondering if building a more rigid frame for my first build could do both router and plasma. But knowing nothing about this stuff, perhaps building the plasma like yours is worth the lessons learned in the process. It sounds, from your posts, you are learning very quickly.

I don't know much about either so just pondering out loud.
 

DavidR8

Scrap maker
Administrator
Moderator
Premium Member
Hey Shawn, because I have little experience in this realm I relied on the fellow who designed and set up an arrangement with an AliExpress store to provide the vast majority of the kit parts.
There's a metric frame size calculator where you input the size of machine you want and it generates an email to the store for a quote. It is pretty comprehensive; linear rails and guides, ball screws, steppers and drivers, spindle and VFD, breakout board for LinuxCNC but lacks cabling and some other minor parts.
Check it out here.
https://wiki.printnc.info/en/home
and here
https://threedesign.store/
 

Tom Kitta

Ultra Member
I will get one later on - these can indeed be had for around $50 or less. Depending on functions needed. It is an upgrade same as true motion control board.
 

DavidR8

Scrap maker
Administrator
Moderator
Premium Member
So back at the beginning of the thread I said I was going to use LinuxCNC to run this machine.
I’ve been watching and reading discussions where folks really struggle with configuration and setup.
I’d been leaning toward using grbl or grblHAL because of its simplicity and active development.

Yesterday a member of the PrintNC Discord group who is an electronics engineer announced that he had designed a new breakout board that uses a Teensy 4.1 controller board. And that he was going to have 10 boards made for beta testing.
I get board #2!
View attachment 20210608_-_PrintNC_Hal_2000_-_GRBL_HAL_Controller_Beta_-_Board_Rev_A1_Final.pdf
 

DavidR8

Scrap maker
Administrator
Moderator
Premium Member
Yeah, I'm actually quite excited because the prospects of LinucCNC were not that appealing.
 

Tom O

Ultra Member
Well I’ll be watching but you are quite a ways down the road with experience with this stuff I’ll grab my binoculars and try to follow along. :)
 

DavidR8

Scrap maker
Administrator
Moderator
Premium Member
That's rather amusing that you say that as I feel as though I'm looking at a map and trying to figure out the best route to St John.
 

DavidR8

Scrap maker
Administrator
Moderator
Premium Member
A minor update: I managed to get the frame bolted together. Went very smoothly due in large part to the excellent drill guides.
There are four 6mm x 10mm SCHS at each connection point for a total of 24 SHCS holding the frame together.
Next step is to locate and mount the Y-axis linear rails and lead screw bearing block mounts.
This is a screenshot of what I'm talking about. Arrows pointing to the lead screw bearing blocks mounts and linear rails.
printnc-v3.jpg
 
Last edited:

DavidR8

Scrap maker
Administrator
Moderator
Premium Member
Good progress tonight.
Got the bearing blocks mounted and the rails and roller slides on both Y-axis.
IMG_7554.jpg
The pieces sitting over the rail are to centre the rail on the steel.
IMG_7556.jpg
IMG_7557.jpg
And the roller block in place.
IMG_7559.JPG
Next I have to cut, drill and tap the steel risers that sit on the rollers and support the gantry.
Screen Shot 2021-06-10 at 9.40.07 PM.png
 
Last edited:

DavidR8

Scrap maker
Administrator
Moderator
Premium Member
Today’s progress.
Got the roller mounts cut and squared up. Hit the 70mm length dead on.
Drilled to match the roller guides and tapped to attach the X-axis gantry.
Got the ball screws in and the roller mounts on.
And cut the X-axis gantry to length and drilled the mounting holes. Still need to add the linear rails to the gantry.
e7e443a19964e6175a977d63059cde73.jpg

1d7fb23f772f00dfbed38bc9934fe38e.jpg

1b67ca92340fcf99bb47e1b8b54425d2.jpg

75284adeb1c64877b9083437b4673576.jpg

ab5faab126cce50835f672d6188a83df.jpg


The next thing to build is the Z-axis. It’s a complicated assembly so I’ll need to read the instructions a few times!
 

DavidR8

Scrap maker
Administrator
Moderator
Premium Member
Tonight’s progress was mounting the bearing blocks and upper and lower linear rails on the X-axis gantry.
Lots of careful measuring and drilling. And tapping. Thank goodness for spiral taps!
89d4ed11e97bcf42cd80c5a3745e8b1a.jpg

5a11349bf3598522660c772d4d43c4fc.jpg

e4a26e3493d72b6fa74983796ca41c45.jpg

49b081da6e2d268288cc666f25aef4bf.jpg

4a0200be933ffe060609e9c897f3388c.jpg
 
Top