That was the saw at Metal Supermarket.
Though mine also cuts that straight. 😀
Ohhhh..... you said the MSM swear word. You had better go hide for a bit now😛
That was the saw at Metal Supermarket.
Though mine also cuts that straight. 😀
Ohhhh..... you said the MSM swear word. You had better go hide for a bit now😛
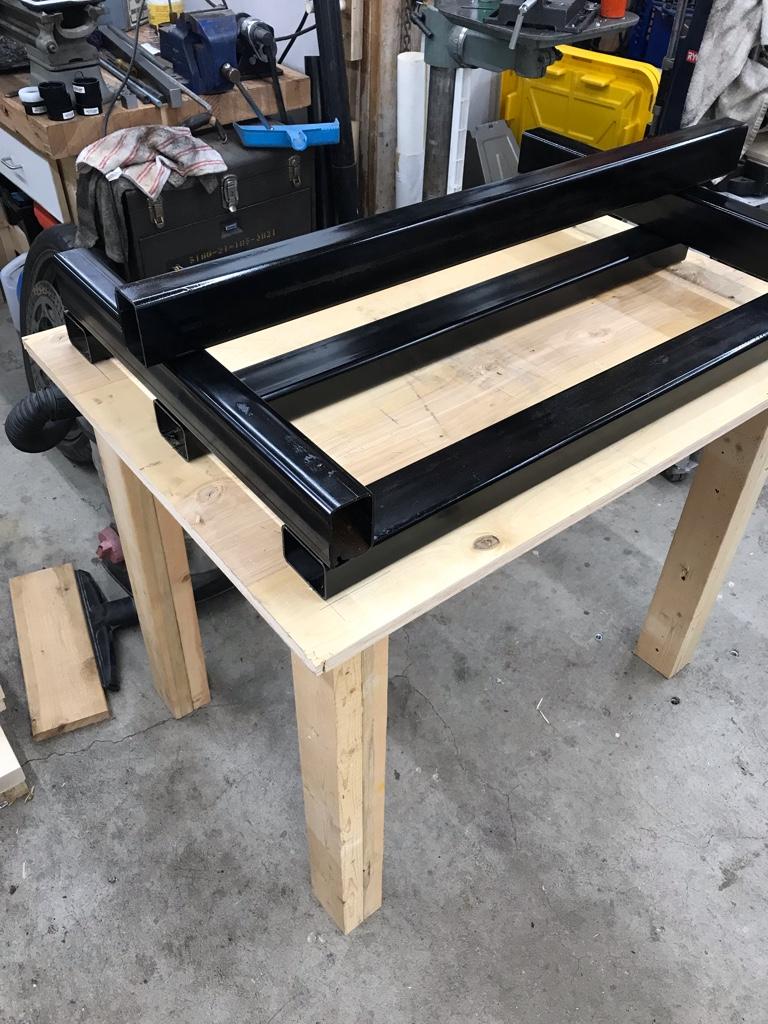
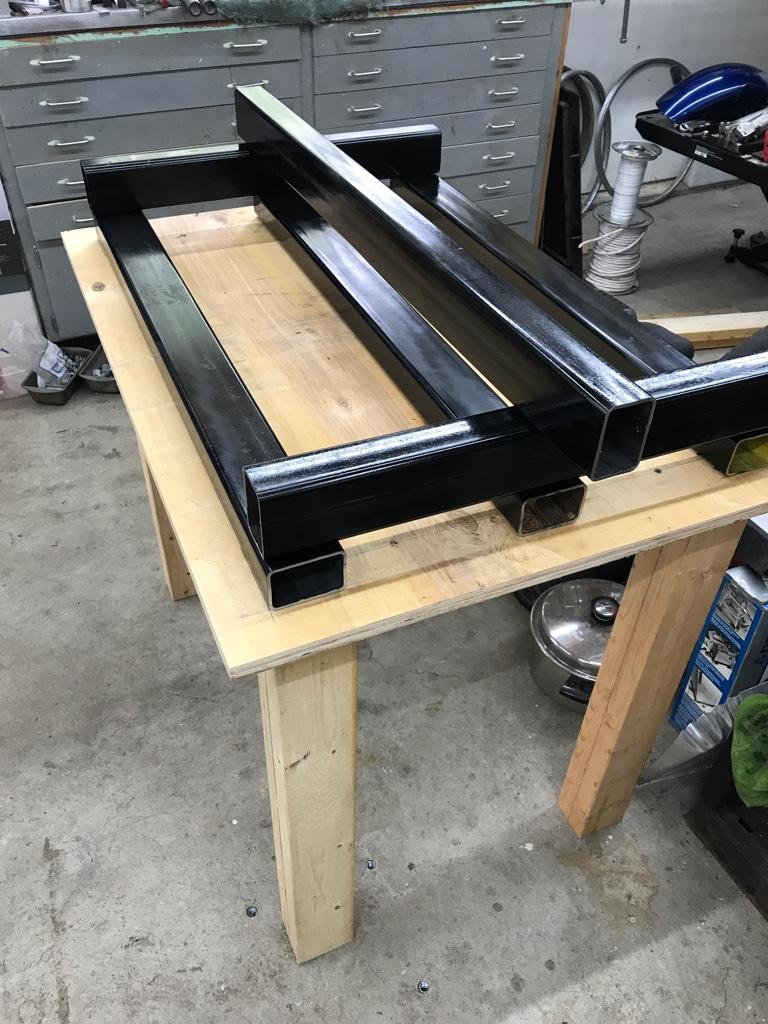
That's a very fair question. I don't want to lose the manual aspect of the mill. My plans for the CNC router are to make wooden type for printing and the odd aluminum piece like these.This might be a dumb question, but why do you not just add CNC to your mill? You would have the rigidity, and the CNC control. Or are you looking to go bigger than your mill will allow?
Just curious.

Oh no doubt about that... the LinuxCNC curve is pretty near vertical for me.Reasonable answer. And there is always the "There is so much to learn in this kind of project"
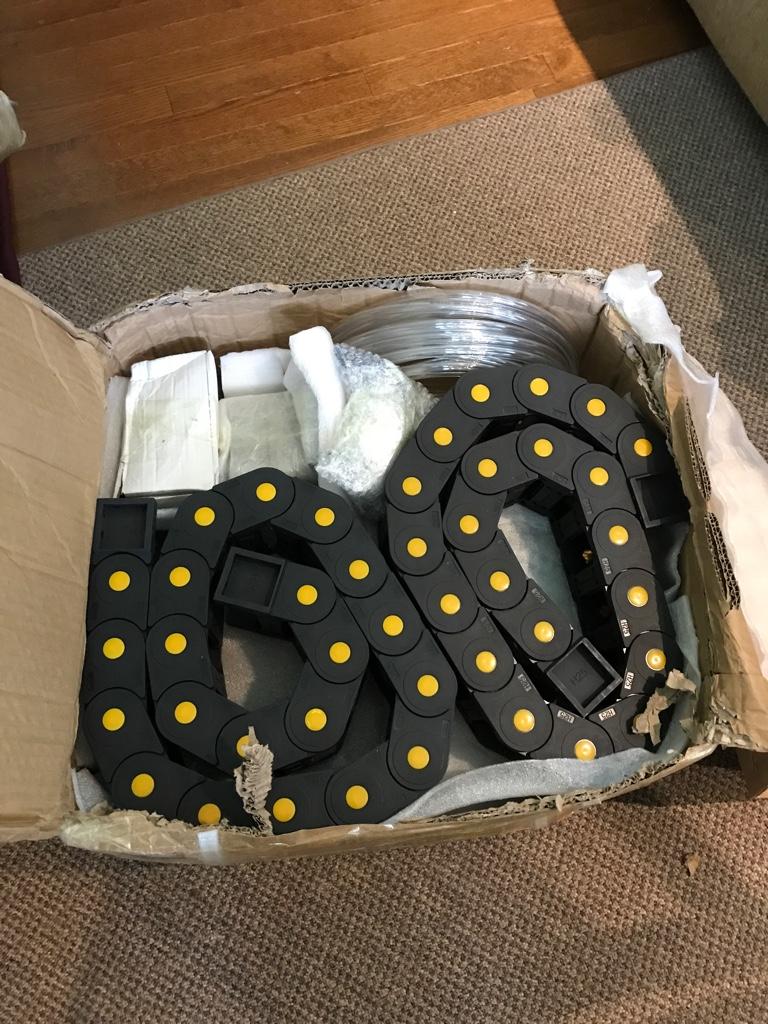
I got most of my parts as well - I am waiting for ball screws now.