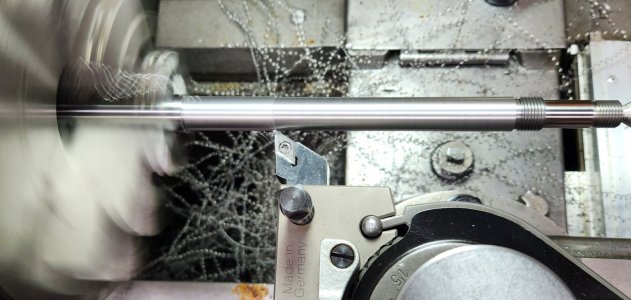
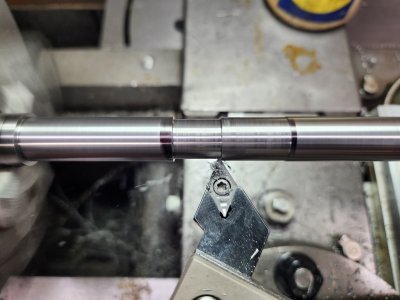
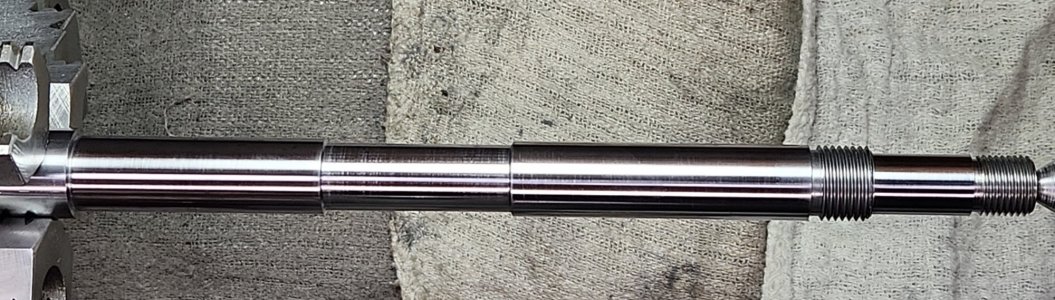
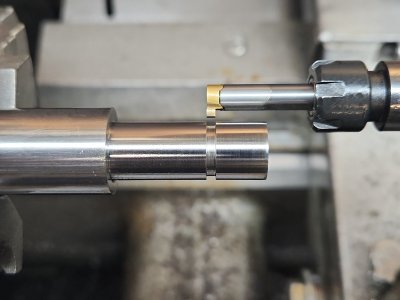
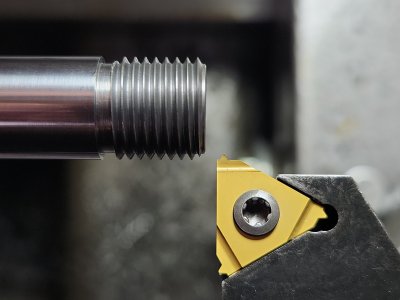
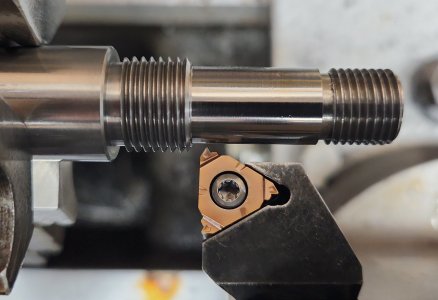
Once the trailing flank is cleaned up, I can start advancing the compound to the right, working on the leading flank, to widen the groove of the thread, thereby decreasing the pitch diameter, measuring over 3-wires to get the correct pitch diameter.
Genuinely beautiful Stel.
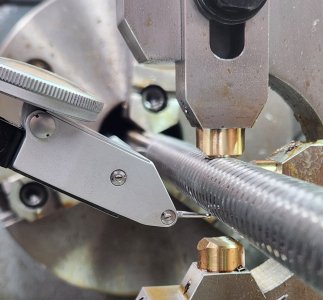
Just curious, did you notice any difference in the swarf as you traversed the length of the screw from right to left - not initially, but as you finished up?

 Let me rephrase that.