I'm pretty stoked!Your lathe looks unused. My flaking shows wear - nice get!!!!
Really appreciate all your assistance
I'm pretty stoked!Your lathe looks unused. My flaking shows wear - nice get!!!!

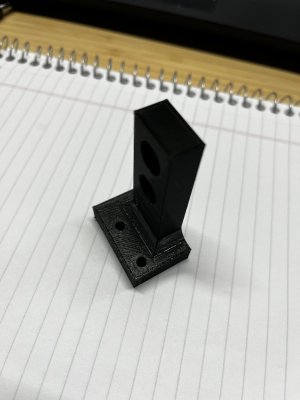
You've done a hole bunch on that already.Making progress on the counter shaft bracket.
Took me ages to make the rough cut on the hole.You've done a hole bunch on that already.
I don't know. Kind of bor(e)ing.Nice progress!
Thanks Rudy! I’m definitely trying to do a good job.That bracket will be better than new from factory. Nice job.
Man does that look like a nice piece of work! Is that a 2-4-6 block I see? A piece of kit I shall one day acquire...
Thanks John, appreciate it!Man does that look like a nice piece of work! Is that a 2-4-6 block I see? A piece of kit I shall one day acquire...
Thanks John, appreciate it!
Those are just 123 blocks. The interior dimension between the pulleys just happens to be 3" which is super convenient.
I might tack it where the blue circles are:Looks good, once bolted up are you going to tack all the pieces together just so nothing moves? I think I would v all the .500 joints and weld them. That way there is pretty much zero chance of warpage taking things out of alignment and it will stay aligned.
Thanks John. It's basically 6" long x 3" tall x ~3" at the narrow end x 4" at the wide end.Boy, it looks WAAAAY bigger than it is then. That's yet another compliment!
