• Scam Alert. Members are reminded to NOT send money to buy anything. Don't buy things remote and have it shipped - go get it yourself, pay in person, and take your equipment with you. Scammers have burned people on this forum. Urgency, secrecy, excuses, selling for friend, newish members, FUD, are RED FLAGS. A video conference call is not adequate assurance. Face to face interactions are required. Please report suspicions to the forum admins. Stay Safe - anyone can get scammed.

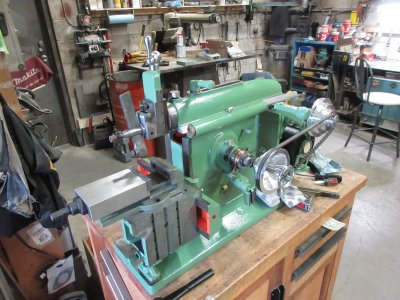
Ammco 6" Metal shaper

Got to love the humor in the posts above. And what is wrong with 3 lathes? I have my 5L Harrison, 7ML Myford and wait for it... A Hunter BL500 disk and drum brake lathe.

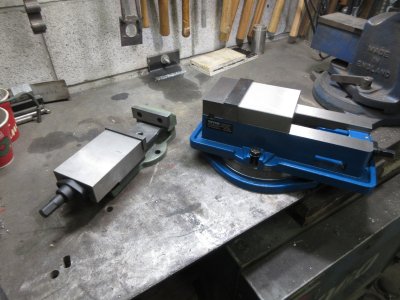
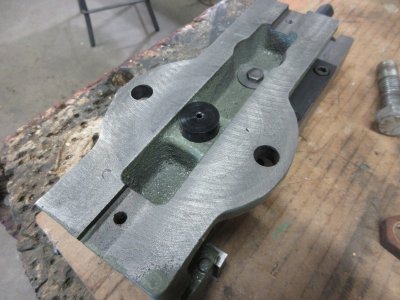
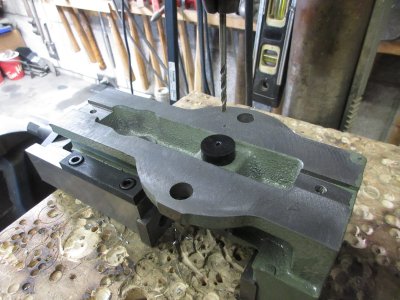
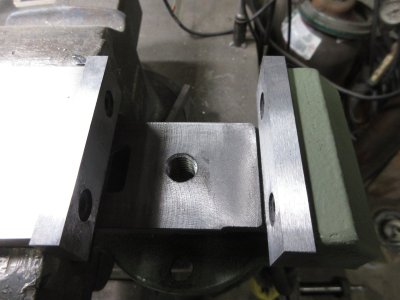
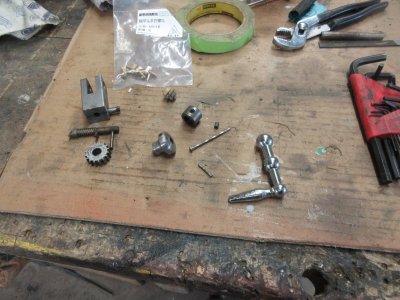
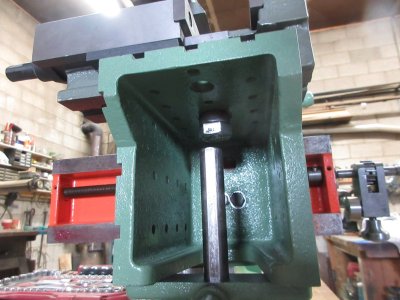
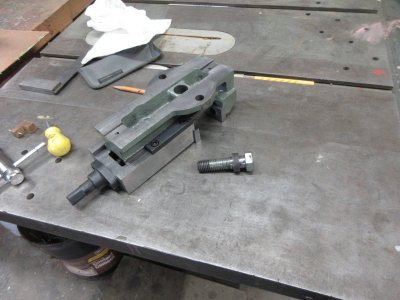
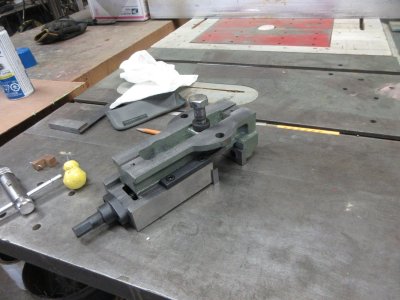
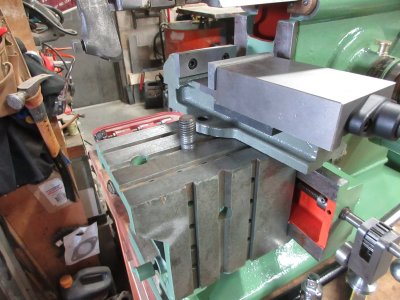
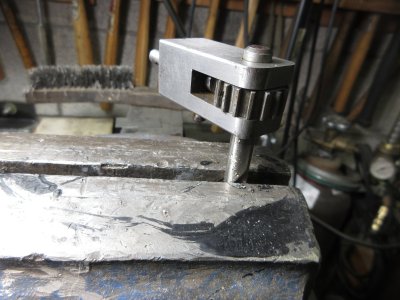
Continuing on with the restoration. My shaper did not come with a vise so I thought, I will order a 4" vise on line only to find out it is a monster, so I ordered a 3 1/4" vise that only opens 2.265". Still huge. In an effort to salvage that vise I removed the base from it and adapted it to the Ammco table as follows. I turned a centre bushing from Acetal rod with a 1/8" pilot hole. Then drilled and tapped for 5/8" x 11 threads. Still a bit large but usable and I can swivel the vise. With that complete I moved on to the table advance hardware. Not OEM, but rather a start from the previous owner that needs a bit of work to see it come to a working condition.

TonyK.

Grimsby Ontario Canada.

IMG_4955.JPG
IMG_4952.JPG
IMG_4953.JPG
IMG_4954.JPG
IMG_4956.JPG
IMG_4957.JPG
 
Fortunately, as of today, mine still has the vise. Hopefully, that will help me adapt something for an indexer and rotary table.

If you get time, I'd love a photo or two of that stud arrangement.
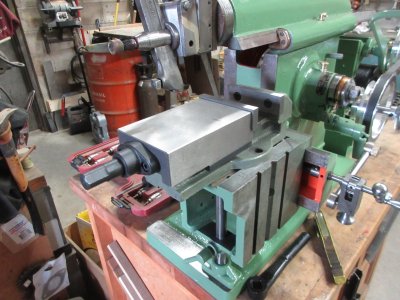
 
I bought a sorta 4" vise like object from BusyBee on sale for my drill press, it was too big, so I put aside. When I really looked at for my shaper , it was way out. It had been made on a shaper in China.
 
Fortunately, as of today, mine still has the vise. Hopefully, that will help me adapt something for an indexer and rotary table.

If you get time, I'd love a photo or two of that stud arrangement.
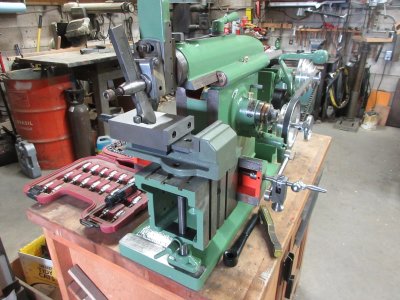
It is a simple as it gets. A 5/8"x 11 pitch 3 inch long bolt. The spacer on the bottom of the table is there so that the bolt does not protrude through the bottom of the vise. The hole on the table is size on at .625".
IMG_4988.JPG
IMG_4989.JPG
IMG_4990.JPG
IMG_4991.JPG
IMG_4992.JPG
IMG_4993.JPG
IMG_4994.JPG


TonyK.

Grimsby Ontario Canada.
 
A 5/8"x 11 pitch 3 inch long bolt. The spacer on the bottom of the table is there so that the bolt does not protrude through the bottom of the vise. The hole on the table is size on at .625".

So the bottom of the vise is threaded 5/8-11?
 
So the bottom of the vise is threaded 5/8-11?
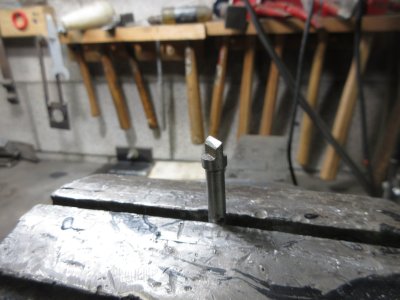
Yes 5/8"-11. I suppose I could have used another bolt size and thread pitch, then bush down, but seeing that the table hole is .625" I drilled and threaded the vise accordingly.

TonyK

Grimsby Ontario Canada.
 
Yes 5/8"-11. I suppose I could have used another bolt size and thread pitch, then bush down, but seeing that the table hole is .625" I drilled and threaded the vise accordingly.

TonyK

Grimsby Ontario Canada.
It seems odd to only have one hold down bolt especially on a, shaper where the primary forces are parallel to the table. But if it works, it works!

I recall reading that shaper vises all swap the fixed jaw vs a normal vise. Maybe for that reason?
 
Certainly, there is a lot of force. Besides being much huskier than a couple of the small hold down bolts, it gives the vise a pivot with out adding to the height and thus the leverage. Smart.
 
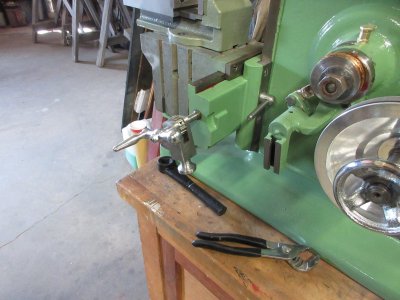
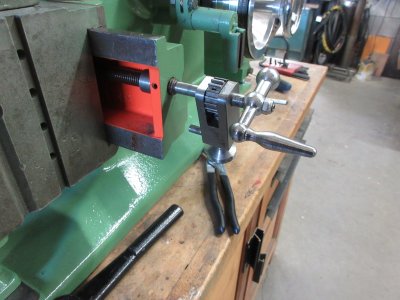
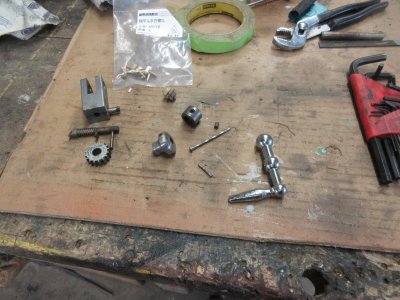
As stated a few posts back the ratchet advance mechanism was missing from this machine. It looks like the previous owner started on making the ratchet, but only got so far and then sold the machine to me in 2012.

I will start with the parts that were supplied with the machine, they were a bit rusty so I took it all apart and cleaned each part. I also purchase a hand crank from China.
IMG_4957.JPG


There are problems in that the pawl did not want to jump over teeth nor advance when I tried to operate it by hand on the X axis screw.
IMG_4958.JPG


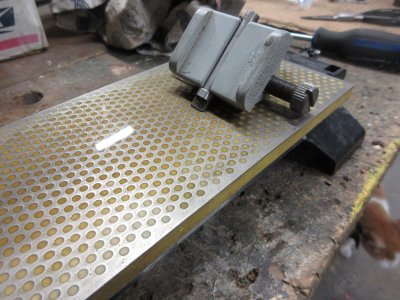
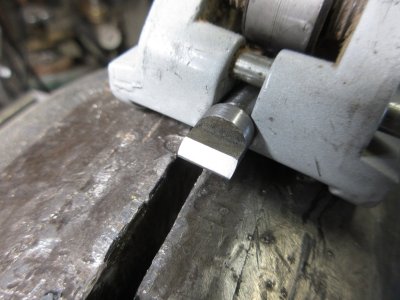
First operation was to true the pawl face on my 800 grit diamond lap using a wood chisel, hand plane blade sharpening jig.
IMG_4959.JPG
IMG_4960.JPG

The next problem was that the teeth on the ratchet teeth were square to the axis and needed a bit of rounding to allow the ramp on the pawl to lift up against the spring when turned. The spring was too long and exhibited too much force for the pawl to lift up and was shortened.
IMG_4961.JPG


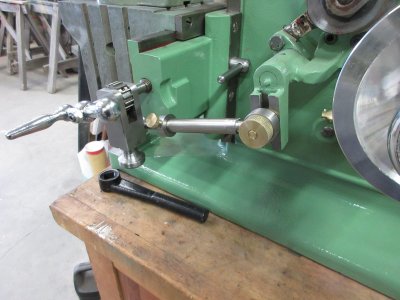
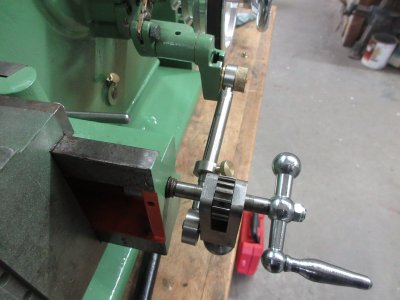
At this point I removed the X axis screw and turned down the end to allow me to install a hand crank then threaded the end and used a self locking nut to secure the handle to the X axis screw. What had been installed was a section of 3/4" hex stock that was drilled and pined to the end of the screw.
IMG_4963.JPG

IMG_4964.JPG

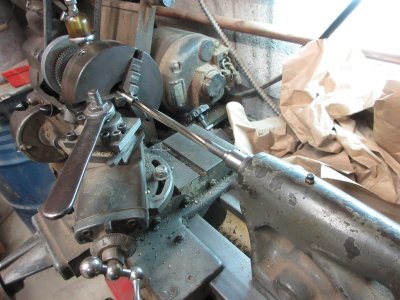
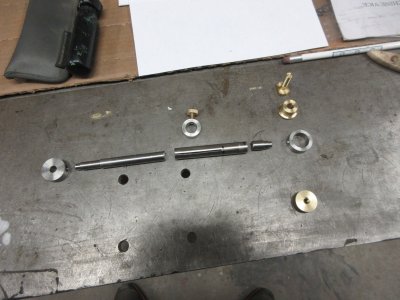
Now to make the connecting rod. A section of stainless steel tube was reamed on my Myford ML7.
IMG_4965.JPG

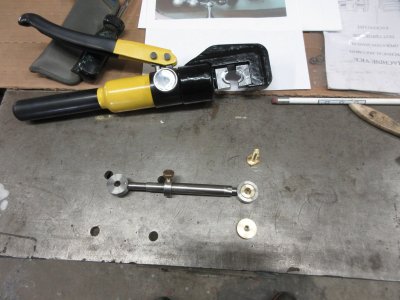
I then made up the following parts from brass and stainless steel. I could have TIG welded the parts, but the fits were all good and the heat from the welding would have distorted the parts and fits so I pressed the parts together having to stake at the ratchet part of the connecting rod I also used my 8 ton electrical hydraulic crimping tool to set the rod to the tube at the driven end.

IMG_4966.JPG
IMG_4967.JPG
IMG_4968.JPG
IMG_4969.JPG


TonyK.

Grimsby Ontario Canada.
 
That sure is a lot nicer looking than my 100 tooth ratchet head and a couple of ball joint ends. When I got it ,it used an old fashioned, sheet metal, ratcheting box end . Not even a fancy Gearwrench. You did nice job.
 
View attachment 61318View attachment 61320
I can't add pictures to a pm....
Pretty sure that a flat rate box will be cheapest, at which point I am thinking that I will cut off 4.5" so you have room to screw up once. ;)
Then when you nail it the first time you can send the other half to susq if his is in need. ;) of course, if you need the second piece he'll have to make his own deal with the devil. :p
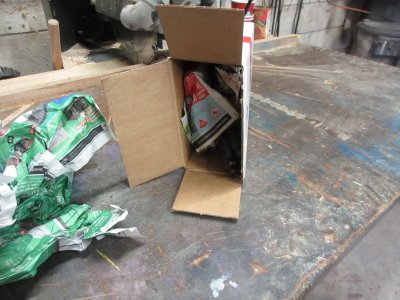
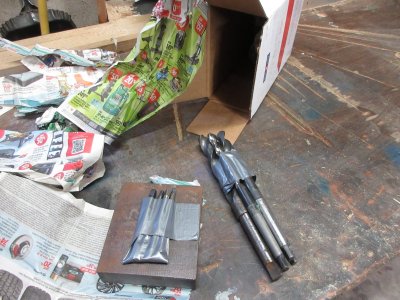
There was a box in the mail box today, with a chunk of iron wrapped like a large piece of meat along with some metric drill bits and taps. Totally unexpected, thank you so much. It will be awhile before I get to machining this part. I want to get the shaper completed before I go in another direction.

TonyK.

Grimsby Ontario Canada

IMG_5040.JPG
IMG_5041.JPG
IMG_5042.JPG
 
Back
Top