• Scam Alert. Members are reminded to NOT send money to buy anything. Don't buy things remote and have it shipped - go get it yourself, pay in person, and take your equipment with you. Scammers have burned people on this forum. Urgency, secrecy, excuses, selling for friend, newish members, FUD, are RED FLAGS. A video conference call is not adequate assurance. Face to face interactions are required. Please report suspicions to the forum admins. Stay Safe - anyone can get scammed.
  • The 2026 Calgary Area Meetup is set for Saturday May 30th at 10am. The signup thread is here! Robinhood has graciously offered to host the meetup again this year. Please note that you MUST RSVP to the notice linked above if you wish to come.

Working on my South Bend 9C

Made an error and went a little too aggressive on the taper so I think my walls are a bit thin. I'll see if I can carry on but it might get scrapped.

Next I'll see if it can figure out if I can concave the end or leave that for the wood lathe along with the wet sanding.
 

Attachments

  • PXL_20251215_022137962.jpg
    PXL_20251215_022137962.jpg
    975.3 KB · Views: 8
  • PXL_20251215_022158144.jpg
    PXL_20251215_022158144.jpg
    2.2 MB · Views: 8
Hi Michael, Guys,

On the basis that the tool holder has a flat side holding the tool and setting the holder square by using the chuck face works very well. To get any particular angle an angle block can be used. I have blocks for the angle between barrel fins where the top slide is used to create the taper on the fin. These blocks are only a few degrees.

This is where a form tool comes in, once the form tool has been made it would be set against a reference and moved forward a set amount and each and every piece would be the same shape and diameter.

In the case of the shell of the pen, it could be drilled, set on a mandrel and formed. Effectively completing the shape in one go.
 
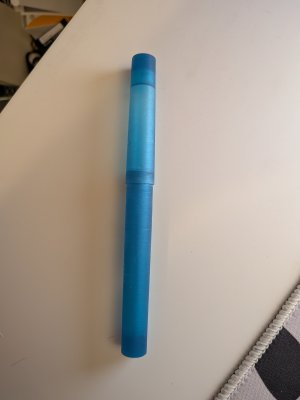
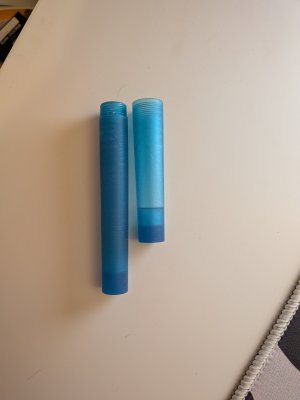
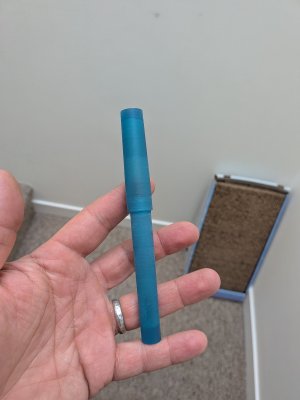
That's two of three pieces produced. Much better results with the crosslide taper this time. Don't mind the finish, it'll get wet sanded. Considering doing the last component in brass even...

Ironically the taper pin fell out of my tailstock handle and has disappeared! (Hopefully only temporarily)
 

Attachments

  • PXL_20251216_032807645.MP.jpg
    PXL_20251216_032807645.MP.jpg
    758.8 KB · Views: 4
  • PXL_20251216_032817638.jpg
    PXL_20251216_032817638.jpg
    1.6 MB · Views: 4
Less happy about the failed pieces so far, but I'll get over it 😉

Love what @JustaDB said above.

But I'd add that you must actually analyse your failures to get the most learning out of them. This applies to you, your know-how, your skills, the material, the design, and of course your machines and tooling.

I rarely get disappointed. When something doesn't work out it's a chance to learn something new and my favorite hobby of all is learning. To be bluntly honest, the opportunity to learn new things is what I love most about machining.

There is also an abundance of amazing teachers on this forum.
 
As the other have said, keep at it! Also remember, now you have smaller pieces for other projects.
A mistake can be fixed, a f@#$up often becomes another project, but learning involved can’t be bought.
I generally haven’t been wrong or made a mistake when I get up in the morning, and as I get older some things just make me laugh.
 
Oh there is no disappointment here, I'm enjoying figuring it out (although mistakes do usually mean a loss of material which is very annoying).

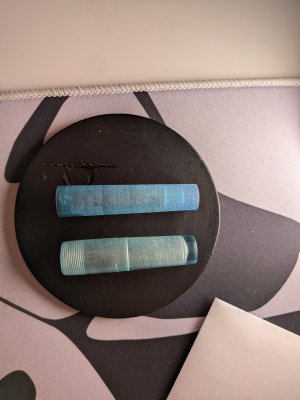
3rd time was the charm for this piece! Now I'm trying to make the final part, but out of brass, which is new for me. I really do need to get setup for grinding HSS...
 
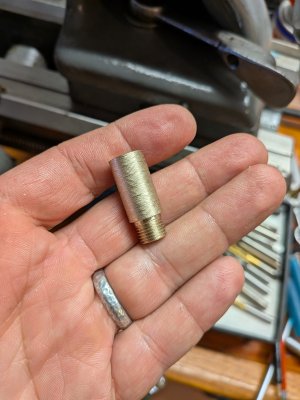
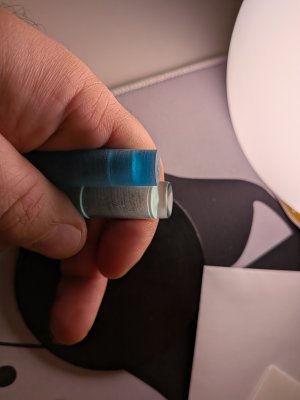
Still need to do some of the internal shaping and of course more external work, but my first metal piece!

Nice! I bet that feels great!

How did the barrel get cross-hatched like that?

I notice a fairly big threading gap at the shoulder. A trick for this is to thread as normal, stop the power but don't release the half nut. Continue to thread by cranking the chuck manually. I just stick a chuck wrench without the T-handle into the chuck and then I turn it by hand until it cuts right up to the shoulder. Poop shoot puckering is not required.

The normal way to handle this is to cut a thread relief groove at the shoulder. Thread into the groove and then release the half nut.
 
@Susquatch

Just from whatever emery cloth I had. It's going to get shaped more but I wanted to knock down the spotty finish when I was dry testing the fit.

The threads are die cut, and my die has a big old shoulder on both sides. So that's a thread relief flat rather than a relief groove 😉 Definitely want to find a better die for this particular dimension but no luck yet.
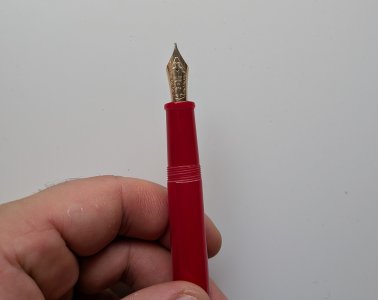
The final shape will be something like the attached.
 

Attachments

  • PXL_20251025_181554143.jpg
    PXL_20251025_181554143.jpg
    395.2 KB · Views: 4
The threads are die cut, and my die has a big old shoulder on both sides.
I see. I thought you single pointed them.

I think at least one of the members there has a surface grinder and could get rid of the shoulders on both sides. Then you can use the normal start side to cut the thread and then flip the die to cut a complete thread right to the shoulder.

Alternatively cut the thread relief afterward. It is kind of contrary to the purpose but it would improve the cap fit and nobody would ever know.
 
Back
Top