
-
Scam Alert. Members are reminded to NOT send money to buy anything. Don't buy things remote and have it shipped - go get it yourself, pay in person, and take your equipment with you. Scammers have burned people on this forum. Urgency, secrecy, excuses, selling for friend, newish members, FUD, are RED FLAGS. A video conference call is not adequate assurance. Face to face interactions are required. Please report suspicions to the forum admins. Stay Safe - anyone can get scammed.
-
The 2026 Calgary Area Meetup is set for Saturday May 30th at 10am. The signup thread is here! Robinhood has graciously offered to host the meetup again this year. Please note that you MUST RSVP to the notice linked above if you wish to come.
You are using an out of date browser. It may not display this or other websites correctly.
You should upgrade or use an alternative browser.
You should upgrade or use an alternative browser.
Tips/Techniques What are you printing today?
- Thread starter djberta
- Start date
Tips/Techniques
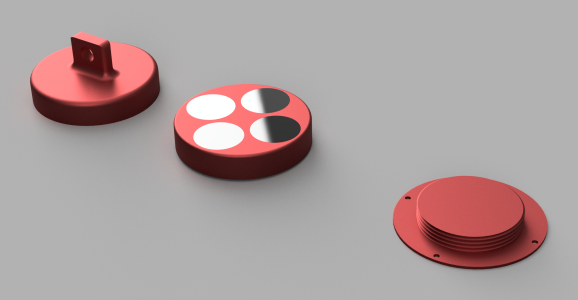
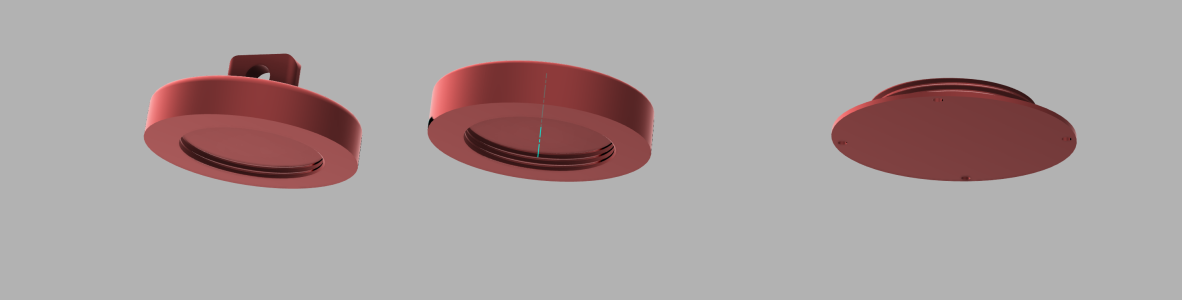

Here is the 3dmf file for this verison with 50mm back diameter and M2 screw holes (at 0º, 90, 180, 270). I have not printed it or verified anything. The lug hole is 6.8mm in diameter. Magnets are assumed to be 18mm diameter by 3mm thick.
Attachments
Last edited:
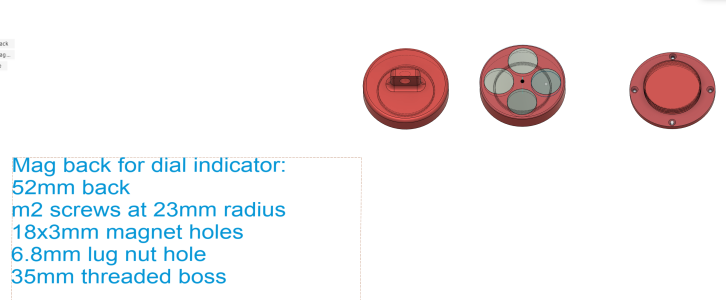
I obviously missed that enhancement. Thanks for mentioning.If you zip the file you can upload any format.
Test zipped STEP file
Attachments
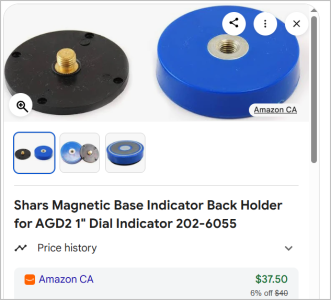
My gut feel is yes. The magnet attachment on my dial back is pretty chunky, like the picture in #241. About the full 2" diameter of dial and +0.25 thick. It sticks pretty good on my lathe bed but I have had similar sized magnets on other hardware that are very weak for the same magnet volume so obviously come in different strengths. I've noticed much the same with smaller 'fridge' magnets. Supposedly cast iron has about the same magnetic properties as steel so maybe its being influnced by the Bondo & paint. Anyway easy enough to try some test prints with various thickness or stackups.I changed the magnet holes to fit two 18x3mm magnets in each. I think it probably needs more magnet strength.

gerritv
Gerrit
Printing files for a rack tool changer for my ER20 CNC spindle. Files purchased from https://benchworks.co.za, YT here on operation:

gerritv
Gerrit
just watching Alexander Chapppel's "Everything I know about 3D printing" . While he can be a bit much to take in, this video is chock full of very practical advice for 3D printing. It has an index!
One gem is his Label Maker, you get 3D print files for labeling parts boxes of various sizes. You keep Adding to Plate until you fill the bed plate, then print them all in 2 colours. Raised or Recessed lettering. Very thin so not a lot of printing time. It helps of course if you have a dual nozzle printer, I will be testing this out on my X2D. Also a great way to use up the last 3m of filament on a spool 🙂
One gem is his Label Maker, you get 3D print files for labeling parts boxes of various sizes. You keep Adding to Plate until you fill the bed plate, then print them all in 2 colours. Raised or Recessed lettering. Very thin so not a lot of printing time. It helps of course if you have a dual nozzle printer, I will be testing this out on my X2D. Also a great way to use up the last 3m of filament on a spool 🙂

I have been doing similar for years, Chep had several videos years ago on making tags.. Due to the letters being raised you can pause at height in your slicer. Then with a single color printer change from the base color to the letter color. I make Christmas tags this way. I put the date on them and the kids really like to collect them. They can be very thin. It is a great way to make tags for organizing stuff as the tags can be stuck on with double sided tape and or hot glue. Then if you don't need it take em off. I made some for a bunch of friends tool boxes to organize their drawers. Another way to print tags with out pausing or having dual color is to use mixed color filament and fill in the bed with tags, as the filament color changes by length the tags do as well and it can lead to some color change by height.just watching Alexander Chapppel's "Everything I know about 3D printing" . While he can be a bit much to take in, this video is chock full of very practical advice for 3D printing. It has an index!
One gem is his Label Maker, you get 3D print files for labeling parts boxes of various sizes. You keep Adding to Plate until you fill the bed plate, then print them all in 2 colours. Raised or Recessed lettering. Very thin so not a lot of printing time. It helps of course if you have a dual nozzle printer, I will be testing this out on my X2D. Also a great way to use up the last 3m of filament on a spool 🙂
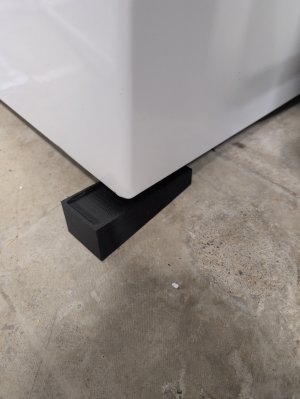

Engmaxx
(Michael)
Very cool! What kind of infill percentage did you use?Timkercad to draw it up. Printed a tpu foot for the angle part of the floor by our wash machine.

Doggggboy
Ultra Member
TPU is kind of amazing. Feels like it should fall apart the next day but lasts forever.Timkercad to draw it up. Printed a tpu foot for the angle part of the floor by our wash machine.
Printed a carrying handle for a 4 litre water jug for the wife and it's still going strong a year later. (My wife breaks everything)
Printed a washer for the kitchen tap sprayer head 3 years ago. Still not leaking.
Printed collar tags for the dogs that the collar slides through rather than the dangly ones. Indestructable.
Just remember to put 4 walls on everything and TPU seems to last forever.
Last edited: