• Scam Alert. Members are reminded to NOT send money to buy anything. Don't buy things remote and have it shipped - go get it yourself, pay in person, and take your equipment with you. Scammers have burned people on this forum. Urgency, secrecy, excuses, selling for friend, newish members, FUD, are RED FLAGS. A video conference call is not adequate assurance. Face to face interactions are required. Please report suspicions to the forum admins. Stay Safe - anyone can get scammed.
  • The 2026 Calgary Area Meetup is set for Saturday May 30th at 10am. The signup thread is here! Robinhood has graciously offered to host the meetup again this year. Please note that you MUST RSVP to the notice linked above if you wish to come.

Tips/Techniques What are you printing today?

Tips/Techniques
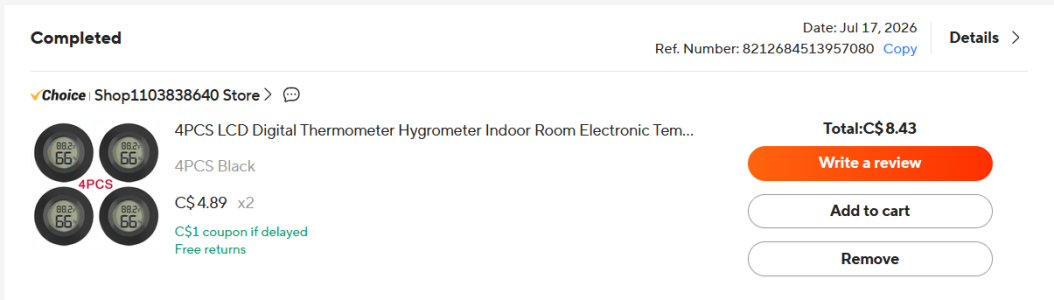
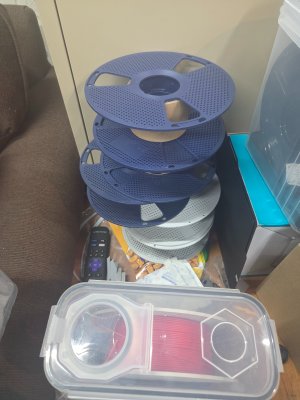
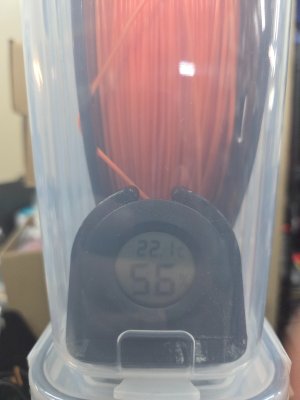
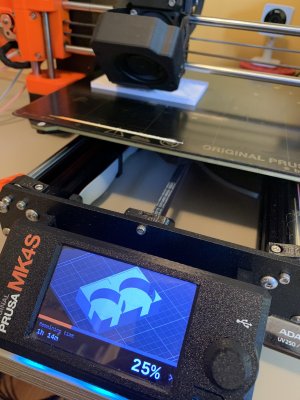
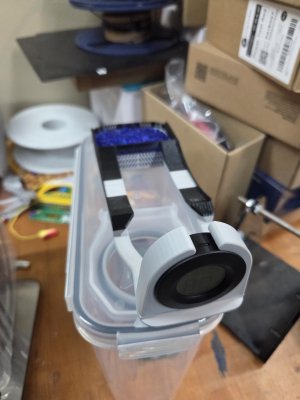
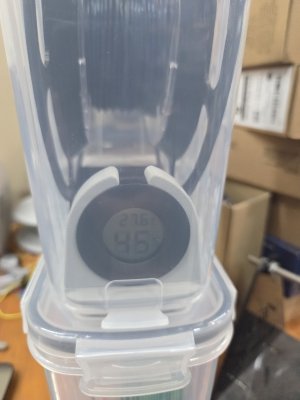
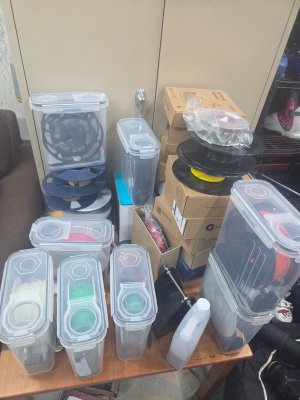
I'm finally printing some cereal box desiccant holders. Lucked out on some really cheap aliexpress Hygrometers for $4.83/4 and found this model on maker world. Nice model, everything fits and looks great. Using up my partial rolls of PETG hence the colour miss match, but it's not a beauty contest. PLA would work fine for this too, and I'll probably print in that as well just to use up some old rolls. Been in purge mode around here the past few weeks cleaning up, getting rid of stuff is therapudic right now......
20260801_072443.jpg
20260801_072539.jpg

2 down, 6 more to go.

1785585683240.png
These were the hygrometers I bought, but I see they're now up to $14/4 so I guess I got lucky.
 
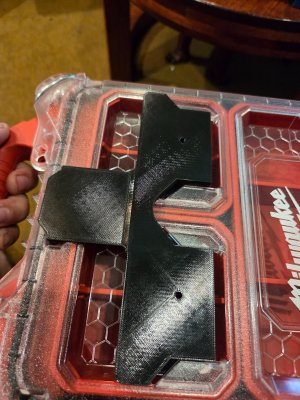
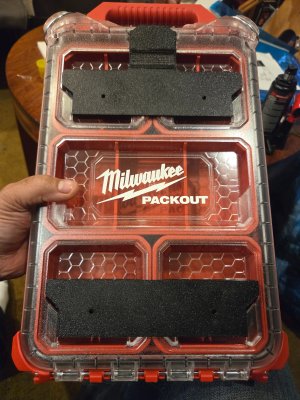
Today's rainy day print is some packout experimenting.

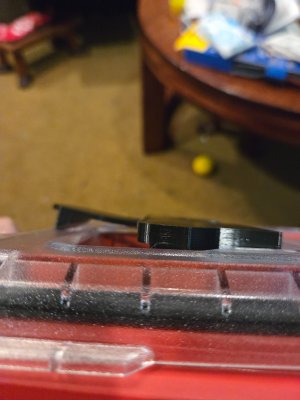
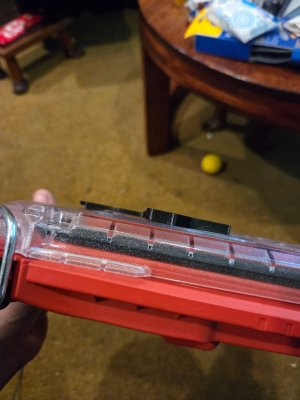
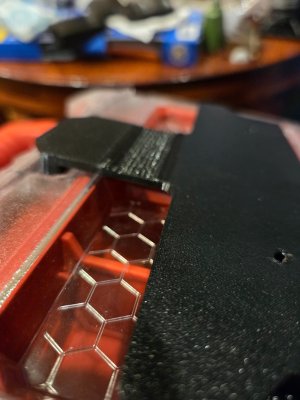
I've found cleats that go in the slots, I've found a small box with snaplock that locks into the female tops, but so far no simple generic locking "plate" where I could attach and integrate my OWN storage solutions. So I designed my own with a simple flexure snap .
20260802_142205.jpg
20260802_142158.jpg
20260802_143335.jpg

Still needs some work, but it's a promising start. I have some work to do refining the snap feature and will try another one. But this one is useable.

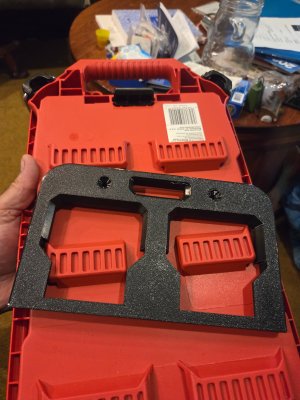
Also printed the other side a couple weeks ago.
20260802_142216.jpg

I didn't design that one, just found a larger plate on grabcad, and shrunk it down so I could print it and added the screw holes.
 
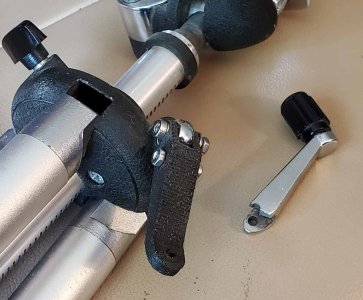
Printed out of Carbon Fibre. Initial experiments with PLA and PETG always had it cracking from the torsion in the U joint. Adding the screw seems to have helped. Now just to create a new knob or drill out the rivet on the old one.

TripodCrank.jpg
 
Adding the screw seems to have helped.

If you can post some photos of that U joint and the screw you added that seems to have helped, maybe I can suggest some improvements.

I see you decided not to mill that handle after all. Prolly too much work. That's why I suggested flat bar stock instead.
 
If you can post some photos of that U joint and the screw you added that seems to have helped, maybe I can suggest some improvements.

I see you decided not to mill that handle after all. Prolly too much work. That's why I suggested flat bar stock instead.
Well it turns out the first print (there always seems to be more than one) had several issues and if I'd actually machined to those dimensions it would have been a waste of time.

The original is cast so just using bar stock would already be stronger.

I ran out of the original PLA_CF in the middle of the print so changed to PAHT_CF which ended up not bonding to the PLA_CF. The other PETG and PLA also split at the same points.

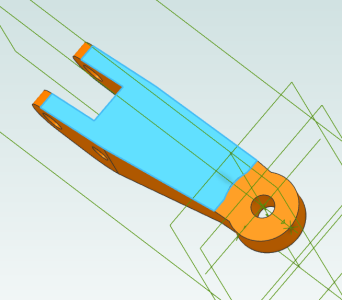
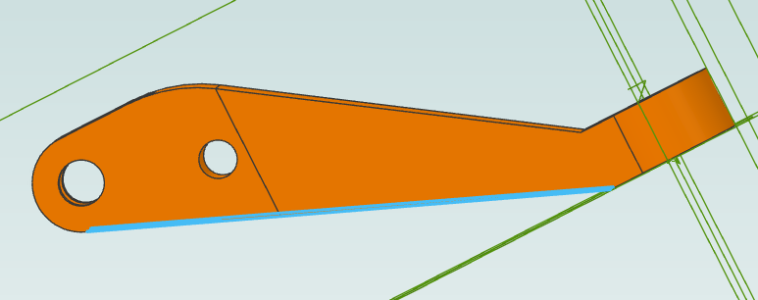
The new one was arranged on the build plate in a different way and added the tapers. And this time put the light blue part flat on the build plate.
1785705554253.png

With non solid infill structurally the tabs might be less inclined to break off. In either case I'm going to print a spare while I remember where the drawings are.
1785705652209.png
 
The original is cast so just using bar stock would already be stronger.

I misunderstood AGAIN! I seem to do that more and more often as time passes.

Now I see why it broke and I see why the extra bolt makes the 3D Printed part a bit stronger. That infill strikes again.

Seems to me that a part milled from steel wouldn't break no matter how you abused it.
 
Well it turns out the first print (there always seems to be more than one) had several issues and if I'd actually machined to those dimensions it would have been a waste of time.

The original is cast so just using bar stock would already be stronger.

I ran out of the original PLA_CF in the middle of the print so changed to PAHT_CF which ended up not bonding to the PLA_CF. The other PETG and PLA also split at the same points.

The new one was arranged on the build plate in a different way and added the tapers. And this time put the light blue part flat on the build plate.
View attachment 85110

With non solid infill structurally the tabs might be less inclined to break off. In either case I'm going to print a spare while I remember where the drawings are.
View attachment 85112
Adding more walls helps a lot as well without adding significantly to the print time.
 
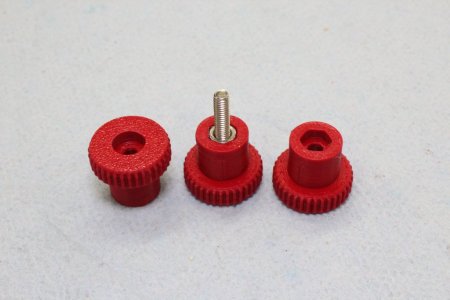
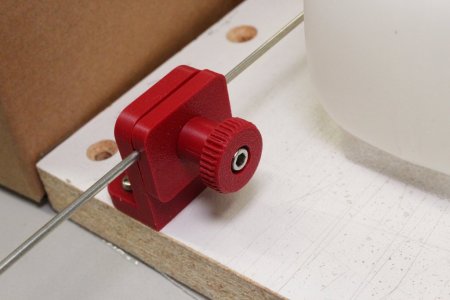
Yet another variant of thumb knobs. This one has M3 bolt through the head but its scaleable. The bolt head is within a counterbore & threads into a pressed in nut until it bottoms out tight. I apply CA glue to the parts on the final mm squeeze so its pretty locked in place, at least for intended light duty. My prior version, I used a heat set threaded insert & segment of threaded rod bonded in. Takes more time to set up but th emain thing is if the heat set insert was not dead on, it makes for a bit of wobbly-wobbly which will just never do. This way the bolt is centered a bit better. You still see a capscrew head but oh well.
 

Attachments

  • 08-02-2026-001.jpg
    08-02-2026-001.jpg
    80.5 KB · Views: 2
  • 08-02-2026-002.jpg
    08-02-2026-002.jpg
    78.5 KB · Views: 2
Takes more time to set up but th emain thing is if the heat set insert was not dead on, it makes for a bit of wobbly-wobbly which will just never do.
This is my only problem i seem to have with inserts. They hold awesome in PLA and PETG, i find, but getting them straight is a bit of a trick. for thumb screws/nuts, i screw in a long bolt just before the insert cools and tweak it with the 'eyecrometer' quickly. I used this method for the adjuster knobs on my custom 4-head printer I'm working on getting up and running this week. Will post a thread about it once it's making some decent prints. ooze prevention has been the last hurdle on the "ok, now what" series of this six month project.
 
This is my only problem i seem to have with inserts. They hold awesome in PLA and PETG, i find, but getting them straight is a bit of a trick. for thumb screws/nuts, i screw in a long bolt just before the insert cools and tweak it with the 'eyecrometer' quickly. I used this method for the adjuster knobs on my custom 4-head printer I'm working on getting up and running this week. Will post a thread about it once it's making some decent prints. ooze prevention has been the last hurdle on the "ok, now what" series of this six month project.
@PeterT had a great way to get the inserts straight - push the insert in with your soldering iron but leave 2mm protruding- then flip the part over and press the insert in with your table. It goes in straight. It’s my goto method now and you don’t need a fancy soldering iron press etc.
Thanks Pete!
 
@PeterT had a great way to get the inserts straight

Thanks. This method is 'pretty good' & still how I do it for for the most part. But I actually noticed on certain items that rotate, like those thumbscrews specifically, a bit of hit & miss micro wobble.
Its flush OK, so stud will be perpedicular. But its possible to heat it off axis just a bit just doing it by hand. Thats why I showed the bolt & nut method just as another option. It ends up more concentric because the part is providing a tight location hole on both ends, so less misalignment.
 
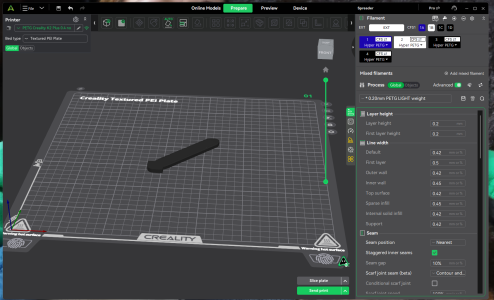
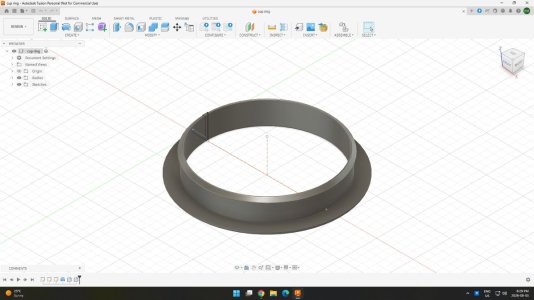
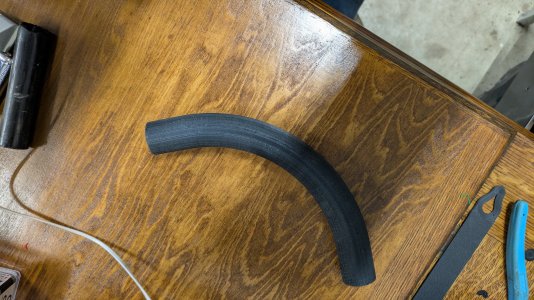
Needed a 90° soft curve elbow for some Ethernet conduit. All I had in the tickle trunk were sharp 90s that I couldn't pull the cables through. Off to Tinkercad and found a customizable elbow that I sized to fit on the outside of the conduit rather than the inside to save some room, (conduit is only ½ inch with 2 cat 6e cables in it). An hour later I have 2 printed in black petg and I didn't even have to wait for Fusion to update
 

Attachments

  • PXL_20260809_221517505.jpg
    PXL_20260809_221517505.jpg
    2.1 MB · Views: 2
Back
Top