• Scam Alert. Members are reminded to NOT send money to buy anything. Don't buy things remote and have it shipped - go get it yourself, pay in person, and take your equipment with you. Scammers have burned people on this forum. Urgency, secrecy, excuses, selling for friend, newish members, FUD, are RED FLAGS. A video conference call is not adequate assurance. Face to face interactions are required. Please report suspicions to the forum admins. Stay Safe - anyone can get scammed.
  • The 2026 Calgary Area Meetup is set for Saturday May 30th at 10am. The signup thread is here! Robinhood has graciously offered to host the meetup again this year. Please note that you MUST RSVP to the notice linked above if you wish to come.

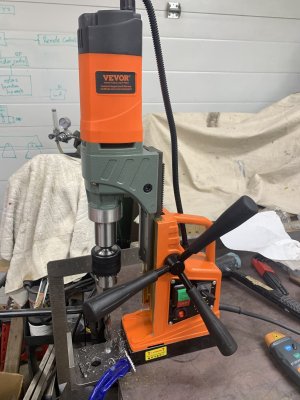
Tool Vevor mag drill 1100w

Tool
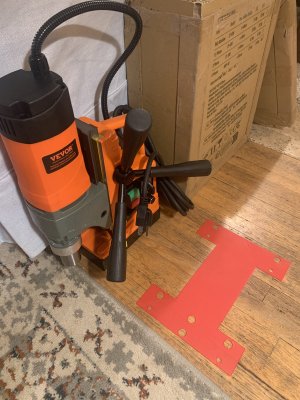
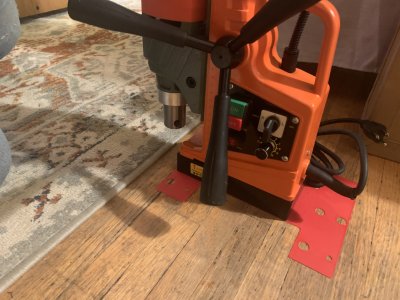
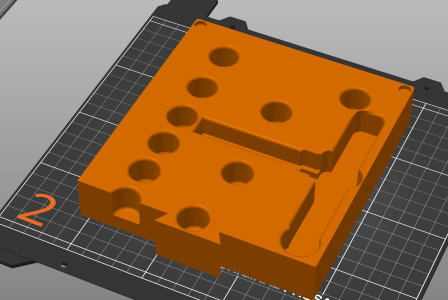
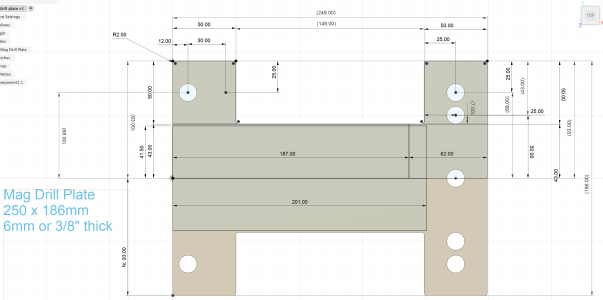
In anticipation, I drew this mag drill plate or 'shoe' for clamping. I'm thinking this could be 3/8" plate and you stick the drill on it, turn on the magnet, then position the drill where you want. Clamp down the wings as required to hold it all in place. Put some teflon tape on the bottom to make it easier to slide around. Then you can drill other materials besides steel like aluminum, wood, door frames, thin steel sheet which Susquatch says does not grip well....
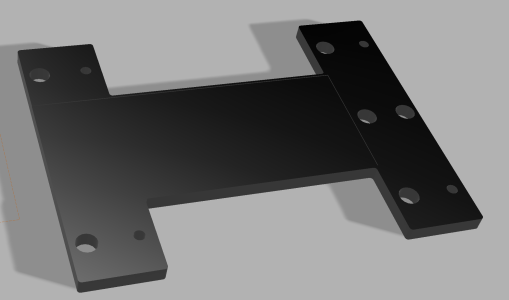
1766276718953.png

1766271317608.png
 
Last edited:
It arrived! That was pretty quick.
Template printed for fit of mag drill clamp shoe.
I updated the fusion sketch above for anyone who wants to copy it.
 

Attachments

  • IMG_7745.jpeg
    IMG_7745.jpeg
    1.7 MB · Views: 4
  • IMG_7747.jpeg
    IMG_7747.jpeg
    2.7 MB · Views: 4
Last edited:
Searching on the internet I don't see anything quite like this shoe. I did see some vacuum powered attachments to clamp to material and put the mag drill on it.
 
guys just normally use a chunk of plate or flat bar clamped to what ever non ferrous material they are intending to drill or drill on the table with the workpiece clamped to the table

not that un common, especially for thin stock

sorry to say i dont think there is much retail market for the plate...thats not to say dont make one

that is a pretty good looking drill for 230$ i wonder how it will perform when you slow it down for larger cutters
 
So got any good ideas on how I explain to the missus how this is different from the 9 other drilling things I already have? 🙄 😛

It's like having a inexpensive portable drill press for fixing stuff. You don't need to bring the work to it, it can be brought to the work.

If she isn't happy with that, ask her why she has more than one pair of shoes. Or more than one kitchen pot.

Mine is so handy that it's already 3 years old......😉
 
that is a pretty good looking drill for 230$ i wonder how it will perform when you slow it down for larger cutters

I'm pretty happy so far.

I already noted that there isn't much torque at low speeds. I expect I will have to turn up the speed dial to keep it cutting under heavy loads. That or learn how much extra speed it needs before I start. Not the best system. An integral VFD would have been far better. But I think this weakness is common to most variable speed drills.
 
Any impressions on the nailer yet @Doggggboy ?
Seems to be the real thing. Much heavier than the old bostitch air nailer but that's to be expected. Easy to load but a little weird for staples. Rather than straddling the rail like the bostitch they just press in near the top of the rail beside it, much like for brads. Has both single fire and bump fire. Fired off a whole strip of 1 1/2 staples and 1 1/2 brads and the battery said about half of the 2 amp hour charge was used but who knows how accurate that is. Easily drives into a fir 2x4. No luck with compatibility on Dewalt batteries but there are lots of people jigging up adapters for the various battery platforms so there is hope I guess. The only issue I feel is that there is no safety or on/off switch that I've found. If the battery is in it, it's live. Overall I'm happy with it.
I'm sure it will get more use than the mag drill. WTH was I thinking?
 
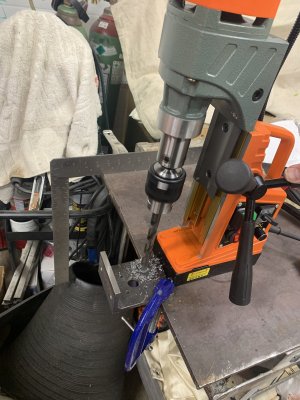
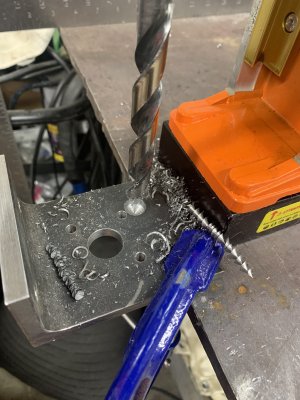
Testing it out. Initial reaction - nicely made and seems to work well. The drill won't run until the magnet is on. no load max speed according to my optical rpm gadget is 768rpm. At about a 4 on the dial is 460rpm, under load of this 1/2" drill in mild 1/4" steel the speed dropped to 400 rpm. It's a little loud. Forward and reverse is oddly labeled R and L. right/left? I presume.
 

Attachments

  • IMG_7791.jpeg
    IMG_7791.jpeg
    1.7 MB · Views: 8
  • IMG_7792.jpeg
    IMG_7792.jpeg
    1.5 MB · Views: 8
  • IMG_7793.jpeg
    IMG_7793.jpeg
    1.4 MB · Views: 8
Last edited:
and for your amusement, here is a section of the manual.

MAINTENANCE AND STORAGE​

NOTE: Please remove the plug before maintenance.

  1. After each use, clean the bottom of the magnetic seat drill and keep it properly.
  2. Please butter the track in time when the slide is not smooth.
  3. Please check the electrical protection device regularly.
  4. Whether grounding is reliable.
  5. Please check in on time during the rainy season.
 
  1. After each use, clean the bottom of the magnetic seat drill and keep it properly.
Becomes more relevant as you age.
  1. Please butter the track in time when the slide is not smooth.
Salted or unsalted?
  1. Please check the electrical protection device regularly.
Always fresh Duracels for the insulin pump!
  1. Whether grounding is reliable.
Orthopedic shoes for the shop sure saves the knees.
  1. Please check in on time during the rainy season.
The ankle monitor does that automatically as long as the parole officer is in range.
 
Last edited:
I'm full of questions... @DavidR8 or anyone else - do other brand annular cutters fit? some reviews were complaining about this, or that the needed adapter didn't ship with their drill.

My other cutters fit just fine. I think as long as they have a weldon connection they will be compatible.
 
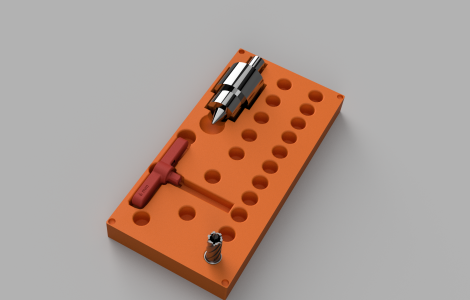
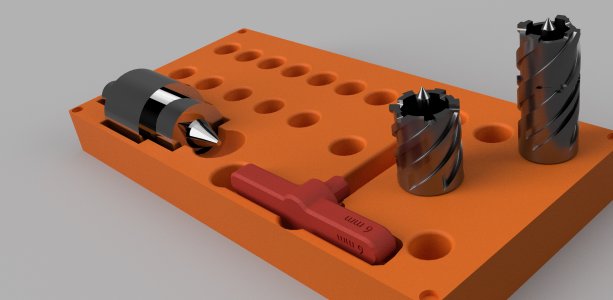
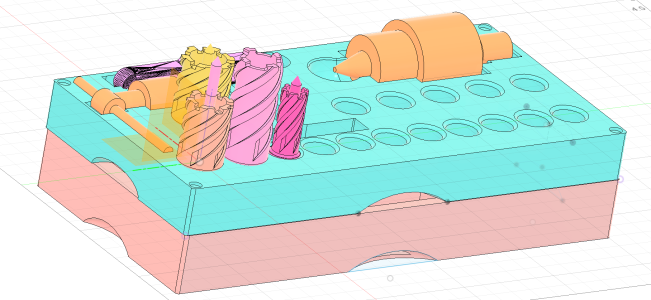
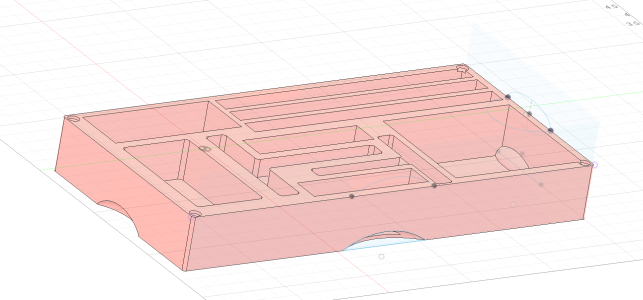
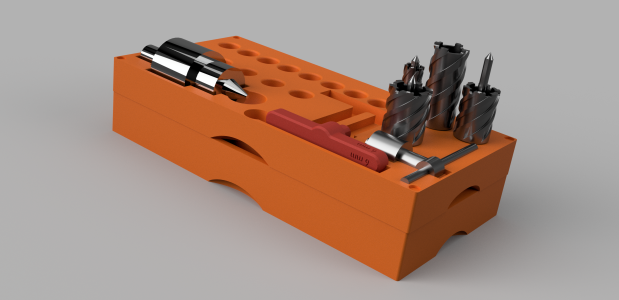
downloaded annular cutter models from McMaster C.
mag drill accessory case v3.jpeg

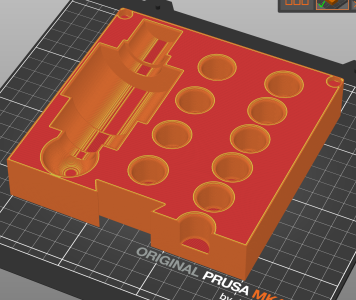
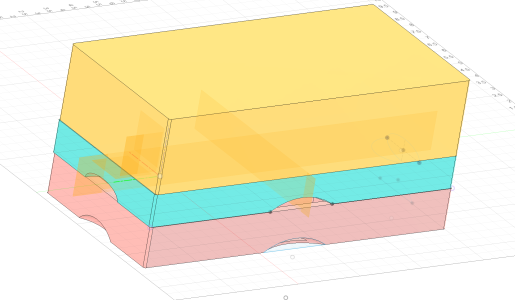
Trying out the 'Cut' option in Prusa slicer to divide large models into small bits - see the dove tail for connecting the next part?


1767324280344.png

1767324335751.png
 
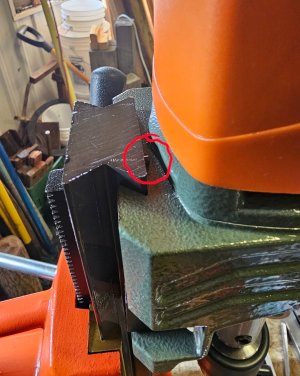
A small update. I discovered that it's super easy to remove the spring pin that limits upward travel.

20260105_123204.jpg

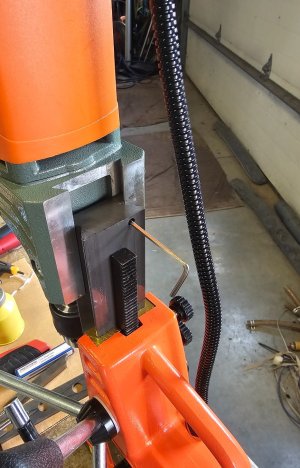
It isn't a spring pin! It's actually a dog point set screw!

20260105_123422.jpg

That makes it really easy to lift the motor assembly to accept longer drills.

The other discovery was that 90% of the drill chuck runout was caused by debris in the chuck. Once I ran it in and out a few dozen times and blew it out with compressed air, it started producing sub thou runout. I'm very happy with that!
 
Back
Top