Rauce
Ultra Member
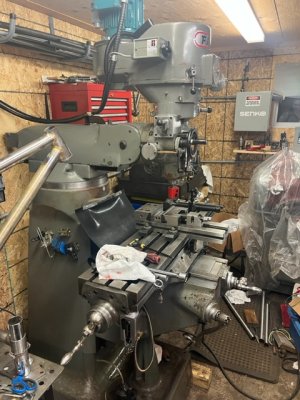
So I’ve been away from the forum for a bit and thought I’d provide an update on the free mill.
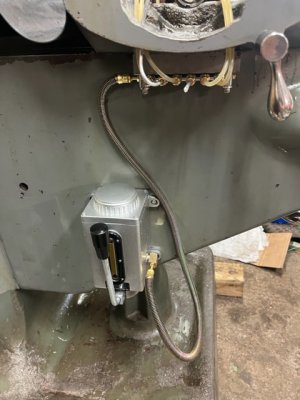
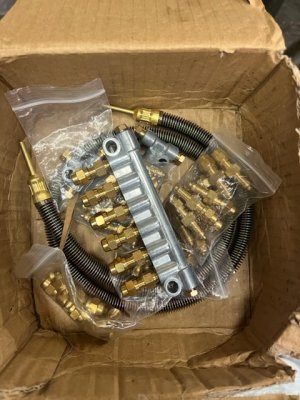
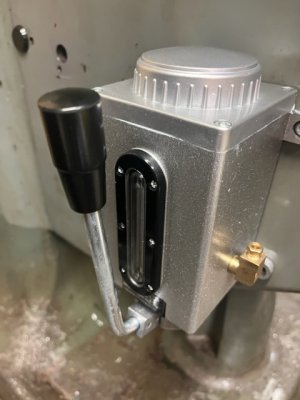
It’s home and running now for a couple months. Finished the head rebuild, everything else cleaned up, new oiler and tubing, 240v motor installed and new cooling fans installed and wired on the head.
I do still have a few items on my to do list for it though. The Vevor VFD I’m using is very noisy. It works fine but I find it a bit annoying so I’d like to replace it with a higher end unit at some point.
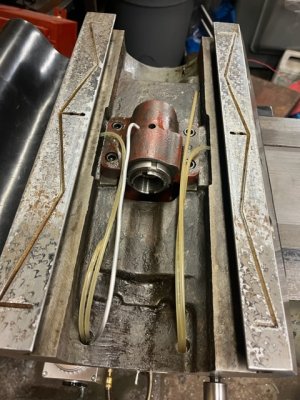
I bought scales for a touch DRO set up on the machine and got it going with X and Y which was fairly straightforward. I kept the bracket for the Y scale that came with the machine which made it pretty easy. The Z (knee) scale install will be a bit more involved so that’s on the back burner for now.
All in all I probably spend $1500 or maybe a little less between the motor, new bearings, way wipers and the DRO set up. Pretty happy with it!
It’s home and running now for a couple months. Finished the head rebuild, everything else cleaned up, new oiler and tubing, 240v motor installed and new cooling fans installed and wired on the head.
I do still have a few items on my to do list for it though. The Vevor VFD I’m using is very noisy. It works fine but I find it a bit annoying so I’d like to replace it with a higher end unit at some point.
I bought scales for a touch DRO set up on the machine and got it going with X and Y which was fairly straightforward. I kept the bracket for the Y scale that came with the machine which made it pretty easy. The Z (knee) scale install will be a bit more involved so that’s on the back burner for now.
All in all I probably spend $1500 or maybe a little less between the motor, new bearings, way wipers and the DRO set up. Pretty happy with it!