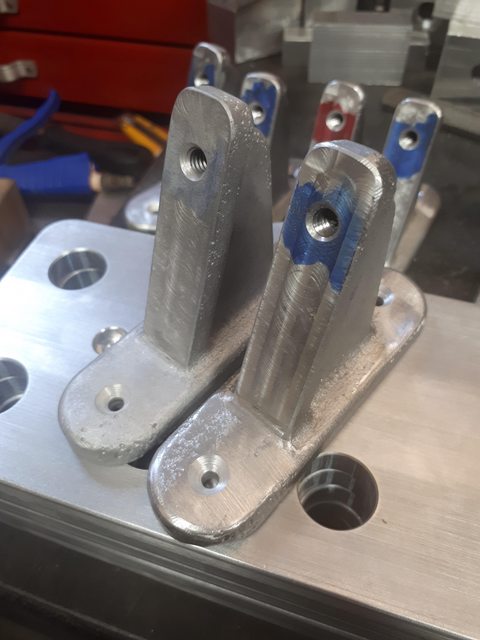
I have a little import 3kg electric foundry that works great for the sporadic usage it gets. I have the stuff to build a bigger propane/waste oil one, but a few other projects are in the way ahead of it. I've been scrounging cast aluminum car parts (heads, rims, etc) for a few years, so I have enough to keep me going for a while. Alloys like 6061, extrusions, sheet scrap and others make poor castings. Not bad for some stuff, but for stuff that I care about, I stick to castable alloys. In general if it WAS cast it can be RECAST. Most auto parts are A356, that melt and recast beautifully.
I haven't tried chips, but can't see that working out that great. Aluminum oxide builds up on the surface layer of aluminum. Due to the high surface area of chips, they have a lot of oxide (slag) per volume. It ends up being just not worth it for the energy in for the output. Plus, unless it was a castable alloy in the first place, you're at an even further deficit. If you scrounge enough, decent scrap to melt is pretty easy to find for cheap/free, and you'll be much further ahead working with the proper alloys. I'd rather turn clean chips into the scrap yard, and pick up a couple car rims on the way out of there. You'd end up with better yield, and better parts, with much better mechanical and surface finish properties. Unless of course your chips were a356 to begin with, then you'd just end up with better yield.
I've read about guys pressing chips into pucks and getting better results with less slag, but I'm not 100% sold on that being a good use of energy. The oxide problems still exist on the chip itself (ignoring the alloy problem in the first place). It might reduce the overall slag a bit, but I can't se it being comparable to casting ingots, or larger sections of scrap. I would like to try it someday though, because I like playing around and learning stuff.
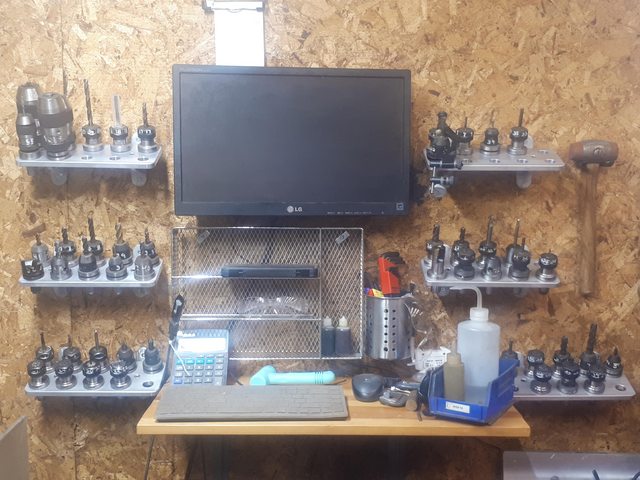
So far I've only cast aluminum, but my foundry will do copper/brass/bronze apparently. Would like to give it a shot one day, as I've been saving up a big pile of copper to melt. This is the one I have
https://www.amazon.ca/TOAUTO-Automatic-Graphite-Crucible-Aluminum/dp/B0814HF9DV/ref=sr_1_1_sspa?crid=317ATOOWYEMWB&keywords=3kg+foundry&qid=1673663091&sprefix=3kg+foundry,aps,193&sr=8-1-spons&psc=1&spLa=ZW5jcnlwdGVkUXVhbGlmaWVyPUFTWERIMEpDQU04RUkmZW5jcnlwdGVkSWQ9QTA3MDg2MDAyWEQyTUY4M1VIOFBVJmVuY3J5cHRlZEFkSWQ9QTA1NTUzOTYxWFFGNFBIMUpaOVAxJndpZGdldE5hbWU9c3BfYXRmJmFjdGlvbj1jbGlja1JlZGlyZWN0JmRvTm90TG9nQ2xpY2s9dHJ1ZQ==
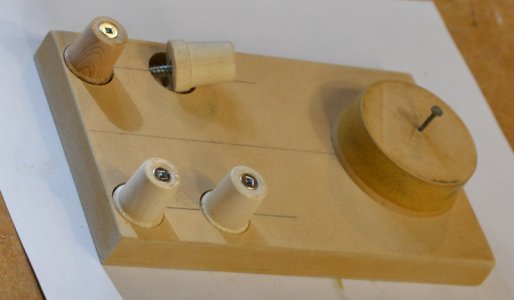
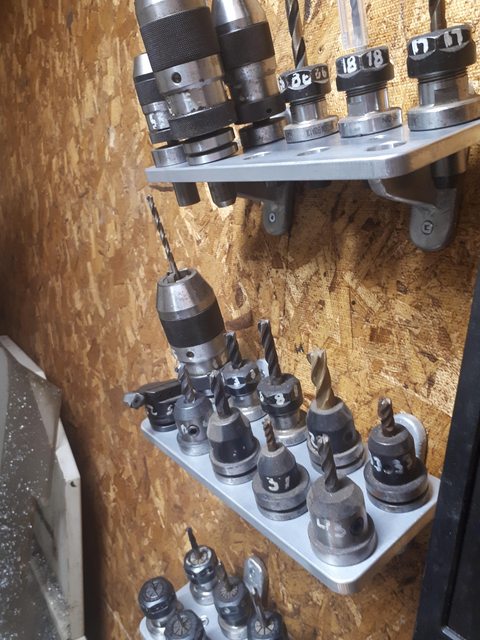
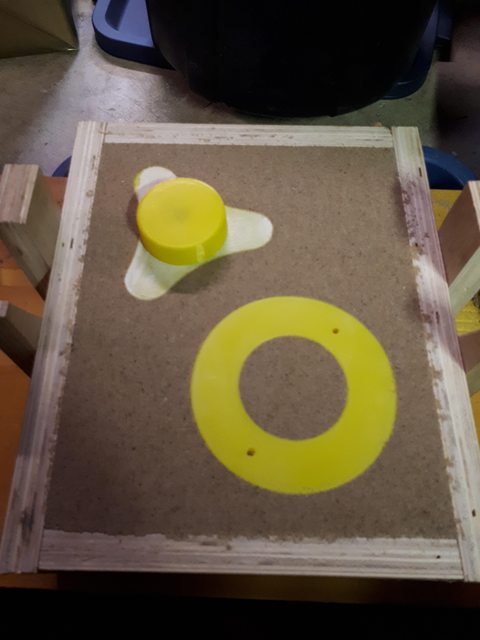
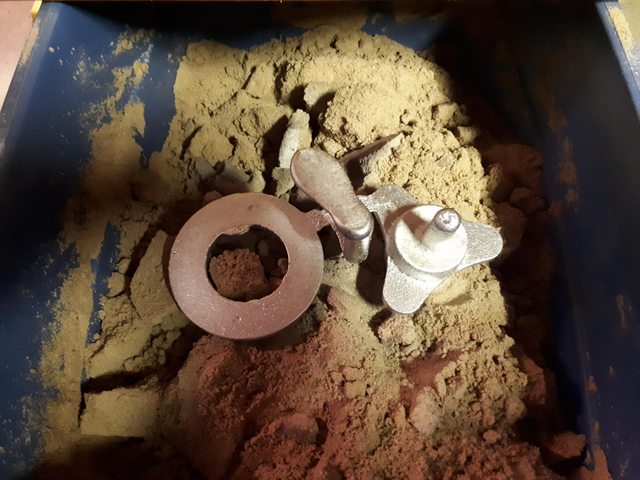
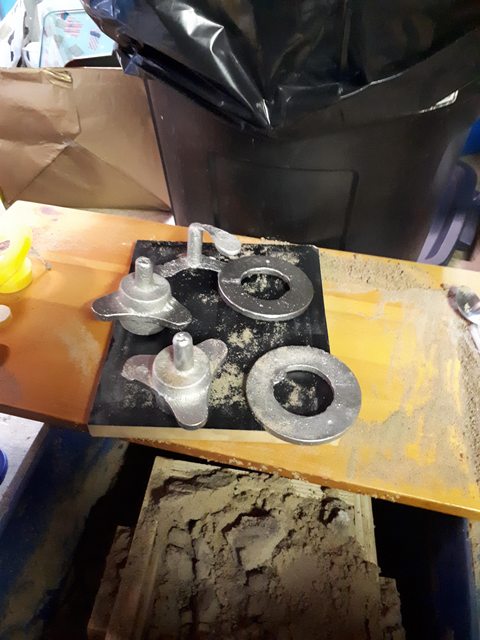
The price fluctuates a bit on it, and there are other ones out there that are similar. For ease of use it's pretty plug and play, and very handy to just flip it on, and pour. It takes about 45 minutes to charge up a full crucible of aluminum to pouring temp. Subsequent ones are quicker at about 15-20 minutes. I got about 20-25 melts on my last crucible and have a new one I just bought waiting to go for a couple projects which I might get to this weekend. So far I have only used green sand that I made myself from kitty litter and playsand. It works, but I would recommend starting with a commercial offering if you can. Theres already enough variables, it just makes it tougher to start with one more. Buying proper sand is high on my list......But not at the top yet.....lol.