• Scam Alert. Members are reminded to NOT send money to buy anything. Don't buy things remote and have it shipped - go get it yourself, pay in person, and take your equipment with you. Scammers have burned people on this forum. Urgency, secrecy, excuses, selling for friend, newish members, FUD, are RED FLAGS. A video conference call is not adequate assurance. Face to face interactions are required. Please report suspicions to the forum admins. Stay Safe - anyone can get scammed.

Mystery Shaper rejuvenation

Heat-treating the prawls

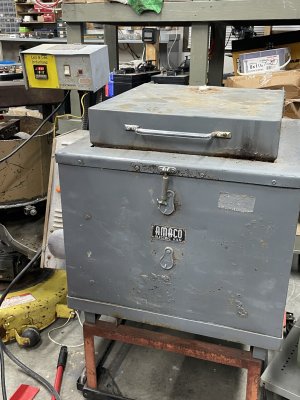
I dusted off the kiln (thx @Johnwa ) which will be used to heat treat these prawls. Overkill (I could do a lot of them) but good excuse to convince the better half that I need a kiln. I use a simple PID w/SSR to manage temperature. For tempering I'll either use a toaster oven (thx @Janger ) or my other kiln (preheated and ready)

I fired it to 800C the other night -- ready to go this weekend.

IMG_5389.jpeg


TBD: During/after pics
 
Motor?

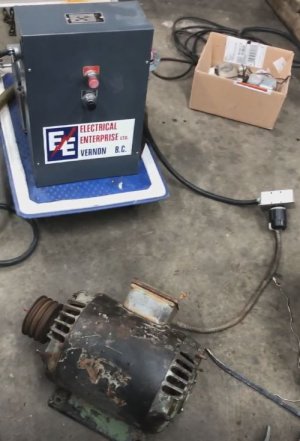
The motor on the shaper was 'free' and the pulley turned, but the bearings will likely need to be replaced. There is no motor plate, but the plug was wired for 220V 3ph. A manufacturers tag plate is there, but it is all but not-readable except for Odense Denmark. I took the electrical cover off, it was packed with crud and rust. so I cleaned that out.

I pulled the end covers off, wiped off the spider webs, blew out the dead bugs and dirt, then degreased everything (using Paslode corldess nailer degreaser -- i'm a fan now). I didn't see anything wrong so put it back together, greased the bearings and fired it up with a 7.5HP RPC (thx @RobinHood )


A little loud.... but she runs. Let is run for 45 minutes, motor is cool (neigh - cold) to the touch.

Capture.JPG
 
Great progress Kevin:D You buying evaporust by the 45gal drum:p

Look forward to seeing her slice off some BIG chips.
 
Last edited:
Kevin I am super impressed! that is a LOT of work doen already! I cannot believe that the motor still runs - boggles the mind.
 
Very well and clearly documented, Kevin. I like it.

Your project is a perfect example of “slow and steady wins the race”. Having seen the shaper as purchased, what an awesome transformation.

Good job.
 
Could that tar substance be cosmoline poured on to try to protect the thing eons ago and most of it 'weathered off" over time?

Not sure about roofing tar but if it is asphalt tar/tack oil, the absolute best to remove that stuff is diesel fuel to remove build-up of thick spots and then a small bit of regular gas to take the remaining stain off. Just spray the diesel on and watch the tar start to run off. Every person ever employed in the paving industry is never more than an arms length away from a hand weed sprayer filled with diesel.
 
@historicalarms Since we know the original owner and the last one, we can surmise it was because he was doing a DIY roof patch on the little shelter next to the shaper, and spilled some plastic cement on it...

Def not cosmoline, that's for sure!
 
Found those at a garage sale. Super handy.
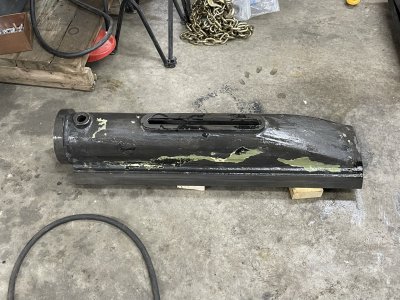
Mine have been used for parts trays for decades, I got them from my Dad's shop after he shut it down, he got them from my Uncle with a bunch of other stuff from his shop. I ran across some info online a while back that those pans are worth some pretty good prices in good condition. Mine are way past that and like you said, are super handy.
 
ok, a month later...... still working it daily. Shaper is completely torn down, no more assemblies to remove.

It's been a non-stop process of remove, degrease, de-rust, repeat.

some pictures:

Ram after de-rusting
IMG_5392.jpeg


Apron removed
IMG_5450.jpeg


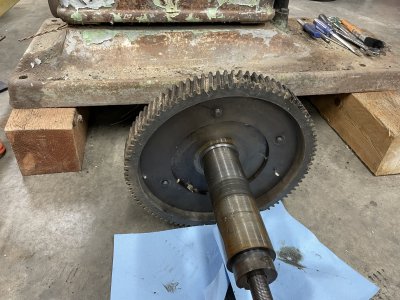
Bull gear removed
IMG_5430.jpeg


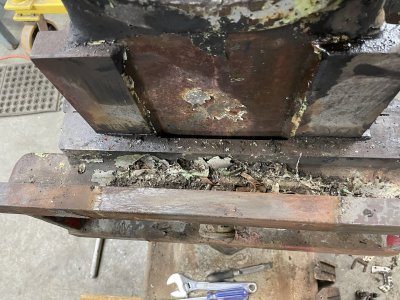
Top of apron BEFORE removal

IMG_5424.jpeg


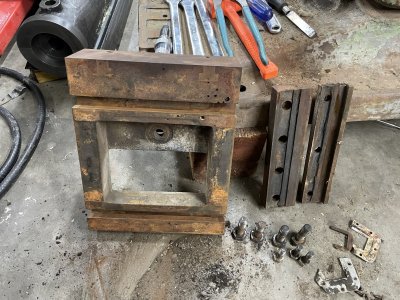
Apron disassembled
IMG_5421.jpeg


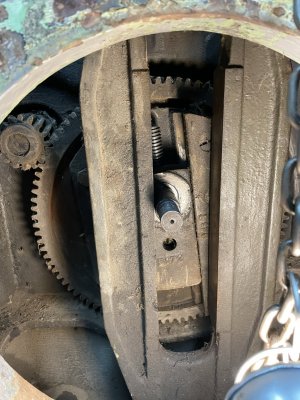
Yoke/bull-gear BEFORE removal
IMG_5396.jpeg


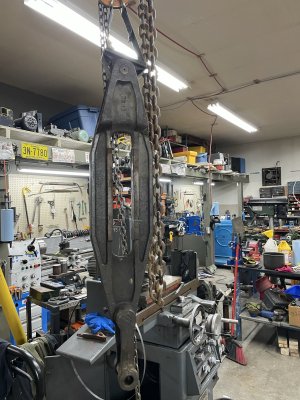
Yoke after about 4 hours of figuring out how to get it out of there
IMG_5398.jpeg
 
More pics....

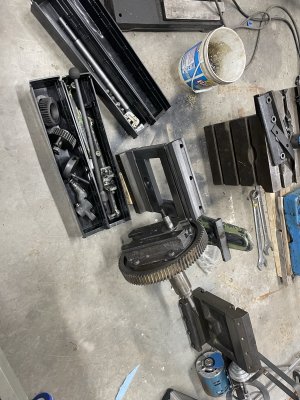
Just a shell of its former self
IMG_5453.jpeg


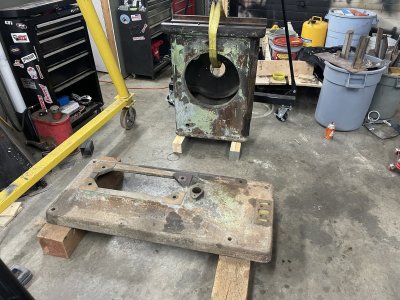
Separating the base from the cage
IMG_5458.jpeg

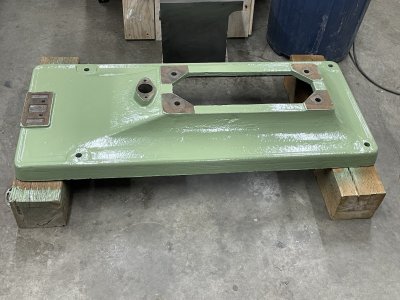
After some back and forth with @Brent H about HVLP painting, a first look at the chosen color. Yeah, I'm a sucker for 'russian-implement-green' as I call it.

IMG_5477.jpeg


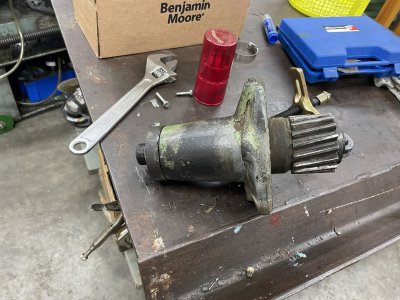
Main drive gear. Believe it or not, no ball bearings. All bronze bushing
IMG_5456.jpeg


A peak at some of the drive train after de-rusting/cleanup.

IMG_5460.jpeg


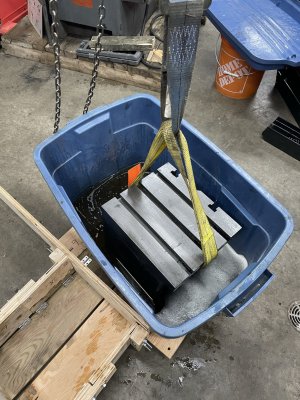
de-rusting the table. Not enough product to immerse it, so painfully slow '6-sided-dice' approach

IMG_5461.jpeg


IMG_5462.jpeg


Switched to tupperware bin for wide-sides. You can see the results on the side facing up in this pic.

IMG_5465.jpeg


Transmission on the bench

IMG_5478.jpeg
 
img_5398-jpeg.20299


What's the grey machine behind the yoke with all the dials and hand wheels?

I think your yoke is just a tad larger than mine LOL....
 
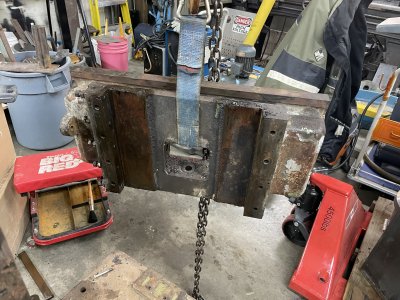
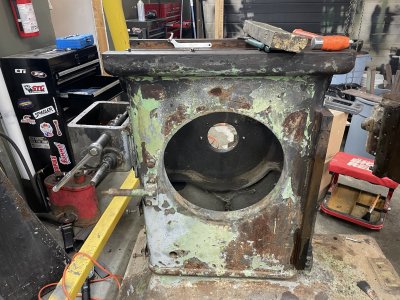
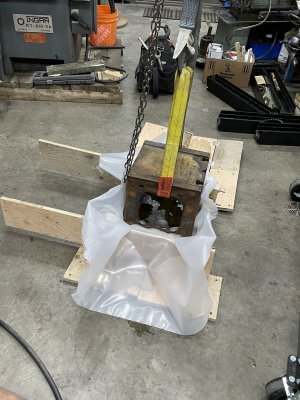
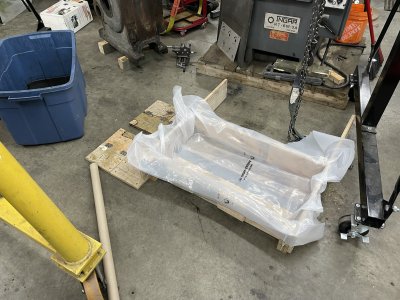
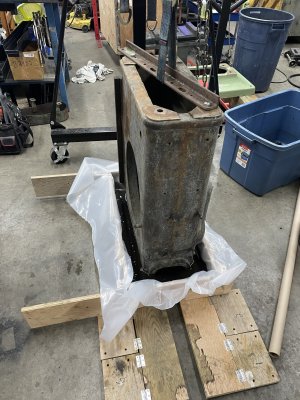
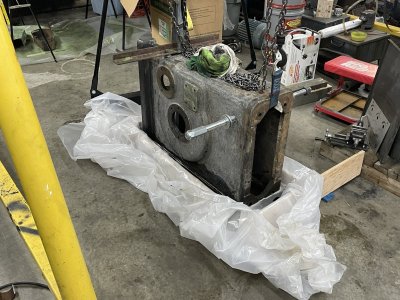
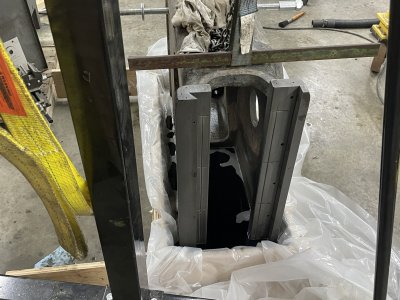
So the main casting is one piece and includes the top V-ways as well as the ways for the main apron. Both are heavily rusted. I figure the casting is 600-800 pounds. Even a 55 gallon drum of product won't immerse this bad-boy, so I continued to use my resizeable soaking coffin assembly.

Step 1, invert the casting and dip the v-ways.
IMG_5487.jpeg

IMG_5490.jpeg


Step 2, rotate 90-degrees and soak the front ways. The threaded rod I'm using to lift this is a multi-purpose tool, last seen pulling the pistons out of my ford tractor.

IMG_5504.jpeg


So is it working? You tell me, a pic of the v-ways from the back side while soaking the front-ways

IMG_5505.jpeg


Looking pretty good.

Time for a break
randr.jpeg
 
Back
Top