• Spring 2024 meetup in Calgary - date Saturday, April 20/2024. discussion Please RSVP Here to confirm and get your invitation and the location details. RSVP NOW so organizers can plan to get sufficient food etc. It's Tomorrow Saturday! you can still RSVP until I stop checking my phone tomorrow More info and agenda
  • We are having email/registration problems again. Diagnosis is underway. New users sorry if you are having trouble getting registered. We are exploring different options to get registered. Contact the forum via another member or on facebook if you're stuck. Update -> we think it is fixed. Let us know if not.
  • Spring meet up in Ontario, April 6/2024. NEW LOCATION See Post #31 Discussion AND THE NEW LOCATION

DavidR8's shop shenanigans

DavidR8

Scrap maker
Administrator
Moderator
Premium Member
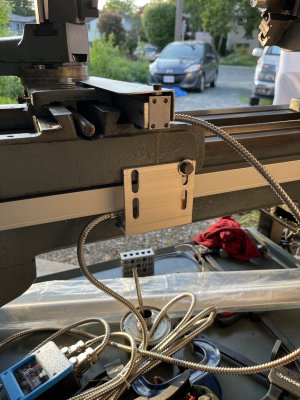
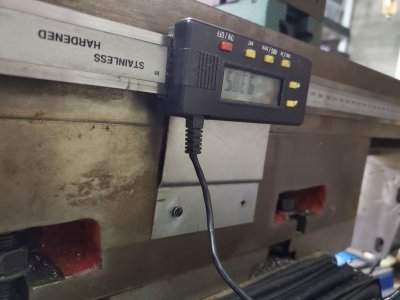
I've been getting mine together as well. Going with the tape version, and mine fits between the ways, under the ground surface. You can just make it out in this photograph - the tape is self-adhesive and comes with the stainless steel cover strip. The head itself will ride on the fasteners for the steady rest. View attachment 34551
Once I have the carriage back together I'll drop more pics in my thread.
Very tidy!
I’m planning on using the tape on my mill. How did you clean the surface before applying the tape?
 

Tuner

New Member
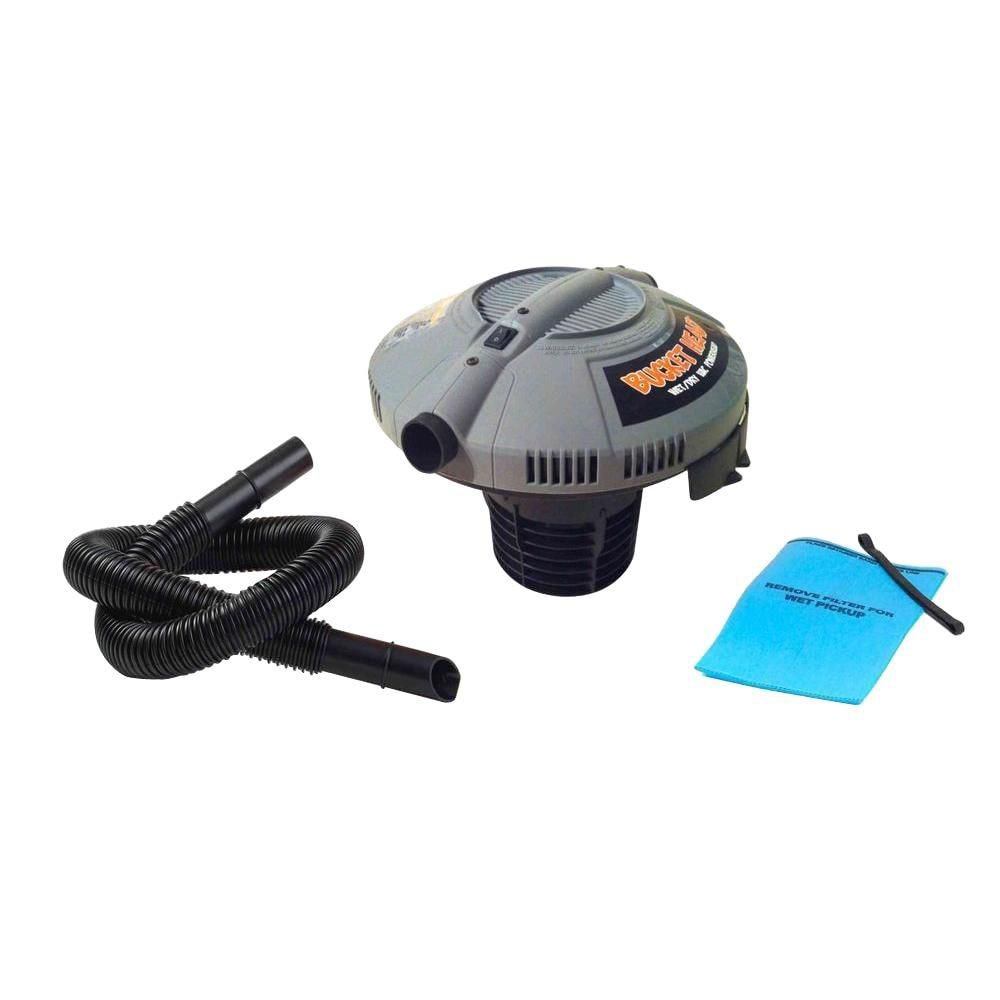
I bought it online from Home Depot, model number BH01000.
That’s cool - great for the shop and motorhome
 

jcdammeyer

John
Premium Member
The reason I asked about mounts is that I screwed up on mine. I used a 3mm tap and broke it on the second hole on the back of the Mill X axis. Never did drill another hole and tap it. Survived with just the one screw. In hind sight I should have used much larger screws. In a casting I'm not even sure that 10-32 is a good idea compared to 10-24. The cast iron is brittle and I think that jammed up the tiny tap I used and once jammed it snapped during the reverse turn to clear chips.

Anyway. Here's the evidence. Under the second hole is a broken tap. X-AxisDRO-Mount.jpg
 

DavidR8

Scrap maker
Administrator
Moderator
Premium Member
The reason I asked about mounts is that I screwed up on mine. I used a 3mm tap and broke it on the second hole on the back of the Mill X axis. Never did drill another hole and tap it. Survived with just the one screw. In hind sight I should have used much larger screws. In a casting I'm not even sure that 10-32 is a good idea compared to 10-24. The cast iron is brittle and I think that jammed up the tiny tap I used and once jammed it snapped during the reverse turn to clear chips.

Anyway. Here's the evidence. Under the second hole is a broken tap.View attachment 34603
I just checked and I have 10-24 and 10-32 cap screws so I'll likely go with the 10-24. Or nothing at all... it is a 3/8 bolt that's holding it on so it's not going anywhere.
 

jcdammeyer

John
Premium Member
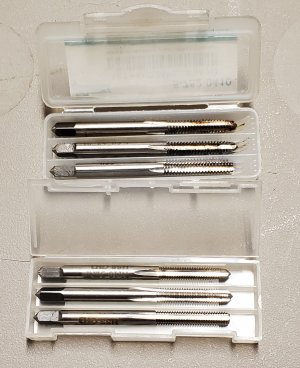
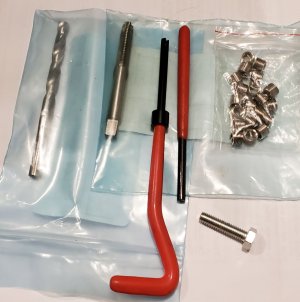
I also found on my mill head castings that the material was so powdery that holes didn't always tap that well. So on yet another spending spree I bought this set of helicoil inserts for 6x1mm bolts. Kit came with drill, tap, wrenches, punch out tool. Works great. I should have bought more inserts because aluminum castings are also notoriously soft. Helicoil-6mm.jpg
 
Top