-
Scam Alert. Members are reminded to NOT send money to buy anything. Don't buy things remote and have it shipped - go get it yourself, pay in person, and take your equipment with you. Scammers have burned people on this forum. Urgency, secrecy, excuses, selling for friend, newish members, FUD, are RED FLAGS. A video conference call is not adequate assurance. Face to face interactions are required. Please report suspicions to the forum admins. Stay Safe - anyone can get scammed.
-
Several Regions have held meetups already, but others are being planned or are evaluating the interest. The Calgary Area Meetup is set for Saturday July 12th at 10am. The signup thread is here! Arbutus has also explored interest in a Fraser Valley meetup but it seems members either missed his thread or had other plans. Let him know if you are interested in a meetup later in the year by posting here! Slowpoke is trying to pull together an Ottawa area meetup later this summer. No date has been selected yet, so let him know if you are interested here! We are not aware of any other meetups being planned this year. If you are interested in doing something in your area, let everyone know and make it happen! Meetups are a great way to make new machining friends and get hands on help in your area. Don’t be shy, sign up and come, or plan your own meetup!
You are using an out of date browser. It may not display this or other websites correctly.
You should upgrade or use an alternative browser.
You should upgrade or use an alternative browser.
Xyphota's bicycle related projects
- Thread starter Xyphota
- Start date
Xyphota
Ultra Member
Thanks! I did have two small blow-throughs which were on the non-mitered tube, heatsink backed, so that was a bit surprising lol. The tacks on my head tube made a small riser on the backside of the tube. I tried filing them down a bit before welding, but maybe they were still proud enough that they prevented the heatsink from getting contact with the rest of the tube.
Xyphota
Ultra Member
This is a #9 air-cooled torch with a flex head and superflex cable/hose. When you make cylindrical welds, you have to rotate the torch as you move around your circumference, and the superflex hose and smaller (lighter) #9 torch body make this a bit easier todo while keeping the torch steady. If the torch is heavy or if the hose is stiff, my fingers get tired very quickly and they start spasming a bit so its really hard to keep the tungsten close to the puddle without dipping. Any tig welder will work, but pulse functionality will make it easier on thin walled stuff.
I'm also using a CK 'gas saver' kit which lets you stick the tungsten out a bit farther so everything is a bit easier to see.
I'm also using a CK 'gas saver' kit which lets you stick the tungsten out a bit farther so everything is a bit easier to see.
Rauce
Ultra Member
I use a 17 since I do aluminum too and need the extra amperage range. Flex neck is ideal, same with pulse but you could manage without.
A gas lens to get extra stick out is pretty important on some joints where you need access.
@Xyphota what pulse settings do you use? I only recently got the hang of the low frequency pulse technique a lot of framebuilders use. 1-2pps and the almost 0 background current.
A gas lens to get extra stick out is pretty important on some joints where you need access.
@Xyphota what pulse settings do you use? I only recently got the hang of the low frequency pulse technique a lot of framebuilders use. 1-2pps and the almost 0 background current.
Xyphota
Ultra Member
I’m mostly copying Don Ferris’ settings. He uses a 2Hz pulse which is a bit quicker than my skills, so I’ve dialed it back to 1.3 hz
 web.archive.org
Anvil Bikeworks - Built to hammer on!
Anvil Bikeworks is a producer of custom frames and professional framebuilding tooling and fixtures for the bicycle industry.
Xyphota
Ultra Member
Remounted the frame in the v-blocks and spent probably an hour trying to get it realigned while compensating for the warp in my table top. Finished up my dummy axles. The notch is to keep the slot in the bicycle dropouts aligned. I hand filed the radius around the thread hole because I didn't have a good way to mount it to my rotary table. Perhaps a dividing head is in order...

The post-in-a-plate that located the bottom bracket previously is now paired with this block thingy which holds the dummy axle. The dropouts I'm using are in the BikeCAD library, so again its pretty easy to line the parts up over top of the drawing with the right angle to get everything positioned. Next step is to miter the chainstays and then weld/braze them in.

The post-in-a-plate that located the bottom bracket previously is now paired with this block thingy which holds the dummy axle. The dropouts I'm using are in the BikeCAD library, so again its pretty easy to line the parts up over top of the drawing with the right angle to get everything positioned. Next step is to miter the chainstays and then weld/braze them in.
Xyphota
Ultra Member
I was hoping to spend like 16 hours in the shop this weekend, and then I ended up getting like 2. That's how every weekend goes it seems haha.
Small update today; Here is more functionality I built into my mitering jig. I wanted to make it as modular as possible to keep the space requirements down. Here it is configured to hold the chain stays for cutting the bottom bracket miter. These additions are mostly a straight rip-off of this tool: https://farrframeworks.com/farr-tools/chainstay-miter-fixture which would be $1200+ CAD shipped to Canada.
This was my first time using it in this configuration, and I mostly liked it. There are a few things I'd like to tweak to make it easier to use. But one feature I really like is that at the mitering end, there is a 3D printed black triangle piece (eventually to be made out of steel) that is used to keep the tube grippers centered about the centerplane of the tool. You can slide the triangle forwards and backwards to adjust the spacing and as long as the cylindrical stand-offs below the gripper touch the triangle when tightened down, you know they are equi-distant from the centerline. I left all the wing-nut screws full length as I didn't know what to trim them too before using them.
.jpg")
.jpg")
.jpg")
.jpg")
Small update today; Here is more functionality I built into my mitering jig. I wanted to make it as modular as possible to keep the space requirements down. Here it is configured to hold the chain stays for cutting the bottom bracket miter. These additions are mostly a straight rip-off of this tool: https://farrframeworks.com/farr-tools/chainstay-miter-fixture which would be $1200+ CAD shipped to Canada.
This was my first time using it in this configuration, and I mostly liked it. There are a few things I'd like to tweak to make it easier to use. But one feature I really like is that at the mitering end, there is a 3D printed black triangle piece (eventually to be made out of steel) that is used to keep the tube grippers centered about the centerplane of the tool. You can slide the triangle forwards and backwards to adjust the spacing and as long as the cylindrical stand-offs below the gripper touch the triangle when tightened down, you know they are equi-distant from the centerline. I left all the wing-nut screws full length as I didn't know what to trim them too before using them.
For those interested in physics visualizations concerning riding bikes, and a length description on each one, this website is very professionally done.
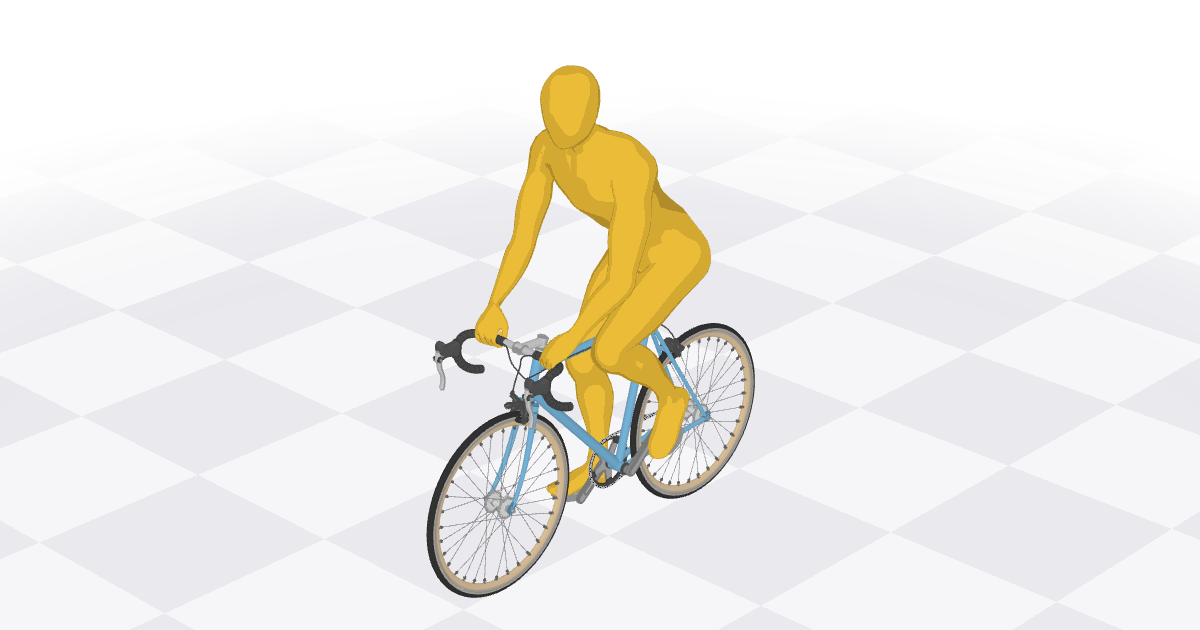
 ciechanow.ski
Bicycle – Bartosz Ciechanowski
Interactive article explaining the physics of a bicycle.
Xyphota
Ultra Member
Wow that website is incredible! Thank you so much for sharing, there are some amazing visuals in there. The more I scrolled the more impressed I was by how many topics they covered. The reaction forces visual about the spokes in a bicycle wheel is the best I've seen, I'll reference that the next time I hear an argument about whether or not a bicycle wheel hangs or stands on its spokes >:^).
Your welds look great to me.These welds wont be winning any awards, but I think they'll do lol.
Building a bicycle would be a fun project- but I’d need to get back into riding before considering it… I dream of making a knock-off of a Ice Trike recumbent…
Xyphota
Ultra Member
I bought the actuator bits from here, but everything else is shop made!thats quite the jig, is that something you made? or bought from someplace?

C-Beam® Linear Actuator
SHOP NOW - C-Beam? Linear Actuator Bundle - Pre-Packed Bundles - CNC Machines - Linear Actuators & More! Fast Shipping from U.S. - Genuine OpenBuilds Parts - #1 Open Source Hardware
The chainstay cutting configuration of this jig was mostly inspired by these guys:

The Miters Touch - For Chainstays — Moonraker Design Co.
**DEMAND FOR THIS PRODUCT HAS BEEN HIGHER THAN EXPECTED PLEASE ALLOW 2-4 WEEKS FOR SHIPPING FROM TIME OF ORDER. IF YOU HAVE ANY QUESTIONS ABOUT LEADTIMES PLEASE REACH OUT . When it comes to the back lower half of the bike this tool has you covered: cut chainstays to bottom bracket, chainstays to dr
 farrframeworks.com
nice piece of kit at a pretty good price!I bought the actuator bits from here,
I bought the actuator bits from here, but everything else is shop made!
C-Beam® Linear Actuator
SHOP NOW - C-Beam? Linear Actuator Bundle - Pre-Packed Bundles - CNC Machines - Linear Actuators & More! Fast Shipping from U.S. - Genuine OpenBuilds Parts - #1 Open Source Hardwareopenbuildspartstore.com
The chainstay cutting configuration of this jig was mostly inspired by these guys:
The Miters Touch - For Chainstays — Moonraker Design Co.
**DEMAND FOR THIS PRODUCT HAS BEEN HIGHER THAN EXPECTED PLEASE ALLOW 2-4 WEEKS FOR SHIPPING FROM TIME OF ORDER. IF YOU HAVE ANY QUESTIONS ABOUT LEADTIMES PLEASE REACH OUT . When it comes to the back lower half of the bike this tool has you covered: cut chainstays to bottom bracket, chainstays to dr
Nice work, and edgenuity! Save your self some bucks and ended up with a nice tool
Xyphota
Ultra Member
I was hoping to have this frame done by now, but I finally caught covid for the first time so that put me on my ass for a week (I've never napped so much in my life LOL). I finished up the chain stays and welded them to the frame. I am pretty proud of the welds that came out of the left chainstay. The right chain stay was a total ***** though and I blew 4 holes through it. Probably should have just cut it off and restarted. The photo below only shows the flattering angles ") . The dropouts are tacked only, as they will be brazed in instead of welded.
. The dropouts are tacked only, as they will be brazed in instead of welded.


Next step is the seat stays. The seat stays I purchased are straight out of the box (as opposed to the pre-bent chain stays) and I needed to put a 4 degree bend in them. My tube bender has a 5" radius die and a 11" radius die for 3/4" tubing, and this tubing is ~5/8". The person I bought the bender from said he had no problem shimming 5/8" tubing with some cardboard. I did some practice bends on some dummy 5/8" x 0.028" chromoly tubing on the 5"R die and was not too happy with the results so I tried filling them with water and freezing them. The filled & frozen tubes made a near perfect bend so I felt good about trying the filling and freezing method on the proper seat stays.

But alas the seat stays (which are also ~5/8" x 0.028") decided they did not like being cold and rather becoming part of a beautiful bicycle, they would instead prefer to live in the scrap bin. Fortunately I purchased two bicycles worth of tubing when I made my tubing order, so I restarted with the second set, and elected to use the 11"R die instead with no water/freezing. The bend only needed to be 4 degrees so the radius of the die ended up being almost entirely inconsequential for this bend. Shimming the tube with cardboard only on the 11"R die worked out just fine.

After bending both seat stays, I put them in my mitering jig and cut in the seat tube miter. This setup was a bit janky as the mitering jig is mostly unsupported, so I will address this for the next frame build.

However, it seems today was just an unlucky day because one of the seat stays was not secure enough and ended up rotating on me mid-cut, resulting in a pretty nasty gouge.

This is not the end of the world as I can make it shorter with another cut and just reposition where the seat tube will end up meeting the seat tube. Functionally this makes no difference, but it means my frame will look a bit different than what I was hoping for.
 --->
--->

The cope came out pretty much bang on, so at least the mitering setup works pretty well lol.

. The dropouts are tacked only, as they will be brazed in instead of welded.Next step is the seat stays. The seat stays I purchased are straight out of the box (as opposed to the pre-bent chain stays) and I needed to put a 4 degree bend in them. My tube bender has a 5" radius die and a 11" radius die for 3/4" tubing, and this tubing is ~5/8". The person I bought the bender from said he had no problem shimming 5/8" tubing with some cardboard. I did some practice bends on some dummy 5/8" x 0.028" chromoly tubing on the 5"R die and was not too happy with the results so I tried filling them with water and freezing them. The filled & frozen tubes made a near perfect bend so I felt good about trying the filling and freezing method on the proper seat stays.
But alas the seat stays (which are also ~5/8" x 0.028") decided they did not like being cold and rather becoming part of a beautiful bicycle, they would instead prefer to live in the scrap bin. Fortunately I purchased two bicycles worth of tubing when I made my tubing order, so I restarted with the second set, and elected to use the 11"R die instead with no water/freezing. The bend only needed to be 4 degrees so the radius of the die ended up being almost entirely inconsequential for this bend. Shimming the tube with cardboard only on the 11"R die worked out just fine.
After bending both seat stays, I put them in my mitering jig and cut in the seat tube miter. This setup was a bit janky as the mitering jig is mostly unsupported, so I will address this for the next frame build.
However, it seems today was just an unlucky day because one of the seat stays was not secure enough and ended up rotating on me mid-cut, resulting in a pretty nasty gouge.
This is not the end of the world as I can make it shorter with another cut and just reposition where the seat tube will end up meeting the seat tube. Functionally this makes no difference, but it means my frame will look a bit different than what I was hoping for.
The cope came out pretty much bang on, so at least the mitering setup works pretty well lol.
Last edited:
Six O Two
(Marco)
The welds as pictured look awesome - I'd certainly be happy with that result. Bike tube bending seems like such a black art to me. It's very hard to find good information on how to accomplish it, and it seems to take a lot of trial and error! I'm only on bike #2, and I think I'll be using pre-bent tubes for a little bit...