• Scam Alert. Members are reminded to NOT send money to buy anything. Don't buy things remote and have it shipped - go get it yourself, pay in person, and take your equipment with you. Scammers have burned people on this forum. Urgency, secrecy, excuses, selling for friend, newish members, FUD, are RED FLAGS. A video conference call is not adequate assurance. Face to face interactions are required. Please report suspicions to the forum admins. Stay Safe - anyone can get scammed.
  • The 2026 Calgary Area Meetup is set for Saturday May 30th at 10am. The signup thread is here! Robinhood has graciously offered to host the meetup again this year. Please note that you MUST RSVP to the notice linked above if you wish to come.

Working on my South Bend 9C

I've got some 1/4" arriving soon already.

Here is a piece of 3/8 HSS that I ground to do internal threading. It needs sharpening but works great.
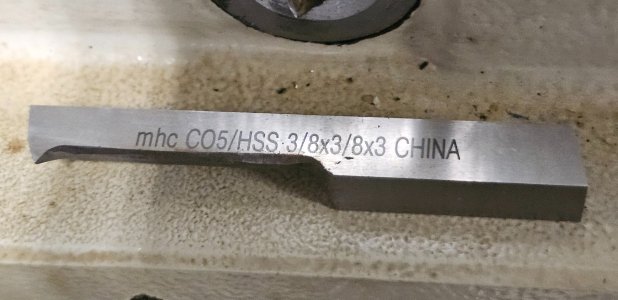
20260630_124819.jpg

The hole is fairly big so no clearance grinding is required, but normally one would relieve the rear and bottom in addition to the front.

I don't normally do any top rake grinding unless I need it.
 
Always good to use what is on hand but if you order 3/16 cutter blanks now they will make your learning cycle much quicker. AliExpress, 4 or 5 mm square hss, 200 long is less than $8. The difference in grinding time is significantly less
Hi Guys,
You will also get four 50 mm blanks or three 66 mm ones out of a 200 mm stick. Don't forget you can also reuse/regrind broken HSS tool bits.
 
If you don't want to cut that one because it's part of a set check out the RESTORE store. Lots of that sort of stuff on the back wall and not that expensive.
 
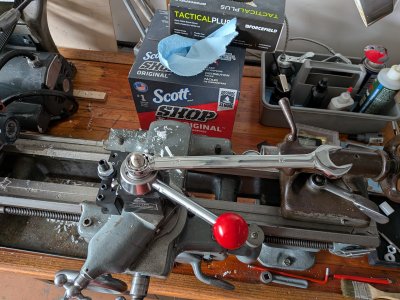
I need a disclaimer for that ugly weld.

Just so you know, mine are much uglier.

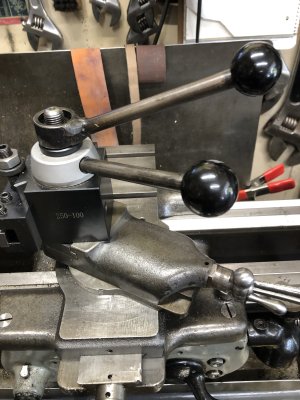
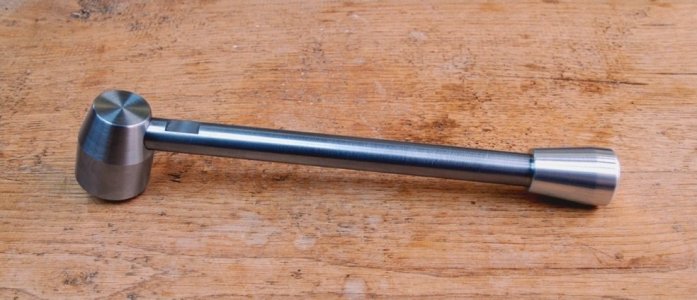
Obviously, you have a lathe and you know how to use it. Make a bigger round nut (probably cone shaped), then drill and tap it for another handle - just like the other one there.

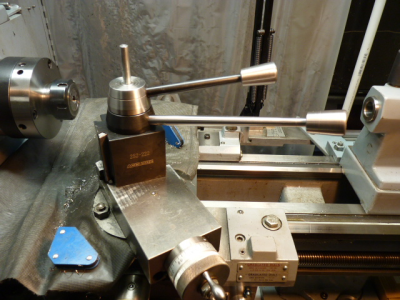
Lots of guys do a top taper to put the handle on a steeper angle.

Screenshot_20260711_085144_Google.jpg

I'm big on stuff like that specifically cuz I can't weld shit.
 
Machine the part that takes the place of the current nut first fully then get it installed to where it is about to lock in tight.

Then mark it and drill for the handle so they line up when in use. You can adjust handle position by throwing it back in the lathe and removing small amounts of material from the bottom
 
The angle will depend on how "robust" your fingers are. You need to make sure there is enough clearance between the two handles so you don't get pinched.

Yes, that's exactly why an angle is preferred. That's a good clarification for the OP. Thanks!
 
How did you drill and thread into the angled side for the handle? I also like that ways cover...
After the taper was done and the angle was good, I shimmed the the nut so the angle part was horizontal in the vise and centred in the mill then drilled and tapped the hole.

The way cover is just a piece of left over BBQ cover.

Your welcome to drop by if your out this way.
 
Back
Top