• Scam Alert. Members are reminded to NOT send money to buy anything. Don't buy things remote and have it shipped - go get it yourself, pay in person, and take your equipment with you. Scammers have burned people on this forum. Urgency, secrecy, excuses, selling for friend, newish members, FUD, are RED FLAGS. A video conference call is not adequate assurance. Face to face interactions are required. Please report suspicions to the forum admins. Stay Safe - anyone can get scammed.
  • The 2026 Calgary Area Meetup is set for Saturday May 30th at 10am. The signup thread is here! Robinhood has graciously offered to host the meetup again this year. Please note that you MUST RSVP to the notice linked above if you wish to come.

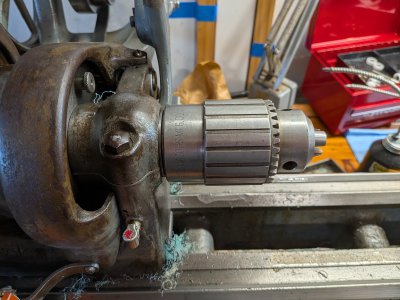
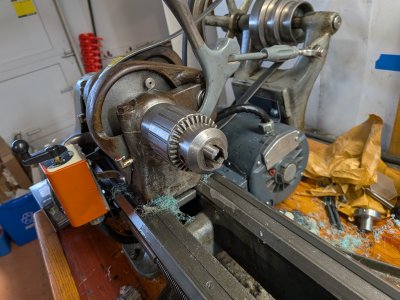
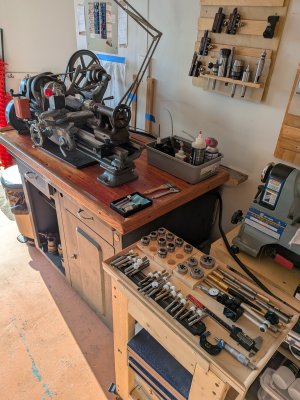
Working on my South Bend 9C

If you are dead set on trying a floating reamer you can put one together quite inexpensively with a quick trip to PA for a pair of "bolt together" matching pully drive faces that match the size of shank your reamer has...just bolt the two flat faces together loosely...instal reamer in one side and mount other side in your tailstock chuck...prob less than $15 total investment.
 
If you are dead set on trying a floating reamer you can put one together quite inexpensively with a quick trip to PA for a pair of "bolt together" matching pully drive faces that match the size of shank your reamer has...just bolt the two flat faces together loosely...instal reamer in one side and mount other side in your tailstock chuck...prob less than $15 total investment.
Hmm, I'm not having luck finding those components searching. Do you know if they might go by another name?
 
Princess Auto---Split tapered bushing, you need a pair of them.

ive had more thoughts on you using floating reamer set-up and again I think its not for your needs....Ill explain...
When we use a floating reamer for chamber reaming, the chamber reamer has a pilot (solid or rotating, it doesnt mater ,they both work) that starts the reamer into the pilot hole straight and the strength of the steel we are cutting keeps it straight (theoretically anyways if you use the right feed & RPM ). In your case you are using a reamer (ordinary machine reamer) without the front pilot so the flutes immediately start cutting on contact without first lining up with the desired bore...I say again the "droop" of the unsupported reamer will fail your wanted outcome.
furthermore i think the drooping reamer will continue to cut into your plastic harder on the underside , sloping in deeper as it goes...it will be easy to tell if this is happening as the flutes of the harder cutting section of your reamer will fill much more quickly than the top side.
My 2 cents worth anyways.
 
I say again the "droop" of the unsupported reamer will fail your wanted outcome.

You might be right. A possible suggestion is to buy a custom piloted reamer from one the major chambering reamer makers. They need not even be told what it's for! But I doubt they would care.

Normally, I'd say that would be cost prohibitive for the application, but if @Golem Pens is always using the same size reamer, or even just a few different sizes, it might make sense.
 
furthermore i think the drooping reamer will continue to cut into your plastic harder on the underside , sloping in deeper as it goes...it will be easy to tell if this is happening as the flutes of the harder cutting section of your reamer will fill much more quickly than the top side.
Yep, the build up has been bottom weighted for sure!

I haven't had time to do another transparent part to test the shortened shanks yet. But hopefully that brings it all better in line...
 
Just about done the pen tooling tray for my cart! And finally nabbed a grease bottle caddy, so the lathe area is feeling controlled. I do want to see if I can lift the drive assembly to mount the pulley cover...

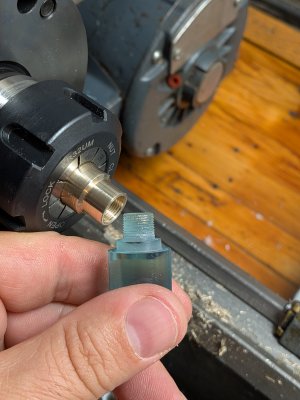
Working on a new mandrel, but unsurprisingly chasing a little run out haha.
 

Attachments

  • PXL_20260429_015747103.jpg
    PXL_20260429_015747103.jpg
    1.7 MB · Views: 9
  • PXL_20260428_031613995.jpg
    PXL_20260428_031613995.jpg
    1 MB · Views: 10
It may be time to start considering options for a new stand/base. This one is more rickety than is probably good...

I get super tired of preaching about lathe stands and lathe alignment. But please allow me to say this again.

A good lathe stand has many important purposes. The first two are trivial. The last two are much more difficult but yet extremely important.

1. Position the lathe at a good working height.
2. Support the weight of the lathe so it doesn't collapse.

3. Provide rigidity to absorb vibrations and stabilize the lathe. This is NOT THE SAME AS BEING STRONG.
4. Provide twisting and bending articulation to the lathe base to facilitate its alignment.

Some guys think storage space is important too. I personally don't care about storage but I wouldn't say no if it had some.

Rant over.
 
Watch those long stringy shavings, if they grab and start wrapping, likely mess the piece you are turning, AND DON’T get get your hands near it.
Looks very nice.
 
Back
Top