• Scam Alert. Members are reminded to NOT send money to buy anything. Don't buy things remote and have it shipped - go get it yourself, pay in person, and take your equipment with you. Scammers have burned people on this forum. Urgency, secrecy, excuses, selling for friend, newish members, FUD, are RED FLAGS. A video conference call is not adequate assurance. Face to face interactions are required. Please report suspicions to the forum admins. Stay Safe - anyone can get scammed.

Welcome to Westwood Metalworks, What is he building in there?

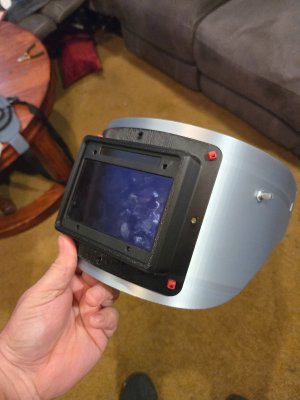
Thanks. That was the easy part....The hard part is going to be making it out of metal now......I need to come up with a better/quicker workflow from printer to casting.....
Silly question probably but why does it have to be metal?
Every welding mask I've owned has been some kind of plastic.
 
Silly question probably but why does it have to be metal?
Every welding mask I've owned has been some kind of plastic.
My short honest answer to that is "just because". I've never done any real sheet metal forming, so I want to give it a shot. I also want to cast the lens bezel, not because I should or that it needs to, but because I can and want to. In short, I have this idea stuck in my head, and I "want" to make it this way. Building it will this way will be a bit of a skill builder and make me learn some new things too. Pretty much the driving force behind most of my projects really. None are ever really financially sensical lol. Oh, and there's a tool build side quest hidden in this project too. I LOVE those.

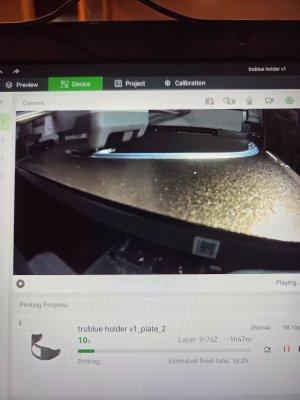
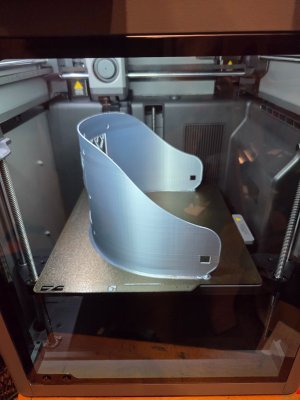
I really am curious though how a printed lens bezel would hold up to use. I might actually make one and use it. The hood itself isn't a suitable print though. Sure it "looks" the part, but it wouldn't last for one rod. I'm sure there are filaments that would hold up to the job much better than PLA though.

I'm learning about this 3d printer stuff all over again. Previously I never really thought of printed parts for end use cases. This is now different, so I want to explore those avenues.
 
20251110_083749.jpg
20251110_083742.jpg20251110_083729.jpg

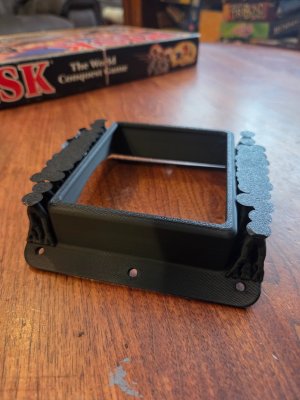
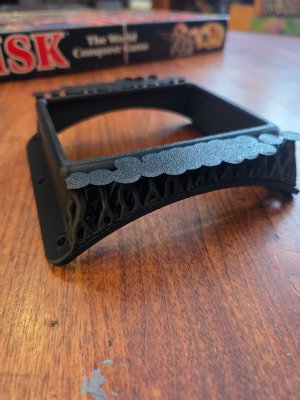
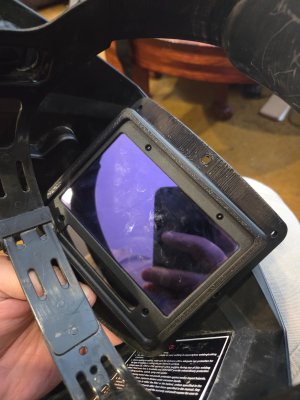
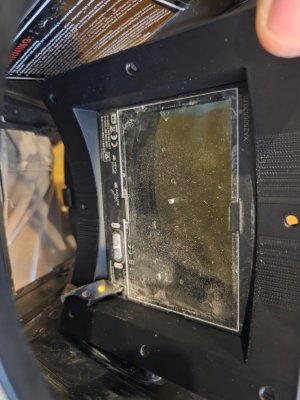
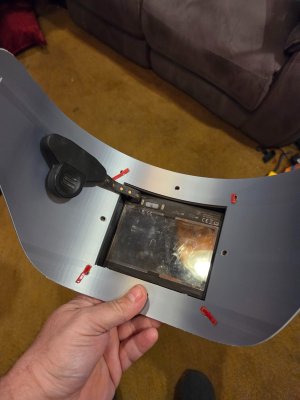
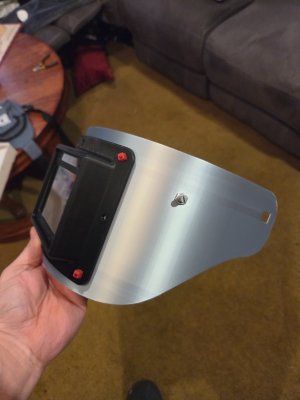
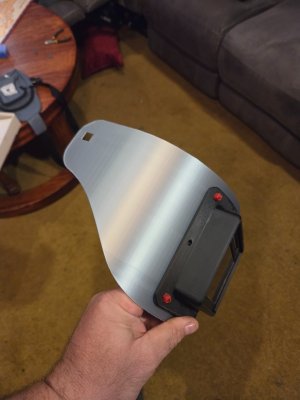
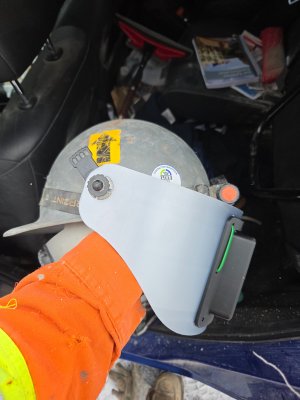
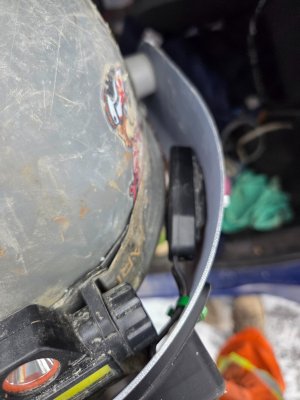
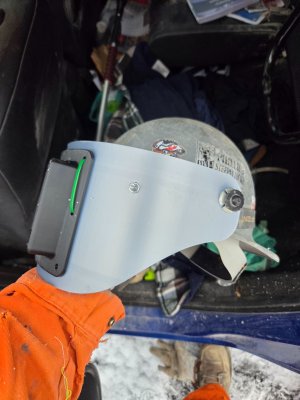
I think this has given me enough info to adjust and move forward. The fit is good. Needs a bit here and there. The side profile is perfect to clear my shoulders when I'm tucked in tight, and it fits a halfmask just fine.

Im going to make the top border a bit taller, but otherwise I'm pretty alright with it. The controls area will not be like that either, I just needed a spot to hang it for now.
 
I'd have to redo it from sheet plastic anyway. The printed one "looks" the part, but is not the right type of material or design. It started cracking just mounting it to the hat, and is way too flimsy. I wouldn't have ever though about even printing it to test if it wasn't so easy. I would have used bristol board or other thicker carboard to make a template from.

If the Al transfers too much cold, I'll cross that bridge when I come to it, or just get closer to the weld 😀.

I could probably print one with a ribbed structure from a more suitable plastic, but that defeats the purpose of this project....
 
Got some shop time today and actually felt like working on the Belt grinder. There are still a couple small details to the main frame that needed sorting out that keep me from finishing it and painting it. The problem is that it works (pretty good I might add), so I've really not wanted to tear it down to do them. A problem plaguing most of my projects when they get to the usable stage....

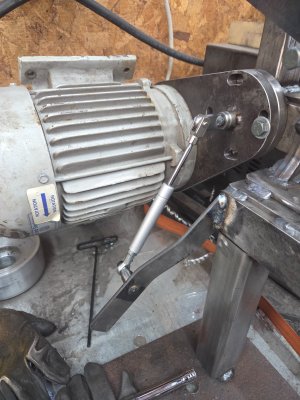
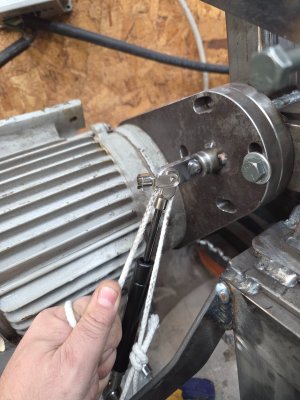
One of the issues was a gas shock to help rotation of the frame from vertical to horizontal. It's not balanced, so laying it down, and getting it back up again is a chore due to the motors weight. I figured out a solution a few months ago, ordered the shock, and finally had enough wind in my sails today to do something about it...The first iteration I made was really nice. I took time to make it look good, nice lines, took lots of pics to document making it, etc. It didn't work, and was too short (but I followed the cad model....F in designer.....). Not salvageable Into the scrap bin it went. The 2nd one was hammered out quick, and figured out on the fly. Works great. Looks like shit, but at this point I don't care....I'm going to cut it off and clean it up a bit now that I know it works.

First
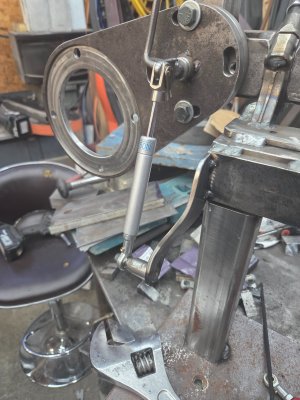
20251113_161222.jpg

Second
20251113_164439.jpg

The other problem is that is doesn't quite work with the weight of motor (works great without 😀 ). It's a 33lb spring, so I ordered a 55, and 65 which will be here tomorrow. I'm pretty sure one will work, but If neither work, I might have to scratch some more hair off my head......

The other thing I need to make is a more permanent riser for the main frame. The two vertical tubes holding it up are "temporary" with only a couple good tacks holding them on. I wanted to finish designing the other attachments for it before really committing to something there, and now that those are done I have a clearer path on what to do there. Once that's done I can paint, and start a build thread/video......I hope....It's only been a year....
 
20251115_204823.jpg

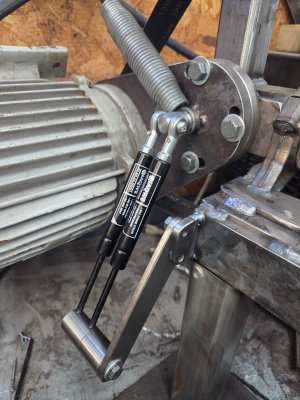
Got a 65lb shock installed when I got home. Much harder to compress and install, but some rope solved the problem. It did not solve the weight problem though. 65lbs is almost enough, but not quite. Its a very easy one handed operation to go from horizontal to vertical now, but it still wants to fall at rest. 80 might do it, but I can't find an 8" shock higher than 65lbs. I can double them up though , it just means redoing the mounts, which I'm fine with. Shocks and rod ends all came in 2 packs, and i have 35, 55, and 65lbs so lots of options to play with there and get it figured out.

I do like how there is positive engagement for both positions, and a helping hand from gravity to move between them. Getting closer....
 
Its nice to finally chalk one up in the win column around here. Been tough sleddin the last couple weeks.

20251208_160705.jpg

Took about 4 hours today to make all the parts and assemble. Which was about 30 minutes longer than I had energy for, but it works. And it works great. Nice positive stop at both positions with easy two finger transition between. Those are the two 65lb springs. For the sake of experimenting id like to play with the 50lbs ones too, but that will have to wait for another day. Still battling this cold/flu/covid stuff. 2 weeks so far. Much progress over the last 3-4 days, but still not a lot of energy. Was just nice to get off the couch and feel productive today. I needed that win.
 
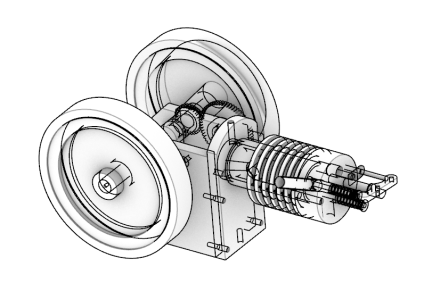
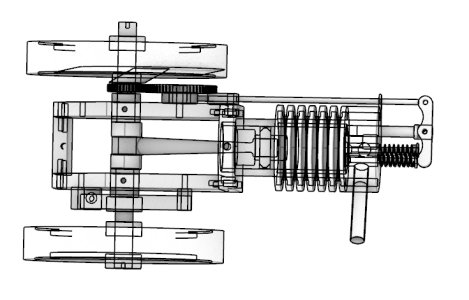
Also I found my Upshur engine plans yesterday and started modeling the parts last night as I like working from a CAD model vs just prints alone.

1765237161529.png1765238380632.png

Still a few things left to model like the spark plug and carb, plus I'm going to model all the variations too. Once done, I'll decide which model I want to build, which changes I'd like to make and then go from there. I'm leaning towards the water cooled hit n miss horizontal version, as I'd like to cast the water jacket, and maybe the base/frame too. I modeled it once before but I lost that and the PDF plans I bought when my laptop crashed, and thought I'd lost the one I printed out too until some cleanup yesterday unearthed them in an unexpected spot. I never got this far before on the previous model, so this will kick the can a bit further down the road. Finding the plans rejuvinated my interest in this again. As if I needed another winter project lol.

Still slowly but surely clawing my way back from that crash. The only big project lost that's left to remodel was the sawmill. I hope I find the motivation for that again someday but It's not going to happen this winter.
 
Back
Top