• Spring 2024 meetup in Calgary - tentative date Saturday, April 20/2024. Other regions are also discussing meet ups. If you want one in your area get going on organizing it! discussion
  • We are having email/registration problems again. Diagnosis is underway. New users sorry if you are having trouble getting registered. We are exploring different options to get registered. Contact the forum via another member or on facebook if you're stuck. Update -> we think it is fixed. Let us know if not.
  • Spring meet up in Ontario, April 6/2024. NEW LOCATION See Post #31 Discussion NEW LOCATION

trlvn's terrific travelling RF30 tale

DavidR8

Scrap maker
Administrator
Moderator
Premium Member
@David_R8 are your spindled bearings sealed or open and grease packed?
Mine have dust seals but they are definitely not "sealed" as I've had them heat up and barf out grease everywhere.
I have Nachi true sealed bearings sitting for an upgrade when I decide to tear it apart.
 

trlvn

Ultra Member
The weather is still crap and so I've dealt with a couple of other little matters. Supposed to be partly cloudy and 4C tomorrow so hopefully I can get some pieces to the basement without making a mess.

Craig
 

trlvn

Ultra Member
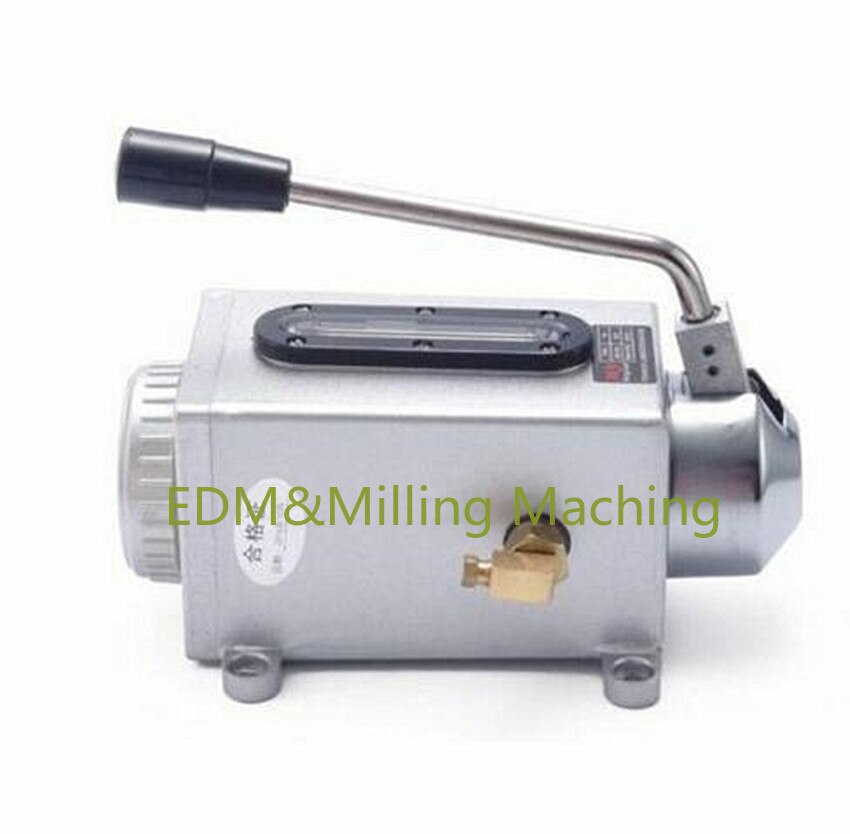
That is crazy cheap! I never even considered a one-shot oiler as I assumed it would be way too costly. It is not like I need another project to add to the list, but that would be a cool upgrade.

You don't have a link for an oil distribution manifold, too, do you?

Craig
 

Susquatch

Ultra Member
Administrator
Moderator
Premium Member
You don't have a link for an oil distribution manifold, too, do you?


Unless I am totally out to lunch (which is probably more than likely), it ought to be easy to make one. The biggest problem will be the equalizers.
 

combustable herbage

Ultra Member
Premium Member
HI Craig like the setup for the disassembly you have got this:), I am curious of why you didn't separate the column and the head.
I know you will be safe and have it down there in no time and then on to re assembly and then a nice winter of milling!
 

trlvn

Ultra Member
In today's episode, heavy stuff got moved!

The weather cleared a bit today, the snow melted and my son provided some assistance toting pieces down the stairs. A note about the base. I mentioned before that it is pretty overbuilt. I'm not sure which is heavier--it or the base casting!

base and stand.jpg

While the machine was in the garage, it was exceedingly difficult to slide it across the pretty-smooth concrete pad. In the basement, I have to assemble it in an area free of overhead obstructions and then slide it into its "forever home". Before moving it, I cleaned up the steel pads on the end of the legs and filed them to make sure there were no sharp edges to dig in and catch.

I've taken a chance and applied some stick-on furniture slides. I'm afraid that they won't stand up to the weight of the machine when fully assembled. They do make it easy to slide the table and base around, however.

In a perfect world, I would have sprayed some paint on the base. Alas, the world is what it is and there is no way I'm going to spray paint next to the furnace and gas water heater.

My son and I also brought the head down from the garage. Here it is strapped to my 2-wheeler:
head on cart.jpg

This worked really well. The load was reasonably well balanced on the cart and with me on the handles and him below, it was nice and easy to bring it down one step at a time.

Here is the head unstrapped:
head in basement.jpg

The next step is to fix the stripped bolt hole in the casting where the column bolts on. From a quick look, Bubba needed to use a longer bolt! The previous owner mounted the DRO using these bolts and passing through a piece of 1/4" steel--which reduced the bolt engagement. The casting is nearly 1 inch thick in this spot and I think there is lots of meat left to hold a longer bolt. Certainly looks like the hole is threaded all the way through. Hopefully I can get a tap to clean up the damaged section and then determine how many good threads are left.

After that, I need to move @Canadium 's engine hoist down to the basement and put the head back on.

Craig
 

trlvn

Ultra Member
HI Craig like the setup for the disassembly you have got this:), I am curious of why you didn't separate the column and the head.
I know you will be safe and have it down there in no time and then on to re assembly and then a nice winter of milling!
I felt the head alone was going to be pretty awkward to handle. Between the DRO and the magnetic starter, there are a couple of rather fragile bits. I think it turned out pretty well leaving it attached to the column. With the temporary base, it was very simple to strap it to my 2-wheeler.

Craig
 

Susquatch

Ultra Member
Administrator
Moderator
Premium Member
In today's episode, heavy stuff got moved!

Wow, just wow..... That is one very solid machine. Makes my huge mill drill look chinsy.

Great job!

On the bolt, if it turns out that you don't have enough length, drill it out a wee bit and install a 2 or 3 or 4 helicoils stacked to fill the length of the hole.

Is your son for hire?
 

DavidR8

Scrap maker
Administrator
Moderator
Premium Member
Nice work.
Brings back memories of dismantling mine in the bed of my truck and manhandling it out.
My stand is equally heavy; I can barely lift it as it's made of .25 wall 1.5" square tubing. :cool:
 

YYCHM

(Craig)
Premium Member
base-and-stand-jpg.18654


Is the upright and the base all one casting?

INBASEMENT.JPG

On my machine the upright is part of the column.
 
Last edited:

trlvn

Ultra Member
Is the upright and the base all one casting?
No, there are 4 bolts holding the 2 pieces together. A person _might_ be able to get in through the access panel at the back and unbolt them. Maybe. I didn't bother to try.

The shape of your castings is rather different from mine. The section between the column and the base is quite different, as you mentioned. Mine also has a wide tab along each side of the base where it bolts down to the stand. You must need quite long bolts to secure the base to the stand. Your pictures match up more closely with those on Rick Sparber's site than mine do. I hadn't realized that there was this amount of variety in "RF-30" machines. I thought the differences where more cosmetic, like different handwheels or whatnot.

Maybe this accounts for the different weight estimates? My manual says the net weight, excluding stand, is 270 kg which is just short of 600 pounds. Sparber weighted all his components and came up to 500 pounds.

Craig
 

YYCHM

(Craig)
Premium Member
While the machine was in the garage, it was exceedingly difficult to slide it across the pretty-smooth concrete pad. In the basement, I have to assemble it in an area free of overhead obstructions and then slide it into its "forever home". Before moving it, I cleaned up the steel pads on the end of the legs and filed them to make sure there were no sharp edges to dig in and catch.

I've taken a chance and applied some stick-on furniture slides. I'm afraid that they won't stand up to the weight of the machine when fully assembled. They do make it easy to slide the table and base around, however.

Did you give consideration to putting casters on the stand? Would allow you to move it around if need be.
 

6.5 Fan

Ultra Member
Premium Member
Good job on the long awaited move. My machine is like YYCHM's with the column and upright being together, Mine is a LC-30A not a RF30, came from a different part of the empire i guess.
 
Top