Thanks for checking for me. Sorry if I gave you the wrong impression but I, too, believe that 'Bubba' (the mythical previous owner) stripped the threads the old fashioned way--by pulling for all he was worth! I think he also failed to consider that he'd inserted a 1/4 inch plate that reduced the bolt's engagement in the casting. That coupled with the loose fit of the bolt in the hole meant that the threads in the cast iron crumbled.
Re 1/2-13 v. 1/2-20, the problem is, as
@John Conroy pointed out, that the tap drill for 1/2-13 (27/64 or 0.4219) won't completely remove the existing 7/16-14 threads (0.4375). The tap drill for 1/2-20 (29/64 or 0.4531) will. Lots of people use 1/4-20 in cast iron so I expect that 1/2-20 ought to form OK threads. And I have nearly 1 inch of casting available so lots of threads.
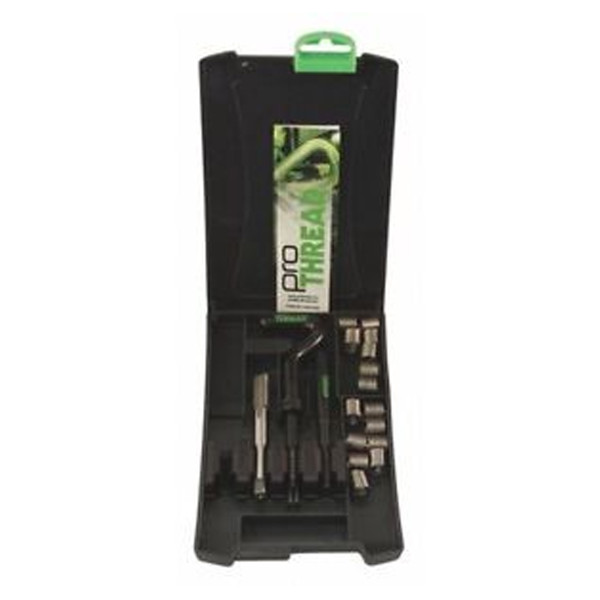
I just don't have any experience with helicoils (or similar). I did, however, see a reference tonight that there are longer inserts available (7/8" v. 1/2"?). The kits seem to be pretty darn expensive, $78 at BoltsPlus?

www.boltsplus.ca
So I bought 1/2-20 bolts this afternoon but haven't drilled and tapped for them yet. (My feet still get tired and swollen at times after the chemo.) As an aside, Home Depot had no Grade 2 or Grade 5 bolts in 7/16--either UNC or UNF?
Finally re Loctite, the problem is that these are the bolts that will be used for tramming the head. I don't want to have to torch them to get them free if the machine needs an adjustment.
@Susquatch I do appreciate you sharing your experience. I may not be following your advice exactly but you are surely helping me understand the issues and think through the options. That is always good in my books!
Craig
 The bolts on my mill are socket head cap screws like Susquatch has and are original.
")