1/2 stickout is pretty far without a gas lens on any cup. The norm in a general application is 1/4-3/8 with the appropriate size cup, you can get out pretty far in a corner or a deep grove without running into problems.
There are a lot of variables for stickout, and tungsten diameter isnt really one of them, its more based on cup size, gas flow and calmness of the area, not sure how ck worldwide came up with the 3xdia thing, how does that work with .040...... .120 stickout, not a chance
Butt welding 20g isnt that easy, its going to take some practice, there isnt a magic setting that will cure this
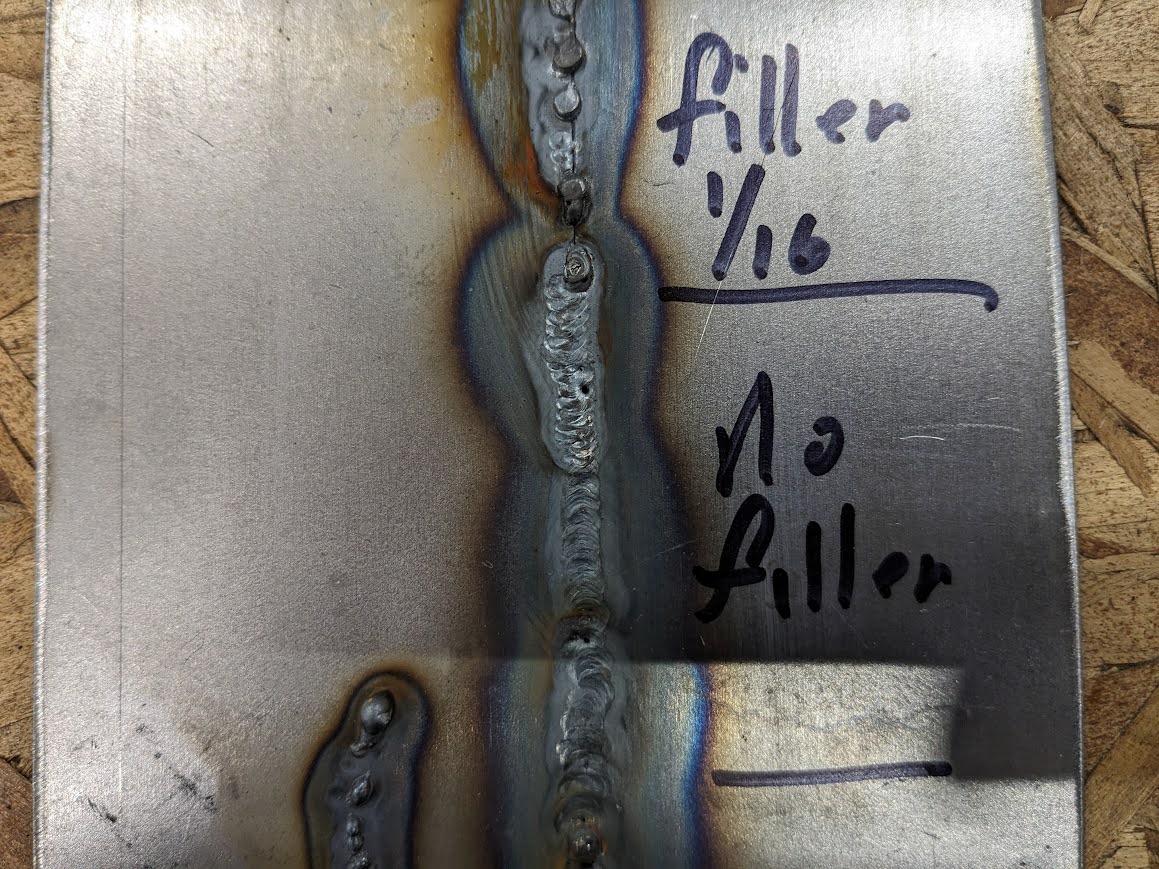
i had a minute so i went out and gave it a go, i only had galv 20g, sanded off the galv, .040 tungsten, machine at 25, using about 1/2 pedal. 1/16 filler, its tricky, i suspect 1/16 tungsten would be a little more difficult. It may be possible to get a nicer looking weld with a bit of practice, but i honestly wouldnt hope for much more than this appearance wise, so much penetration i cant even tell wich side was the weld side and wich was the burn through, and this is on new steel, i would expect old automotive sheet metal to be more difficult given it will most likely not be of uniform thickness
what im getting at is, dont be to hard on yourself, what your attempting isnt easy
View attachment 42687
View attachment 42688

")