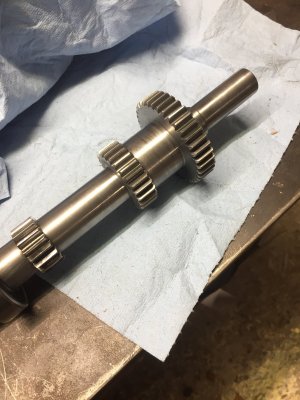
The eagle has landed, Brent, it's a thing of beauty.
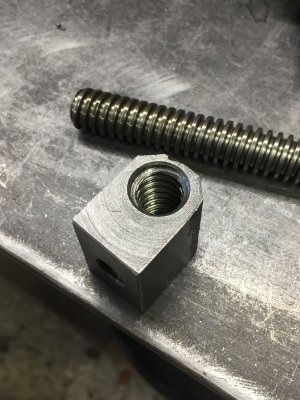
A couple min. with 1000 grit paper and they're sliding together perfectly.
I doubt a professional machinist could have produced anything better.
Have to see if I can find time tomorrow to get the transmission back together.
I'm in the middle of renovating the kitchen, which I have been promising to do for over a decade, can't let her catch me having fun.