• Scam Alert. Members are reminded to NOT send money to buy anything. Don't buy things remote and have it shipped - go get it yourself, pay in person, and take your equipment with you. Scammers have burned people on this forum. Urgency, secrecy, excuses, selling for friend, newish members, FUD, are RED FLAGS. A video conference call is not adequate assurance. Face to face interactions are required. Please report suspicions to the forum admins. Stay Safe - anyone can get scammed.

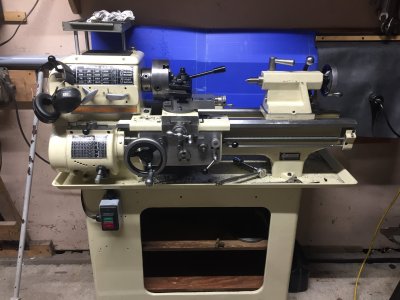
Rebuilding a 10" Standard Modern Utilathe

@That-Guy, thank you for the kind words.
I put the gearbox back together minus the one missing gear, so I only have 2 high and 2 low.

It's enough to get it spinning under power, man is this machine loud, I've never run a gear driven lathe before so I'm sure they are louder than belt driven but this is so loud I have to wear ear muffs.
I also noticed while cleaning everything up that there are few other gears inside that have been remade, that is probably where the noise is coming from.
Also drilled out the drive pulley to 3/4" and tried my hand at broaching, it needed some fine tuning with a file but it's running true.
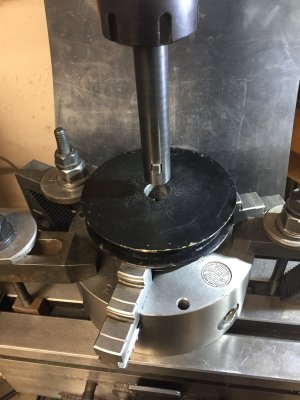
IMG_1377.JPG

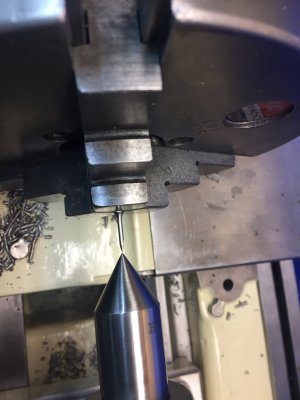
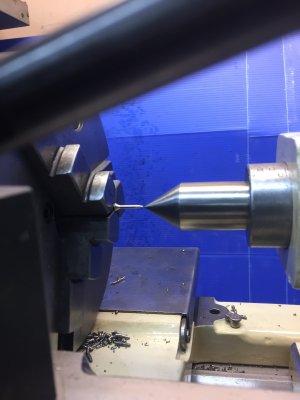
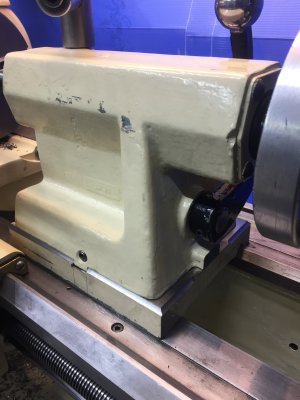
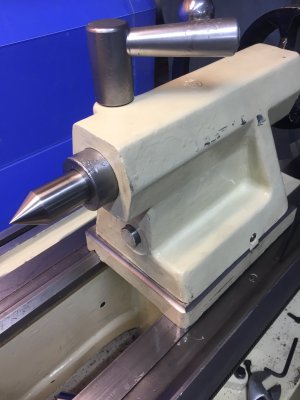
I finished up the tail stock today and mounted it, it looks a little strange being a completely different design than the original, but only me and some of you guys would notice it.
The base ended up just a hair lower than I wanted but a 0.008 shim took care of that. The first time I have ever used a fly cutter for the final cut on the tail stock base and wish I had set up a shower curtain around me and the mill, little crumbs of cast iron everywhere, 20ft. away.
I'm making chips!
IMG_1383.JPGIMG_1382.JPGIMG_1378.JPGIMG_1379.JPGIMG_1380.JPGIMG_1381.JPG
 
@That-Guy, thank you for the kind words.
I put the gearbox back together minus the one missing gear, so I only have 2 high and 2 low.

It's enough to get it spinning under power, man is this machine loud, I've never run a gear driven lathe before so I'm sure they are louder than belt driven but this is so loud I have to wear ear muffs.
I also noticed while cleaning everything up that there are few other gears inside that have been remade, that is probably where the noise is coming from.
Also drilled out the drive pulley to 3/4" and tried my hand at broaching, it needed some fine tuning with a file but it's running true.
View attachment 57217

I finished up the tail stock today and mounted it, it looks a little strange being a completely different design than the original, but only me and some of you guys would notice it.
The base ended up just a hair lower than I wanted but a 0.008 shim took care of that. The first time I have ever used a fly cutter for the final cut on the tail stock base and wish I had set up a shower curtain around me and the mill, little crumbs of cast iron everywhere, 20ft. away.
I'm making chips!
View attachment 57215View attachment 57216View attachment 57218View attachment 57219View attachment 57220View attachment 57221
outstanding work
 
I'm making chips!
Awesome! Making chips is what it's all about!

Had to laugh at your first fly cutter experience! Wait till you use a big face mill! I like to make cardboard chip shields (see cardboard thread) to contain the shrapnel (flying swarf)! I just set them where they are needed. Works good enough for me.
 
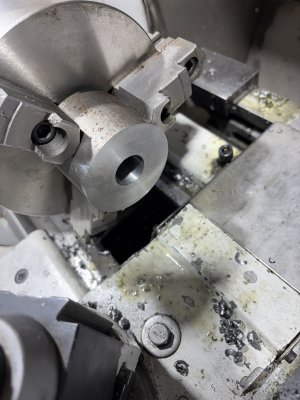
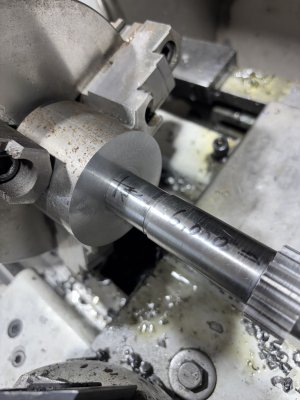
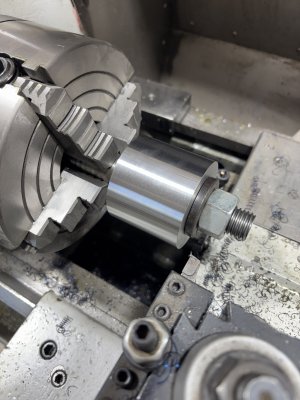
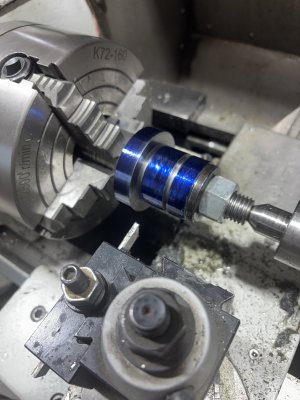
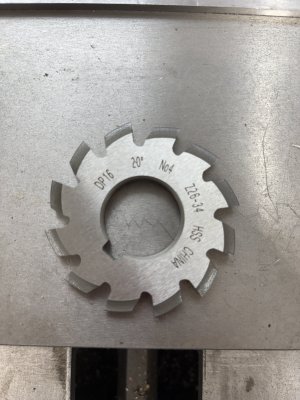
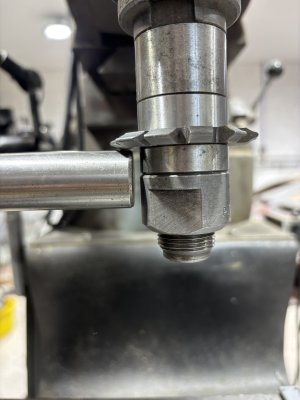
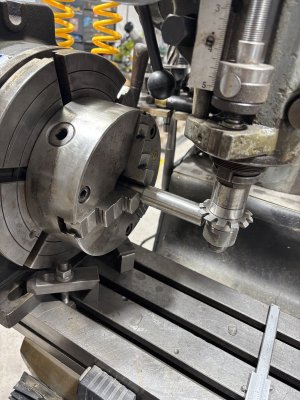
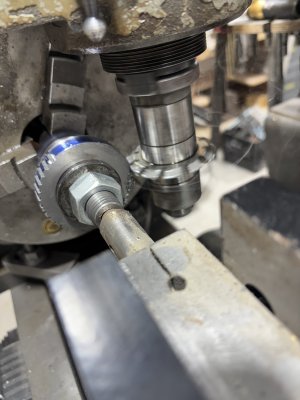
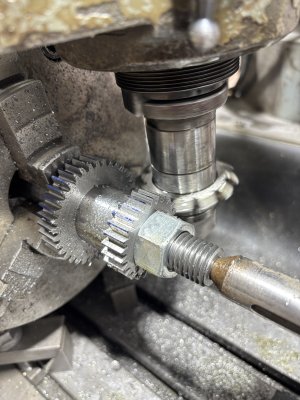
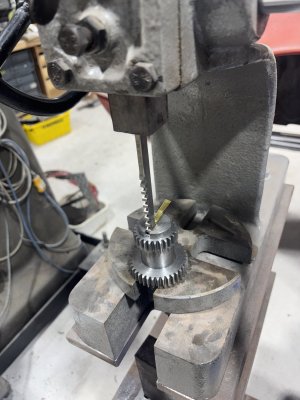
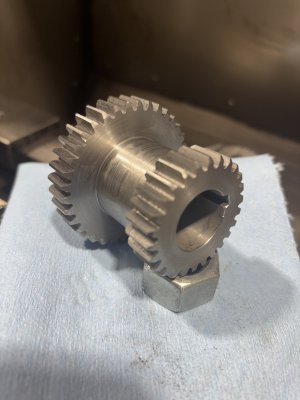
Ok @skippyelwell I have started on your new double gear. It will be made from 2-1/2” 4140 steel. I cut the blank today, sized it to 2.024” in length (as required) and then drilled and reamed the centre to 0.875 or 7/8” as required. It fits perfectly onto my blank shaft and arbour for the gear making process. Tomorrow it will be chucked up in the 4 jaw and the gears sized. After that it is onto the mill for some dentistry- as in making teeth!

IMG_3439.jpeg

IMG_3441.jpeg

IMG_3440.jpeg

IMG_3442.jpeg

I’ll send you some video of my machines running later on today.
 
Got the rough blank done today and it is all to spec within about 1/2 thou. The dentist visit is next after I do some milling machine tune up and figure a way to lift my “way to big” rotary table and chuck onto the table. My old shop had a nice beam for the chainfalls - will have to work on something similar…..

IMG_3444.jpeg

Set in the 4 jaw and big gear OD sized.

IMG_3445.jpeg

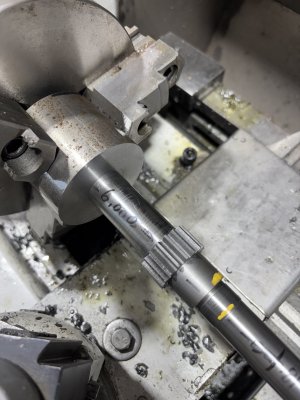
After smaller gear OD sized I took the parting tool and cut reliefs on both sides to allow me to hog out the middle down to 1.372”

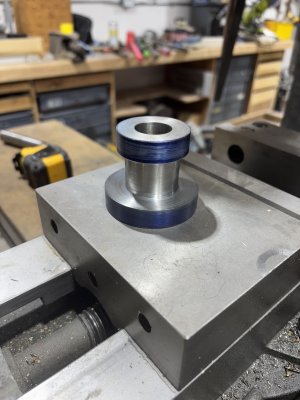
The final blank awaiting its dental appointment:

IMG_3446.jpeg


I will cut the keyway at the end of the machining. That way, if my broach breaks or the keyway goes south I can curse and swear and beat the tar out of the project without feeling guilty.

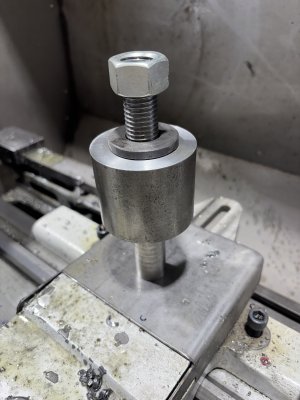
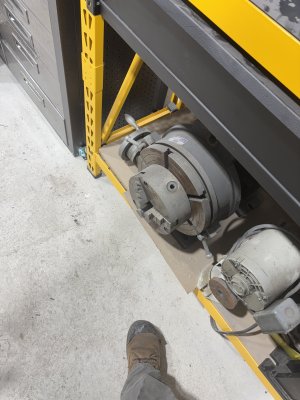
The feats of strength:

IMG_3447.jpeg


@skippyelwell : can you confirm the keyway size? It “should be” a Woodruff key #9 (3/16 x 3/4 Dia)
 
Brent, the woodruff key is definitely 3/16" or 4.90mm wide. 3/4" deep sounds right but I can't check as it is installed in the gear box at the moment so I can use 2nd gear.
 
Back
Top