• Scam Alert. Members are reminded to NOT send money to buy anything. Don't buy things remote and have it shipped - go get it yourself, pay in person, and take your equipment with you. Scammers have burned people on this forum. Urgency, secrecy, excuses, selling for friend, newish members, FUD, are RED FLAGS. A video conference call is not adequate assurance. Face to face interactions are required. Please report suspicions to the forum admins. Stay Safe - anyone can get scammed.

Rebuilding a 10" Standard Modern Utilathe

No steel or sheer pins, the gear is attached to the sliding boss with 4 machine screws, the sliding boss is keyed to the shaft so the gear teeth are the weak link.
You can see in these 2 pics how the gear is attached, it is a 37 tooth.

@Brent H, thanks for identifying that gear for me and the other info, I'll get you all those dimensions later today. The OD will be an estimate based on the height of the teeth of the matching gear.
 

Attachments

  • IMG_1033.JPG
    IMG_1033.JPG
    1.4 MB · Views: 4
  • IMG_1034.JPG
    IMG_1034.JPG
    1.4 MB · Views: 4
Looking again at Brent's diagram, the #6 gear doesn't appear to look any different than the other steel gears so the phenolic gear could very well be a repair.
 

Attachments

  • Screenshot 2024-11-26 at 05-54-16 Rebuilding a 10 Standard Modern Utilathe Canadian Hobby Meta...png
    Screenshot 2024-11-26 at 05-54-16 Rebuilding a 10 Standard Modern Utilathe Canadian Hobby Meta...png
    847.5 KB · Views: 3
As a fellow who frequently repairs farm equipment, this is one of four problems I see all the time. Guys make substandard brass, aluminium, or plastic gears instead of steel, or they use regular bolts instead of grade 5 as shear pins, or they put a bigger fuse in, or they apply insufficient or excessive torque. All four are guaranteed problems in the near future.
 
You asked about the belt- it is

B30 (5L330) You can purchase on Amazon or Canadian Tire etc.

Be careful with cheap belts, I've had some terrible ones from Crappy Tire. If the profile is not very consistent, it's like it the belt gets tighter as a wider section travels over the pulley and you get lots of vibration. Take some calipers and measure the width for consistency when buying it or better still stick to quality brands from an industrial supplier or a link belt.
 
OK Brent so that confirms it, my phenolic gear is a repair, the teeth must have been mash up and someone cut the gear down to accept the new replacement.
So why did you make another double gear unit? The original looks to be in usable condition.
Want to sell it???????
 
I made the gear, shaft and a couple other parts for Matt. Not sure of his handle on here. He has all the original parts and he dropped off the full gearbox so I could make sure it all worked properly. The lower end gear works were very worn on his machine - certainly not in the same condition you have.

I have the 4140 stock and gear cutters. Just need the time. Lathes and mill ready - just me

Perhaps Matt is watching- not sure - will search my links and he maybe able to help?
 
update, stripped down to bare metal, man I hate drive screws, such pain to get them out.
Not really the colour I wanted, thought it would be darker but it will make me clean it more.
I thought I would give the thin plastic wipers a try, felt always seem to collect and hold metal shavings against the ways, dragging them back and forth.
 

Attachments

  • IMG_1194.JPG
    IMG_1194.JPG
    893.7 KB · Views: 19
  • IMG_1196.JPG
    IMG_1196.JPG
    1.2 MB · Views: 19
  • IMG_1191.JPG
    IMG_1191.JPG
    834.6 KB · Views: 19
  • IMG_1189.JPG
    IMG_1189.JPG
    858 KB · Views: 19
  • IMG_1188.JPG
    IMG_1188.JPG
    891 KB · Views: 18
  • IMG_1176.JPG
    IMG_1176.JPG
    947.3 KB · Views: 18
  • IMG_1175.JPG
    IMG_1175.JPG
    1,006.8 KB · Views: 18
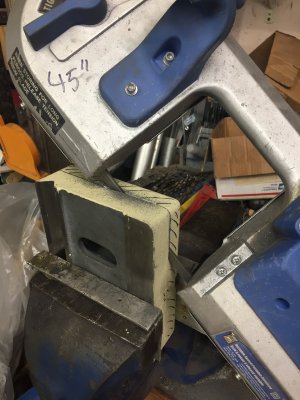
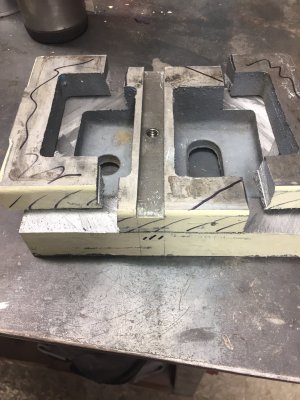
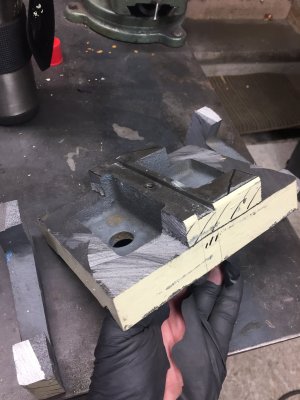
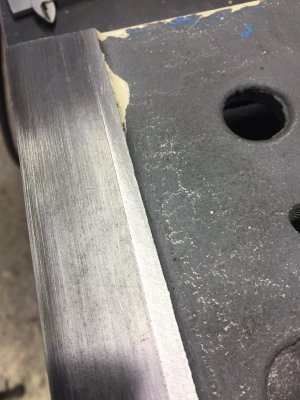
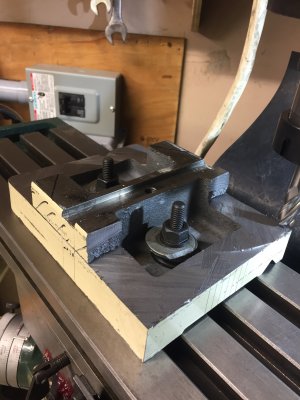
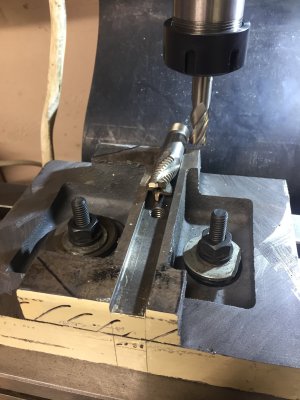
I installed the new bearings so the spindle could go in and I finally get a measurement of how much needs to be removed from the base of the donor tailstock, 1.0185".
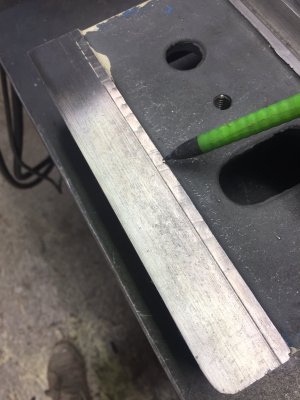
I think it makes more sense to remove material from the top of the base so once it is down to the right height all that needs doing is cutting the slot for the side to side locator.
Should I cut it 20 thou deeper than needed so I can shim it up if need be?

It looks like it should be a pretty straight forward job (says the greenhorn), think I can pull this off?
 

Attachments

  • IMG_1296.JPG
    IMG_1296.JPG
    749.9 KB · Views: 10
  • IMG_1297.JPG
    IMG_1297.JPG
    620.5 KB · Views: 10
  • IMG_1299.JPG
    IMG_1299.JPG
    705.2 KB · Views: 9
  • IMG_1300.JPG
    IMG_1300.JPG
    915.4 KB · Views: 10
update, stripped down to bare metal, man I hate drive screws, such pain to get them out.
Not really the colour I wanted, thought it would be darker but it will make me clean it more.
I thought I would give the thin plastic wipers a try, felt always seem to collect and hold metal shavings against the ways, dragging them back and forth.
looking great!
 
Back
Top