• Scam Alert. Members are reminded to NOT send money to buy anything. Don't buy things remote and have it shipped - go get it yourself, pay in person, and take your equipment with you. Scammers have burned people on this forum. Urgency, secrecy, excuses, selling for friend, newish members, FUD, are RED FLAGS. A video conference call is not adequate assurance. Face to face interactions are required. Please report suspicions to the forum admins. Stay Safe - anyone can get scammed.

Rebuilding a 10" Standard Modern Utilathe

skippyelwell

Well-Known Member
The story starts here, https://canadianhobbymetalworkers.c...ern-lathes-1300-lindsay-on.12437/#post-168131
I was so pumped when I went to see it, I looked right past all of the glaring red flags.
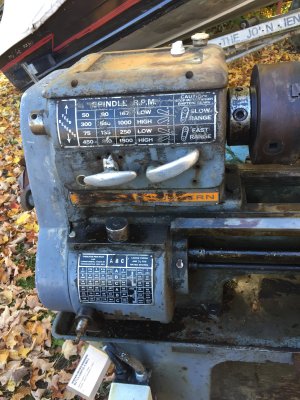
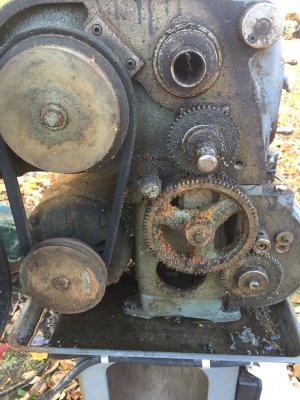
It spent part or all of its life at a Barrie high school until it didn't work anymore, then was auctioned off, I bought it from the guy that won the auction. He stored it outside for an undetermined amount of time but it was long enough for half a liter of water to accumulate in the gearbox.

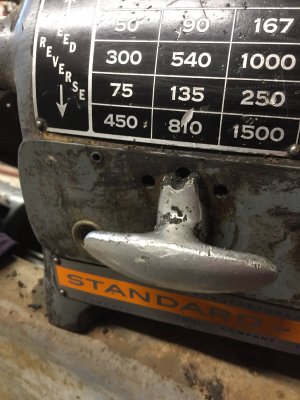
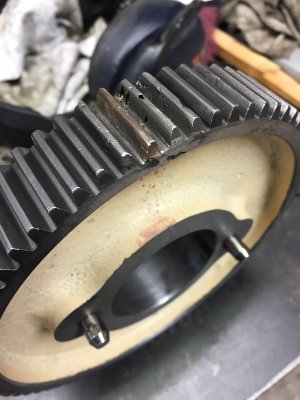
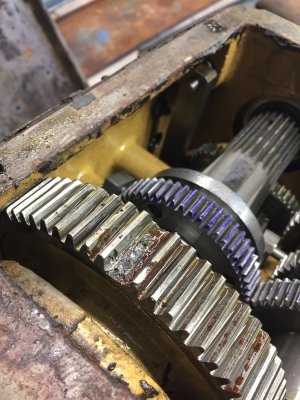
So far I've found 3-4 broken or missing gear shift handles, a missing tooth on the bull gear and some very crunchy bearings, I've ordered all new.
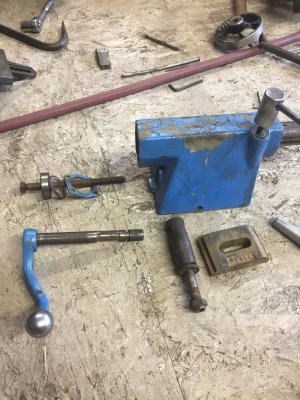
The original tail stock was missing in action and tail stock from a 13" Utilathe was included, I may be able to have 1.5" milled off the base of it but we'll see, that will only leave about 1/2" of the base plate, so not sure that is going to work.

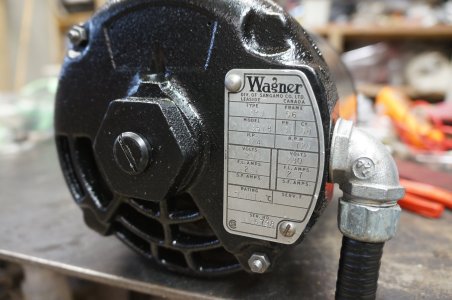
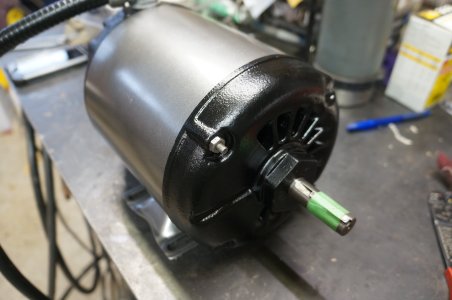
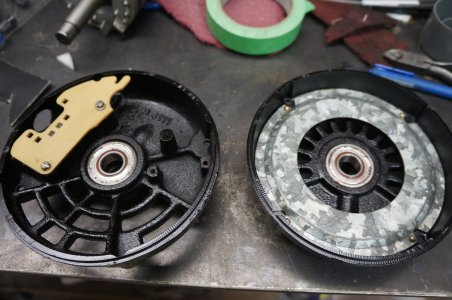
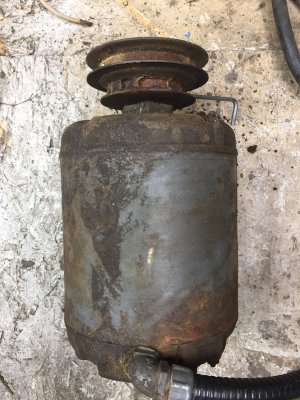
The motor was just packed with grease and sawdust when I took it apart, I guess some student figured squirting some axle grease in to it would make it run better.
It cleaned up well though, the SKF bearings were in perfect condition once they were washed and blown out so I repacked them and reinstalled.
It all sounds bad I know but I'm pretty sure I can bring it back, I love a challenge.
 

Attachments

  • IMG_0776.JPG
    IMG_0776.JPG
    1.4 MB · Views: 18
  • DSC00444.JPG
    DSC00444.JPG
    1.5 MB · Views: 15
  • DSC00445.JPG
    DSC00445.JPG
    1.1 MB · Views: 14
  • DSC00442.JPG
    DSC00442.JPG
    1.7 MB · Views: 15
  • IMG_0908.JPG
    IMG_0908.JPG
    1.4 MB · Views: 14
  • IMG_0877.JPG
    IMG_0877.JPG
    1.5 MB · Views: 15
  • IMG_0781.JPG
    IMG_0781.JPG
    1.5 MB · Views: 16
  • IMG_0777.JPG
    IMG_0777.JPG
    1.4 MB · Views: 17
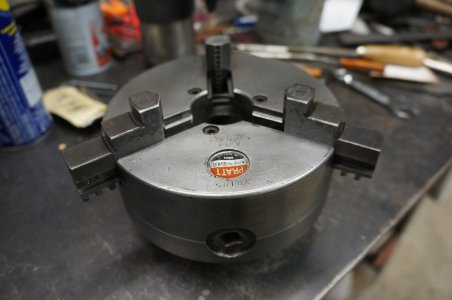
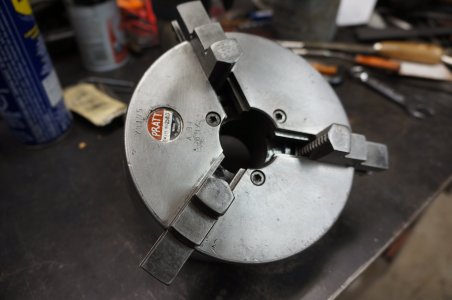
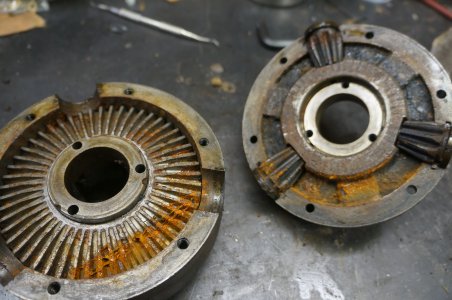
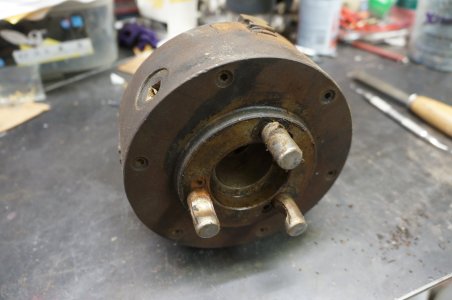
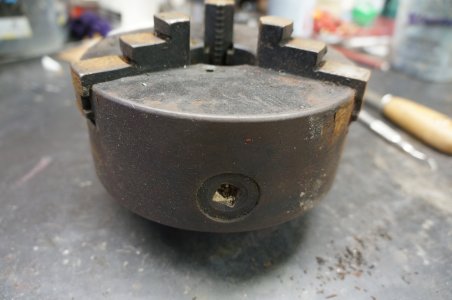
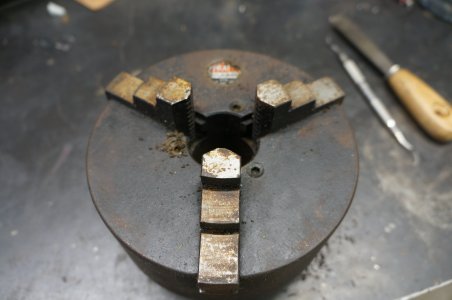
The chuck was solidly locked up with rust but once it was all clean and the moving surfaces had been filed there was actually very little wear on it, maybe it was thrown on just before the auction.
Not at all the same kind of abuse as the rest of the machine. Things are looking up.

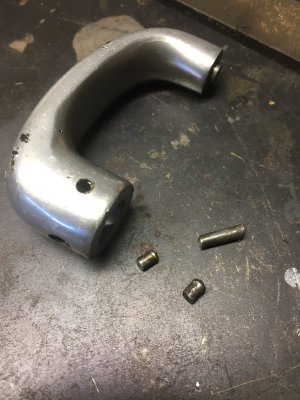
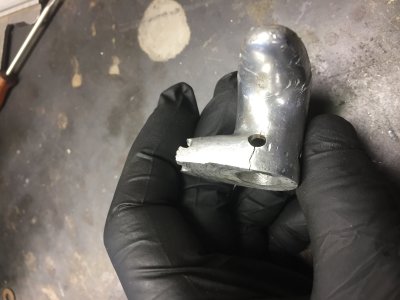
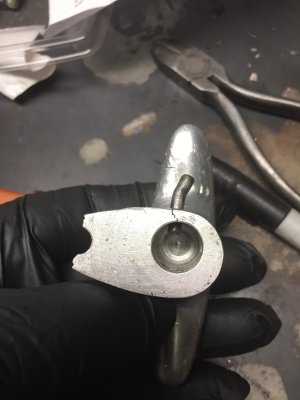
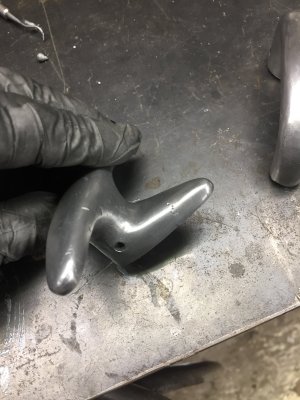
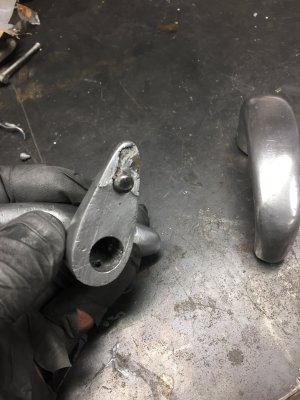
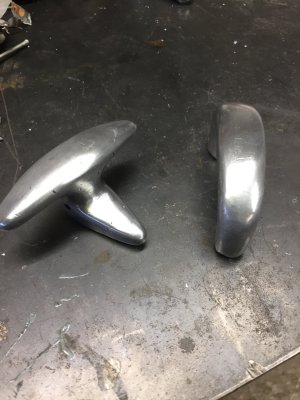
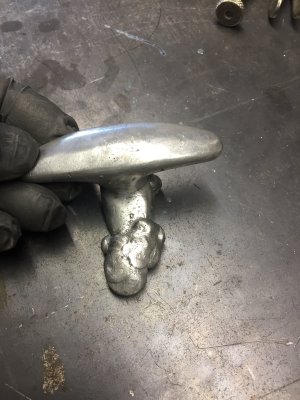
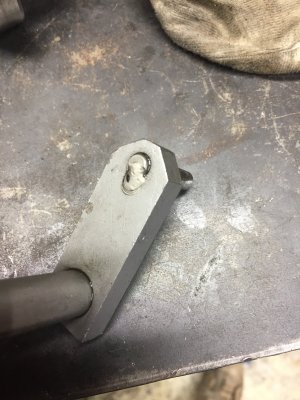
Both of the cast aluminum handles had had the crap beaten out of them and repaired a couple of times, cross pins fell apart when I removed them.
I thought about trying to weld a piece of aluminum on to the end of this one but I needed to get the steel pin located perfectly the first time so decided to add the weld on around the steel pin and then keep adding until I had enough to work with.
 

Attachments

  • IMG_0900.JPG
    IMG_0900.JPG
    1.2 MB · Views: 14
  • IMG_0891.JPG
    IMG_0891.JPG
    670.8 KB · Views: 14
  • IMG_0899.JPG
    IMG_0899.JPG
    683.1 KB · Views: 15
  • IMG_0828.JPG
    IMG_0828.JPG
    963.1 KB · Views: 15
  • DSC00464.JPG
    DSC00464.JPG
    1.2 MB · Views: 16
  • DSC00463.JPG
    DSC00463.JPG
    1.1 MB · Views: 14
  • DSC00462.JPG
    DSC00462.JPG
    1.8 MB · Views: 14
  • DSC00461.JPG
    DSC00461.JPG
    1.2 MB · Views: 12
  • DSC00460.JPG
    DSC00460.JPG
    1.3 MB · Views: 12
  • DSC00458.JPG
    DSC00458.JPG
    1.3 MB · Views: 12
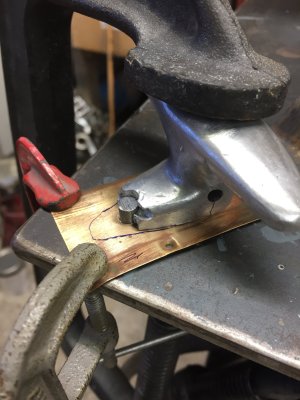
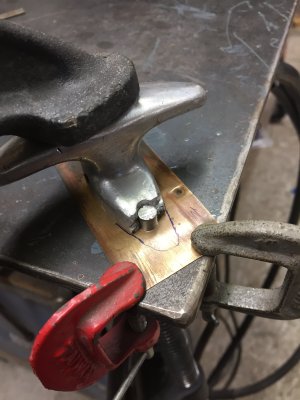
The bottom didn't turn out as well as I hopped, I should have preheated the copper first but I'm not going to be hitting it with a hammer while I own it so I think it will hold up.
 

Attachments

  • IMG_0935.JPG
    IMG_0935.JPG
    1.1 MB · Views: 17
  • IMG_0934.JPG
    IMG_0934.JPG
    1.1 MB · Views: 17
  • IMG_0933.JPG
    IMG_0933.JPG
    917.1 KB · Views: 17
  • IMG_0929.JPG
    IMG_0929.JPG
    1.2 MB · Views: 18
  • IMG_0928.JPG
    IMG_0928.JPG
    938.4 KB · Views: 17
  • IMG_0927.JPG
    IMG_0927.JPG
    897.5 KB · Views: 18
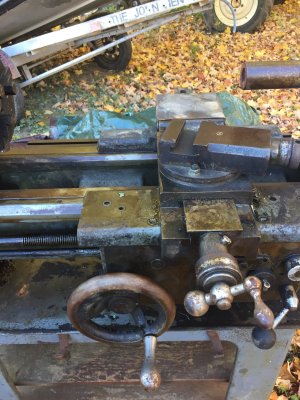
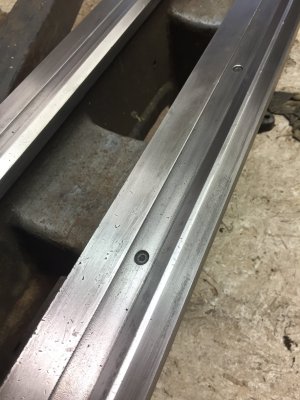
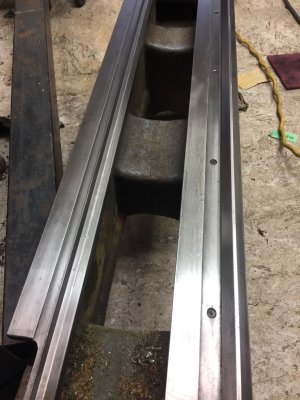
I cleaned up bed ways, not as bad as I thought it would be, there is a lot of dings from dropped chucks but the wear is reasonable. I laid a long single cut file on them and tried to eliminate some of the peaks and average things out.

I envy you guys with mills, here is my bull gear tooth repair, hand filed. The two gear mesh well with no bumps that I can feel but I'll have to get assembled first before I can really tell.
I'm familiar with mig silicon/bronze so that what I used to build it up.

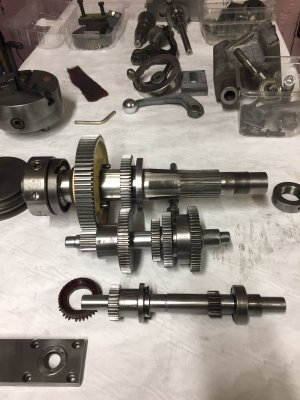
The gearbox is empty now and starting prep for paint.

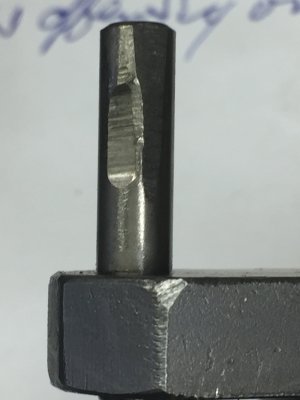
One of the pins that shuttle the gears back and forth has some real wear on it, not sure if I should just leave it or grind off the weld at the back and flip the pin end for end and weld up the damaged side, any opinions?
 

Attachments

  • IMG_1011.JPG
    IMG_1011.JPG
    1.1 MB · Views: 23
  • IMG_1027.JPG
    IMG_1027.JPG
    377.9 KB · Views: 25
  • IMG_1046.JPG
    IMG_1046.JPG
    920.5 KB · Views: 27
  • IMG_1030.JPG
    IMG_1030.JPG
    785.1 KB · Views: 27
  • IMG_0805.JPG
    IMG_0805.JPG
    1.1 MB · Views: 28
  • IMG_1016.JPG
    IMG_1016.JPG
    969.5 KB · Views: 26
  • IMG_1014.JPG
    IMG_1014.JPG
    1 MB · Views: 23
I laid a long single cut file on them and tried to eliminate some of the peaks and average things out.

I prefer to use a flat stone for that kind of thing - sort of like dressing a mill table, but 1000x more fussy.

On my own lathe, I protect my ways with wooden cradles. God willing, it will never see a ding or nick.

I envy you guys with mills, here is my bull gear tooth repair, hand filed. The two gear mesh well with no bumps that I can feel but I'll have to get assembled first before I can really tell.
I'm familiar with mig silicon/bronze so that what I used to build it up.

Looks awesome! Nice job!
 
Your gear repair is awesome.. The lathe looks to have a good heart under all the crud. Have you done any aluminum casting? If you have then you can cast new handles for the ones your missing. If not then its a great chance to build a small furnace and cast some. Your weld repair on the handles looks great as well.
 
@skippyelwell : nice work so far! For the gear teeth: once assembled, rotate slowly. If you
get any indication of a tightening or “clicking” you will need to touch up the teeth. Prussian blue can help show high spots. Fix the pin for the gear selection as it does make a difference- strange wear as it should just idle in a groove.

Check “under the ways” for wear. The Utilathe’s “saddle” sits on top as expected, however, the adjustment for how the saddle rides on the ways is on the bottom of the ways. This is typically where there is the most common wear. This can be adjusted at the front and back of the apron. I have a write up on this in the 10” Utilathe restoration thread I did.

Adjustment of these gibs can help clear up twist or “lift” and also show you where most of the wear is on your machine. “If” I had a 5 to 6 foot shaper or planer that could clear up the dips in my lathes ways it would be great! You can clean up quite a bit of lathe slop adjusting. Won’t be perfect bit helped me big time. - and there is no explanation on any manuals
 
Your gear repair is awesome.. The lathe looks to have a good heart under all the crud. Have you done any aluminum casting? If you have then you can cast new handles for the ones your missing. If not then its a great chance to build a small furnace and cast some. Your weld repair on the handles looks great as well.
Those two aluminum handles are the only ones, the other 2-3 that are broken are threaded rod with a black Bakelite handle on the end. Those shouldn't be too difficult make.
I haven't cast any aluminum since high school, back then we told the shop teacher we were casting candle stick holders but they all ended up as hash pipes.
 
I think teenage boys in shop class are all pretty much the same. lost foam casting is pretty easy. Enjoy it a lot. Super easy to get going. You won’t regret it. Be nice to have some matching aluminum handles.
 
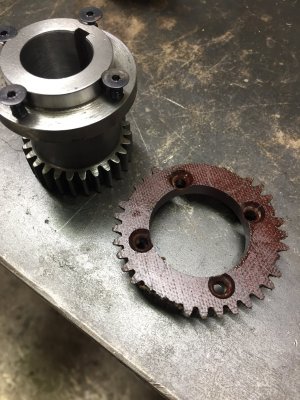
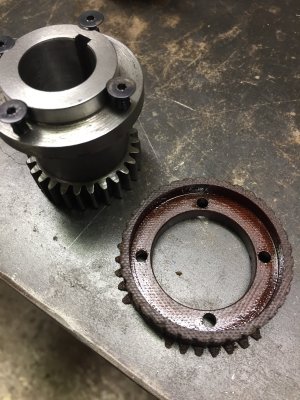
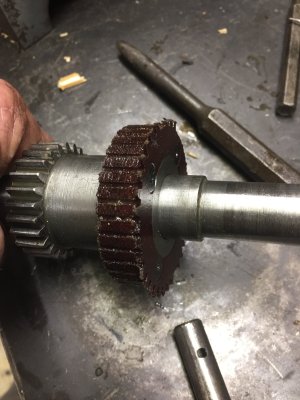
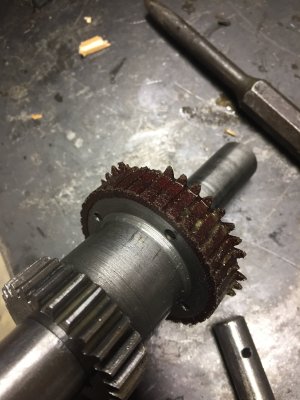
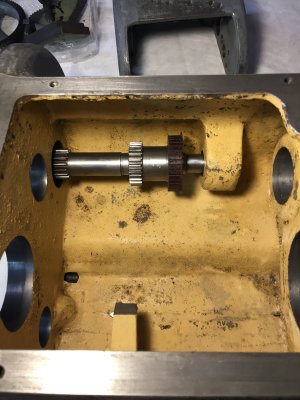
There is a gear on the lowest and farthest back shaft, it is made of a phenolic material, the gear teeth have been wiped off. Not sure what job it does and I guess it was made from a softer material to be sacrificial in case things lock up. Perhaps SM knew it was going to a high school.
The challenge now is to try and replace it, I guess I don't have to stick with phenolic now that there is Delrin or maybe even the plastic that is 3D printed.
Any suggestions?
Anyone interested in taking the job on? I would pay you what ever you think is fair and shipping of course.
 

Attachments

  • IMG_1034.JPG
    IMG_1034.JPG
    1.4 MB · Views: 19
  • IMG_1033.JPG
    IMG_1033.JPG
    1.4 MB · Views: 17
  • IMG_1013.JPG
    IMG_1013.JPG
    868.5 KB · Views: 17
  • IMG_1012.JPG
    IMG_1012.JPG
    883.8 KB · Views: 19
  • IMG_1055.JPG
    IMG_1055.JPG
    965.8 KB · Views: 19
Definitely would be a job for a 3d printer. Print a few and change them out every now and then.

I've printed lots of external gears in PETG(and they hold up great)but for something internal & harder to change you may want to look into like CF PLA or something more proper.
 
Last edited:
Ok, well, I have made one before as well as the whole low range/drive shaft. That gear is:

IMG_3207.png

IMG_3208.png

Is #6 and is a double gear. I think I have the drawings for it. I will check and post. I remade one out of 4140. It is not a wearing gear but must have taken a big hit …. Ok I don’t have the gear drawn but here is the shaft:

IMG_3209.jpeg


I can make a new one but wouldn’t be till next year as things are a big pile here with Christmas coming.

I checked the shop - I have some parts somewhere in stages of completion but no #6 gear.

Here are some other drawings for things you may wish to make:

IMG_3212.jpeg

IMG_3213.jpeg

IMG_3214.jpeg

IMG_3216.jpeg

IMG_3217.jpeg


I have to check in my computer files for other things ….
 
Was that 37T phenolic gear original or just a bad repair???
Thats gotta be a bad repair, aint no plastic going to hold up there, you want 4140 there like Brent said no?
Would that be the high range on the first input shaft?
 
Last edited:
Back
Top