Dan Dubeau
Ultra Member
Sunday is usually my run around finishing projects day.....
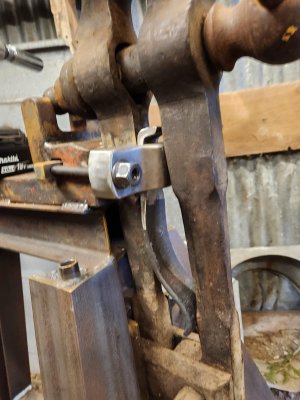
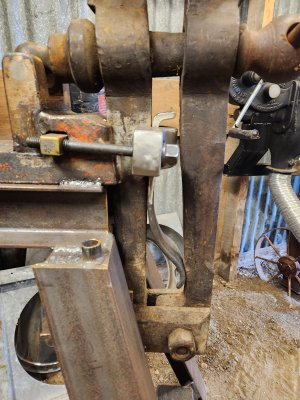
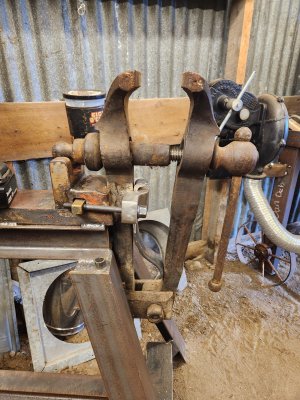
I finished the fitting on the vise spring. Surprisingly it didn't really need much, just reduce the width under the clamp to 1.25" with the angle grinder, and clean up some of the edges. I was pretty chuffed when it fit the first time. I'd rather be lucky than good


It will spring the jaw open to about 4", and from there gravity will take over. Only thing left is to pick up some 5" 1/2-13" SHCS to replace the hold down hardware. The nuts sticking out impeded the passage of long stock. I didn't really take that into consideration when I made that cap. I may have to punt on that idea in the future if it becomes too much of an issue, but recessing the cap screw into a counter bore should suffice. I hope....
I also got the first glimpse at how much this stuff is going to rust in there over the winter 🙁. That shed has always been pretty bad for storing stuff in. I really wanted to paint all this stuff, before I filled it, but it got too cold before I could. The kids and I will have a sandpaper party in the spring, before I slather on some tremclad.
A few odds and ends I still want to do with this vise stand, but I'll chip away at it, and update accordingly.
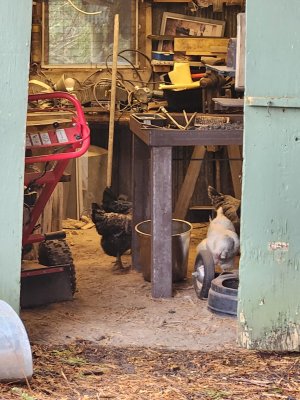
Chicks dig blacksmiths....😀

I finished the fitting on the vise spring. Surprisingly it didn't really need much, just reduce the width under the clamp to 1.25" with the angle grinder, and clean up some of the edges. I was pretty chuffed when it fit the first time. I'd rather be lucky than good


It will spring the jaw open to about 4", and from there gravity will take over. Only thing left is to pick up some 5" 1/2-13" SHCS to replace the hold down hardware. The nuts sticking out impeded the passage of long stock. I didn't really take that into consideration when I made that cap. I may have to punt on that idea in the future if it becomes too much of an issue, but recessing the cap screw into a counter bore should suffice. I hope....
I also got the first glimpse at how much this stuff is going to rust in there over the winter 🙁. That shed has always been pretty bad for storing stuff in. I really wanted to paint all this stuff, before I filled it, but it got too cold before I could. The kids and I will have a sandpaper party in the spring, before I slather on some tremclad.
A few odds and ends I still want to do with this vise stand, but I'll chip away at it, and update accordingly.
Chicks dig blacksmiths....😀

