• Scam Alert. Members are reminded to NOT send money to buy anything. Don't buy things remote and have it shipped - go get it yourself, pay in person, and take your equipment with you. Scammers have burned people on this forum. Urgency, secrecy, excuses, selling for friend, newish members, FUD, are RED FLAGS. A video conference call is not adequate assurance. Face to face interactions are required. Please report suspicions to the forum admins. Stay Safe - anyone can get scammed.

Little one day projects

Have you looked at Anodizing that plate ?
Aluminum does not rust like carbon steel, but, I have sent numerous machine parts for this process to make the finish durable and it protects against oxidation over time. Embrittlement in aluminum will surprise you with micro cracks especially when ‘road‘ vibrations are evident.

Check with a local metal plater in your area.
I think medium sized parts are anodized rather inexpensively if you can get them done with some other plates in process.
 
I have considered anodizing parts in the past but have not yet done so. I don't have time to do this now, but might get a few other pieces done along with it later. The one nice thing with anodizing is that it stops the black oxide rubbing off on whatever is secured onto it. I will probably do a little more work on this plate later on to add some more lashing slots and cutouts, so that needs to be finished before it's anodized.
 
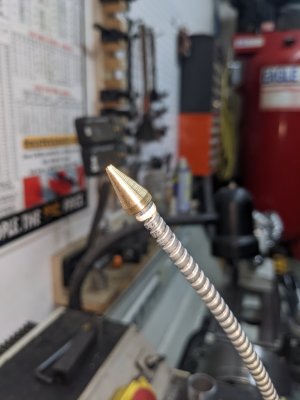
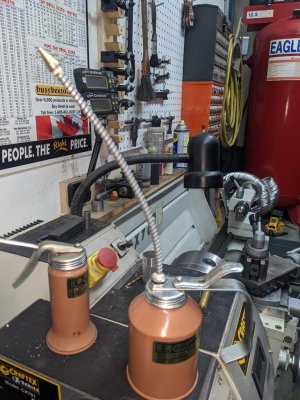
Quick little job this afternoon. I have an oil can for the way oil on my lathe but the tip was too big to fit the ball oilers without always ending up with as much or more oil around the port as in it. The tip is epoxied onto the flex spout, so I could not just replace it but I did make a new brass tip that pressed onto the original. Just an easy push fit with a bit of Loctite to secure it. This new tip tapers down to a smaller point to fit in the ball opening better. Tested it out by giving everything a good shot of fresh oil.

PXL_20221108_221646367.jpg
PXL_20221108_221658213.jpg
 
Quick little job this afternoon. I have an oil can for the way oil on my lathe but the tip was too big to fit the ball oilers without always ending up with as much or more oil around the port as in it. The tip is epoxied onto the flex spout, so I could not just replace it but I did make a new brass tip that pressed onto the original. Just an easy push fit with a bit of Loctite to secure it. This new tip tapers down to a smaller point to fit in the ball opening better. Tested it out by giving everything a good shot of fresh oil.

View attachment 27780View attachment 27781
I REALLY LIKE THIS!
 
I did much the same thing on my oiler. It worked fine for regular low pressure squirting but on my lathe the oilers need a bit more pressure & the JB adhesive eventually let go under hydraulic pressure. So I think the trick is to have a mechanical lock kind of like a thread & the adhesive just provides seal. Or maybe silver solder like I did on my offshore brass stemmed oiler,
 
The original tip is some sort of pot metal aluminum, so no good to to silver solder.

I used Loctite 648 which is a retaining compound, oil resistant and good for over 180C. I doubt it's going to come off easily. I had it for a generator rotor replacement job on a motorcycle some time ago. The original rotor and retainer bolt had to be heated to well over 100C and was still difficult to break loose. Probably way overkill to hold this little tip together, but I had it on hand.
 
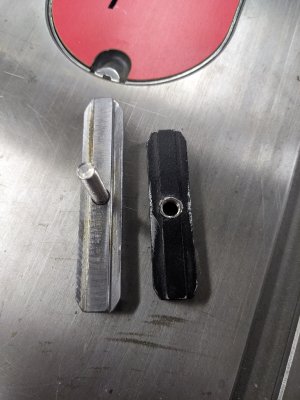
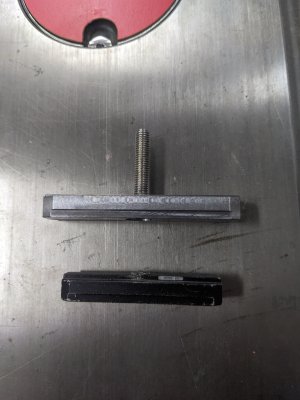
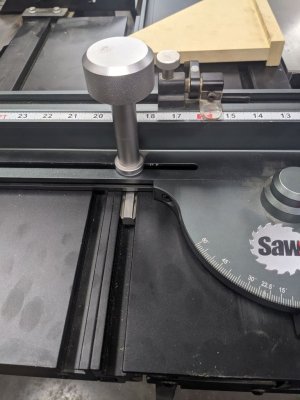
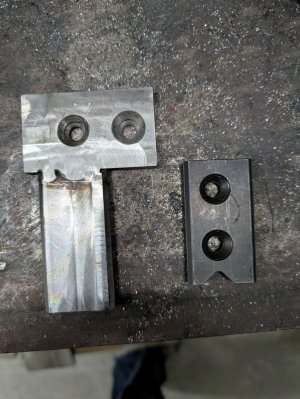
Last while using my Sawstop table saw sliding attachment, I've had issues with the mitre fence not locking down properly. A while back the threads in the little sliding block that fits in a track in the table had pulled out. I repaired the threads with a Helicoil insert, but that too was failing since there are only about three full threads in the aluminium block for the stud bolt to hold into. In addition to that, there is minimal material where the bolt goes through and the clamping force over time had created a bend in the block so the mitre fence was near impossible to clamp firmly.

I decided to fix this before I need it next and after looking at options, decided making a complete new block was the best option. For that, steel seemed a better choice of material and I found a piece of 7/8 square keystock to work with. That got milled down the the correct dimensions and the correct profile milled in to fit the slot. The piece was longer than the original, but I saw no need to cut it shorter and left it longer. Drilled and tapped the hole for the bolt with a countersunk hole for the head. Originally, the bolt was secured with a lock washer, but in order to leave more material in the centre, I made the countersink shallower and secured the bolt with Loctite so it stays put when the knob is tightened to hold the fence at the set angle.

The fence now holds better than ever.

PXL_20231102_201225351.jpg


PXL_20231102_201217510.jpg
 
Nice!

I just can’t say enough about how satisfying it is to be able to use metalworking tools to do little (key) fixes like this.

Well done!

D :cool:

P.S. That reminds me, I have a miter saw stored in a corner for when I learn enough about making helical spur gears to tackle the project. Someday, Project 42.775
 
This was more than a one day project, it took several one days.

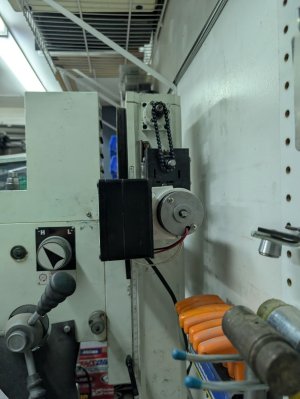
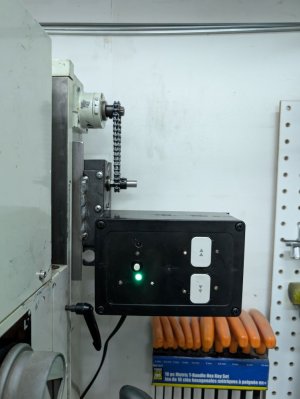
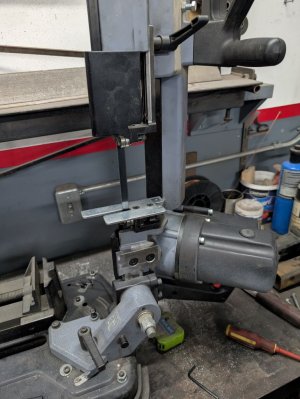
For quite some time I've wanted to rig up a power drive for to raise and lower the head on my CX601 mill since I have it set up on a work bench that makes it a bit of a reach to get to the crank handle. I've seen where someone modified theirs with a lowered crank, but why stop there when I could make it powered.

I finally found a perfect donor motor and controls for the job - a broken paper shredder. The shredder had the cutters splined onto a hex shaft and several of the cutters in the center had stripped on the shaft and no longer turned making the shredder useless. But the motor still ran strong. I stripped it apart to see if it could be repaired but decided it wasn't worth the work to do so, so instead, I set out to repurpose it. I was able to reuse the controls, bypassing the unnecessary parts and fitting the remaining required circuits into a plastic box. Getting the motor mounted and figuring out how to connect it to the mill was a bit of a challenge. I eventually found a small drive chain and sprockets on Amazon that allowed me to link them up. I added a welded on bracket to mount the motor to the mill with the ability to slide up and down to tighten the chain.

The end result works pretty well, but is a bit slow so I plan to change out the drive sprocket to increase the speed.


PXL_20241218_170047121.jpg


PXL_20241218_170053206.jpg
 
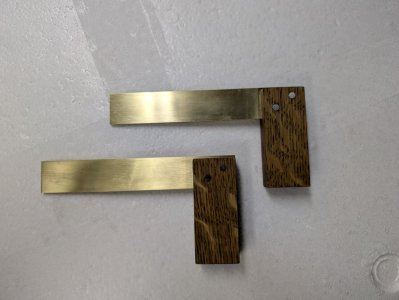
This little project did have some metal work in it so figured I'd share it there. I was inspired to make myself a small square for use in woodworking using some brass flat bar I had on hand. Found a scrap of q-sawn white oak that was the right size. I figured it wasn't much more work to make two while I was at it so now I have one to give away.

PXL_20241222_185040099.jpg
 
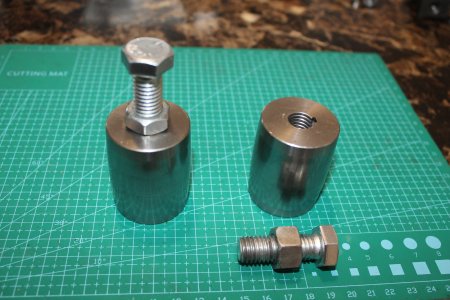
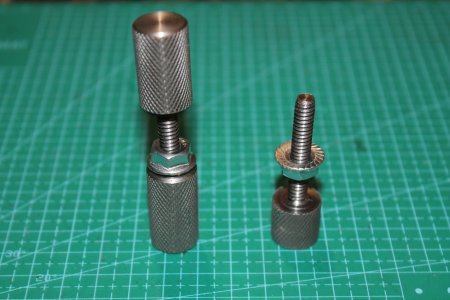
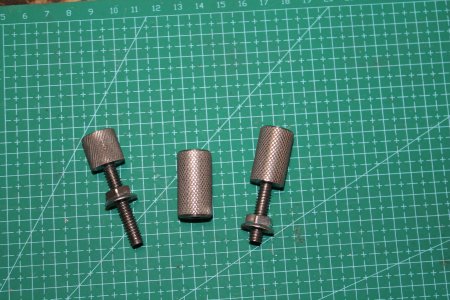
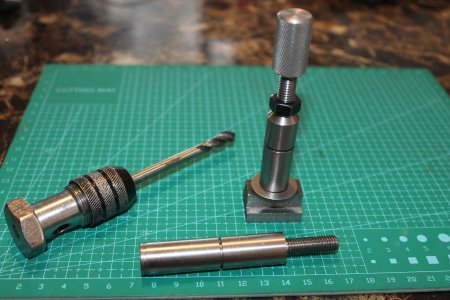
Something on the list I was able to cross off is machinist jacks.
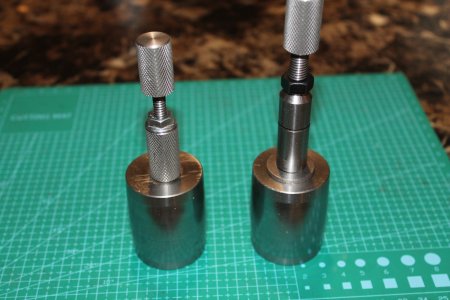
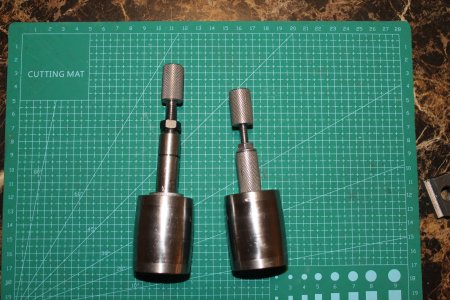
First off simple and robust a couple of rollers just happen to have a 1/2 hole so just ran a tap down and easy peasy done.
1735426239430.jpeg


Next a bit smaller scale knurled up
1735427611261.jpeg

1735427674355.jpeg


Then another one this time able to thread into a t-slot nut, Thanks to @140mower my first time using one of his m8 taps worked very well.
1735429480545.jpeg


And as a bonus either model can be adapted to the rollers for a bit more flexibility. I still have to put a v-slot in the top for round stock.
1735429668654.jpeg

1735429696330.jpeg
 
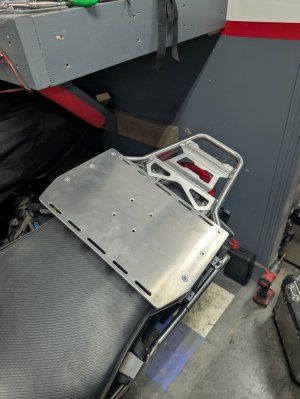
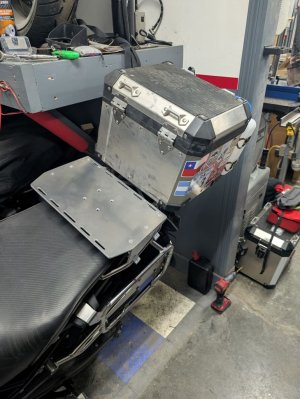
Getting ready for a motorcycle trip later this month down south and needed a luggage plate to secure a soft bag on the back. Not running the aluminum boxes for this trip, but still need them for future use. This plate just clamps to the existing rear rack. The plate is 3/16" aluminum. Managed to churn it out yesterday afternoon, but didn't do the cleaning up until today.

View attachment 20843

View attachment 20844

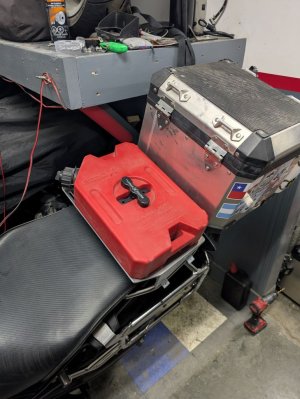
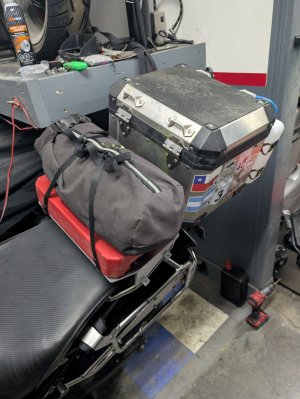
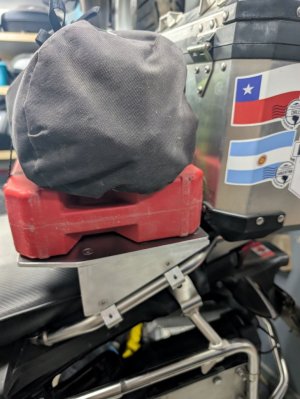
I made another luggage plate this week. This replaces the one that I'd made before to fit over the rear section of the seat attached to the grab rails. The original worked well but had a few drawbacks that I wanted to improve on. First was the need to mount my Rotopax fuel can to it, second was to make the mounting more sturdy than using the cable clamps around the tubes and lastly I wanted it a bit taller to allow the seat to come out easier.

I made the new plate larger to match the size of the Rotopax can and made it flat to allow it to sit flush on the plate. I ended up using 1/4" plate to ensure it was rigid enough. Because that would be hard to bend, I used aluminum angle to make the ends. The tube clamps I made as well after finding nothing of decent quality readily available in the size I needed.

luggage Plate 1.jpg
luggage Plate 2.jpg
luggage Plate 3.jpg
luggage Plate 4.jpg
luggage Plate 5.jpg
 
Back
Top