Getting proper instructions for a good quality text print, seems to be a common theme.
Can you please post instructions for what works.
1. Text size should match extruder size as in if it's a 0.4mm extruder then no piece of a text letter should be narrower than 0.4mm. Choosing sanserif and bold helps that.
2. Place text onto a surface as a single sketch. No other holes or bumps etc.
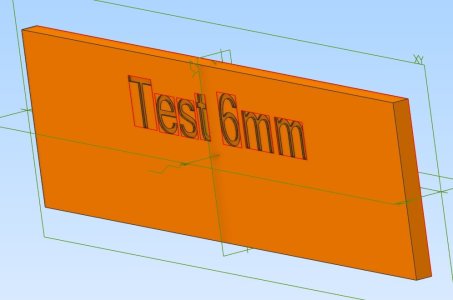
3. Extrude cut that to a depth of 0.6mm and save_as this as a distinct part like the example TestPartBody.jpg.
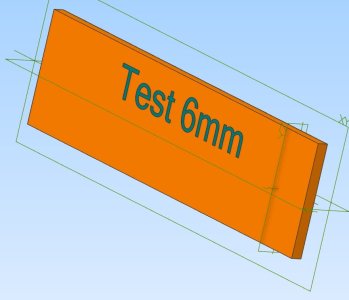
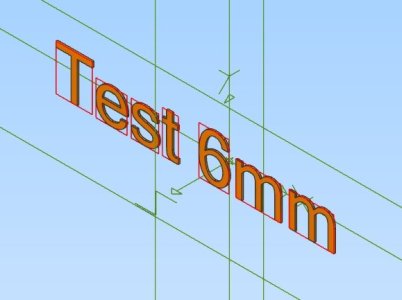
4. Now remove the extrude cut operation on the text sketch and do an extrude boss in the same direction as the cut was done. Make this object a different colour so it looks like TestPart.jpg if you want to see it.
5. Suppress the body that this text was printed on. If the text vanishes you might have to have put the text on a plane that is even with this body. The part drawing now looks like TestPartText.jpg. Save this as a distinct part.
6. Create an assembly which includes the two parts just saved. As they were both referenced to the same axis they sit on top of each other and again looks like TestPart.jpg. Save this and then export it as a STEP file. Not an STL.
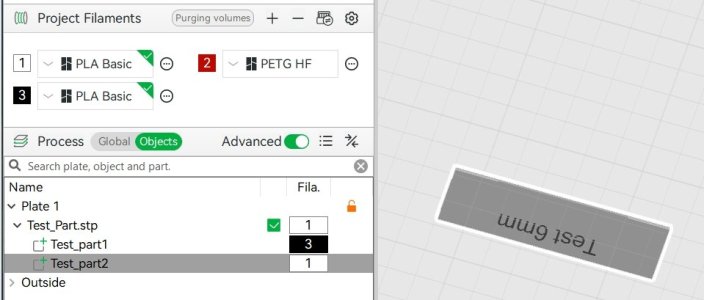
7. In Bambu Labs import the STEP file. Flip the part 180 degrees so the text side is down on the build plate and select look at objects as shown in TestPartPrinting..jpg.
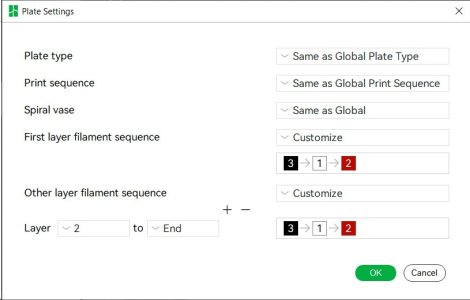
8. By default both parts of the stp file assembly will be the same filament. Chose which filament you wish the text to be and then set the filament order as in Test_Part_Plate.jpg.
9. Start the print.
It should now print the text in say black. Then change filament and print the white. Then change back to black for the next layer and print text. Then white again. Finally the third layer black and white. From then on only white.
If the white is printed first what happens is the filament bleeds into the text areas and the letters are thinner or even covered in white with very little black showing.
Hope that helps.