• Scam Alert. Members are reminded to NOT send money to buy anything. Don't buy things remote and have it shipped - go get it yourself, pay in person, and take your equipment with you. Scammers have burned people on this forum. Urgency, secrecy, excuses, selling for friend, newish members, FUD, are RED FLAGS. A video conference call is not adequate assurance. Face to face interactions are required. Please report suspicions to the forum admins. Stay Safe - anyone can get scammed.
  • Several Regions have held meetups already, but others are being planned or are evaluating the interest. The Calgary Area Meetup is set for Saturday July 12th at 10am. The signup thread is here! Arbutus has also explored interest in a Fraser Valley meetup but it seems members either missed his thread or had other plans. Let him know if you are interested in a meetup later in the year by posting here! Slowpoke is trying to pull together an Ottawa area meetup later this summer. No date has been selected yet, so let him know if you are interested here! We are not aware of any other meetups being planned this year. If you are interested in doing something in your area, let everyone know and make it happen! Meetups are a great way to make new machining friends and get hands on help in your area. Don’t be shy, sign up and come, or plan your own meetup!

Iron Casting

Tobho Mott

Well-Known Member
Following up after buying ingredients for iron rated greensand here:

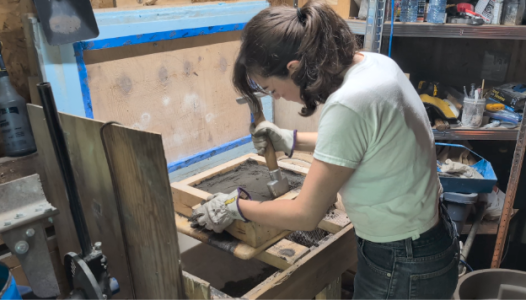
And mulling up ~450 pounds of the stuff...

And building the tools for my new A12 crucible that has been saved for iron service...

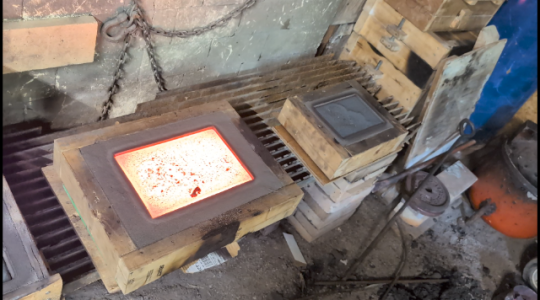
All that was left was to temper that new crucible, ram up some test molds, and get to it!

Ideally to prepare a new clay graphite crucible for use, first you stick it in the oven at 250 for a few hours to make sure its's really dry, then SLOWLY warm it up to a red heat, then you can take it up to operating temperature before sealing it up overnight in the hot furnace to slow cool.

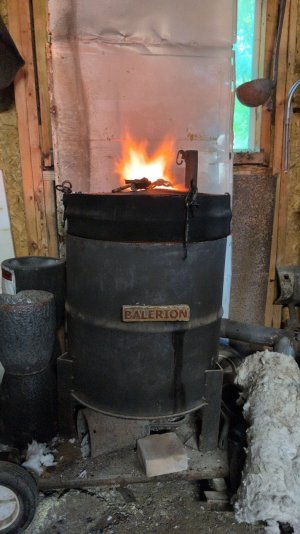
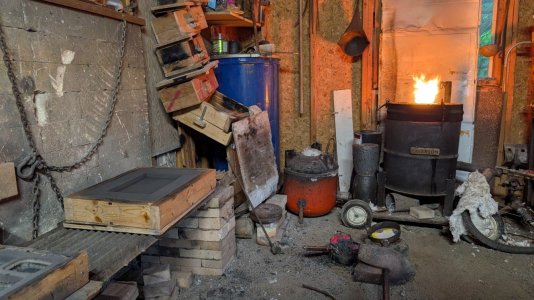
My furnaces don't really do "slow heating" so the way I do the first part is to put the baked dry crucible into a hot empty furnace that's just been shut down...
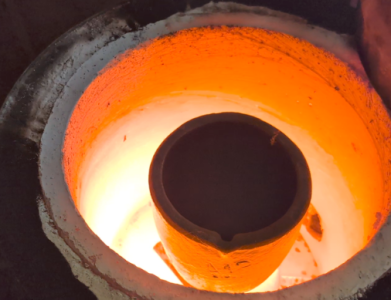
Screenshot_20250601-192705_copy_506x389.png

Then close off the tuyere and vent hole for an hour, and then it should be hot enough to fire the furnace back up and really get it hot.
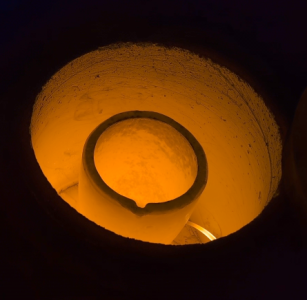
Screenshot_20250601-190437_copy_445x436.png

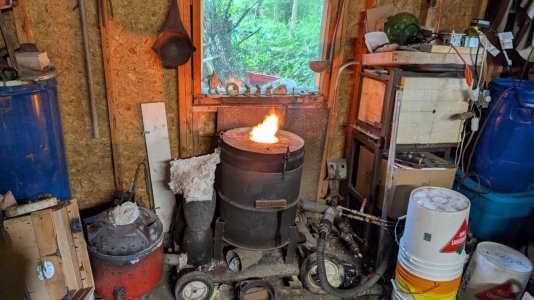
First time I'd used that furnace for anything other than a big forge in several years, and also the first time in years I'd run any furnace of mine on diesel instead of propane. I'll need to get used to running my burners in oil burner mode again anyhow to do cast iron. The big furnace was as slow to get up to temp as I remembered.

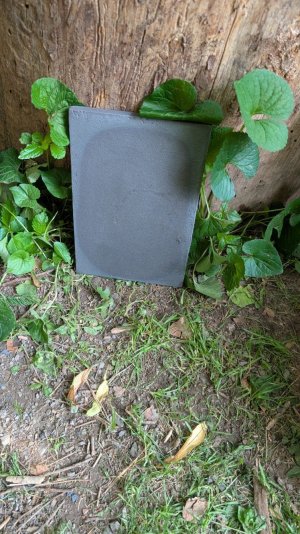
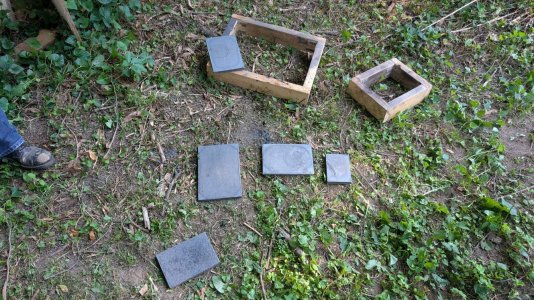
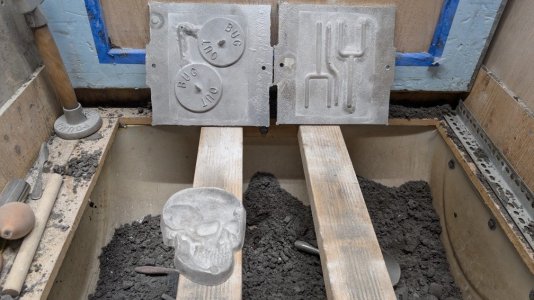
With that done, I picked out a few patterns I had lying around.
PXL_20250520_173435470_copy_1008x567.jpg

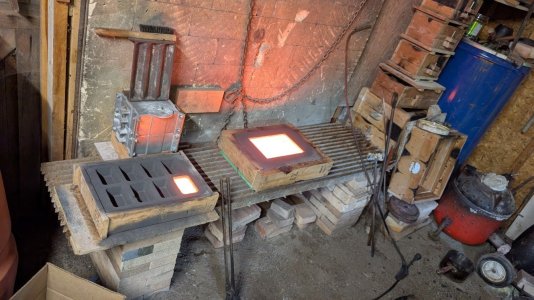
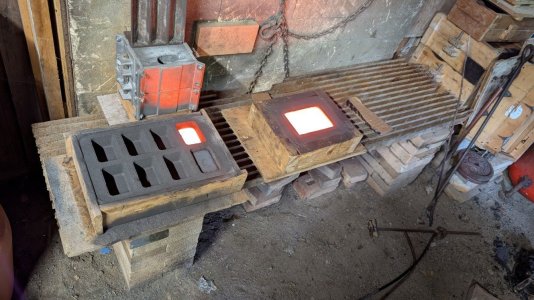
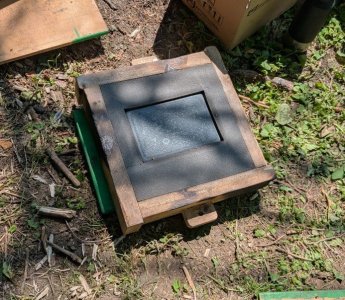
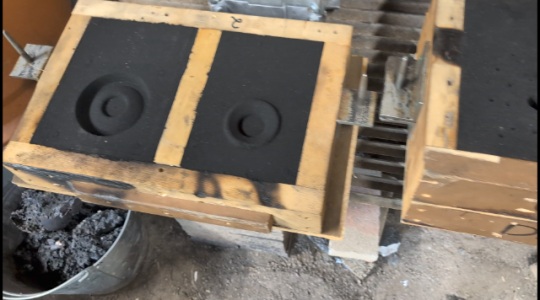
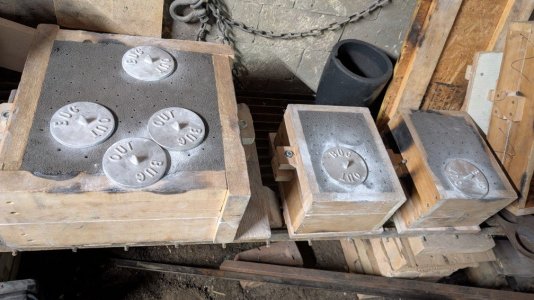
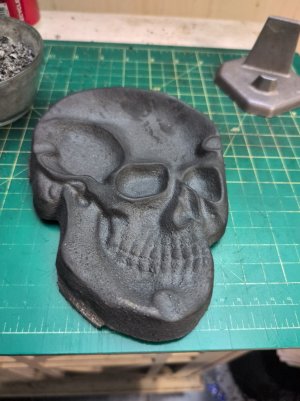
Matchplates for sprue covers (can never have too many) and pattern rapping tools, and a skull shaped ashtray. Molds were made, and left to sit and dry out for a couple weeks. I could have done that faster with a torch; the sand was fairly wet to start with, but I knew it would be a few days til I could find time for a melt anyway.
PXL_20250520_173507270_copy_1008x567.jpg

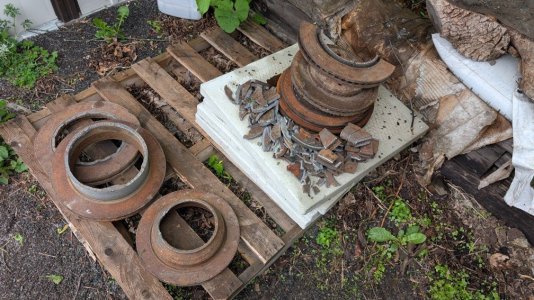
By that time, I'd had time to bust up some scrap brake rotors, which is what I've chosen to work with for its ubiquity and consistent alloy.
PXL_20250522_175747588.MP_copy_1008x567.jpg

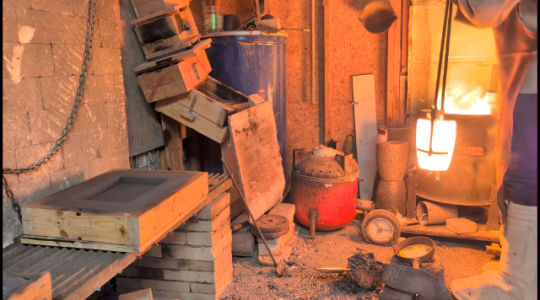
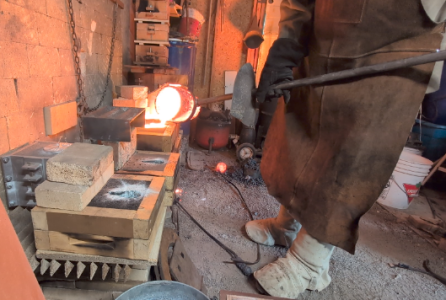
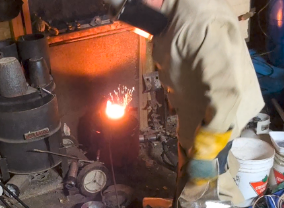
Figured a couple more molds lined up couldn't hurt. Rammed up a little decorative maple leaf pattern and a chill wedge to break and examine for chill (white way too hard iron). Then it was time for the first attempted iron melt! I chickened out and used the smaller furnace but I don't like abusing it like that, it heats up fast but it's really built for lighter duty.
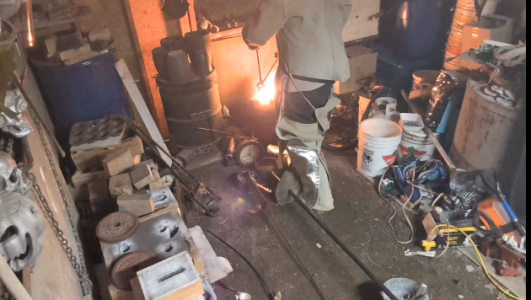
Screenshot_20250607-224445_copy_284x208.png

Screenshot_20250607-224139_copy_630x356.png

Partial success! I was sure the smaller molds had filled and the bigger one hadn't. It had a cold riser on the far side that never filled, I used the last of the iron that I had melted to dump down that in desparation (though by then it was starting to cool and get slushy) as I'd skimmed off a good 25% of my charge as slag and dross and run out before I got to the leaf or the chill wedge, though the crud was so foamy it looked more like half.
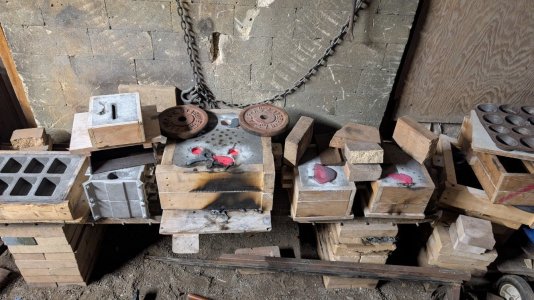
PXL_20250608_011302495_copy_1330x748.jpg

Well, I had it backwards. The smaller molds both misrun, figure I must have poured a hundred degrees or so too cold. But also somehow the ashtray did fill, and I dont see any seams or cold shuts where the 2 pours met. That's not a good technique, but this was just a test pour and it seems I got away with it.
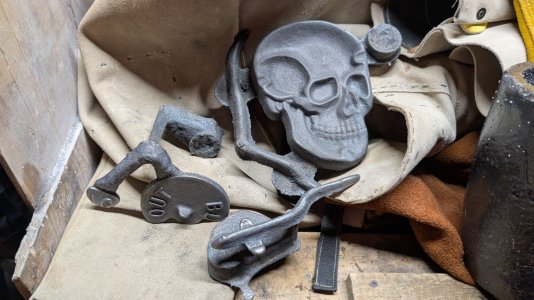
PXL_20250608_164133355_copy_1330x748.jpg

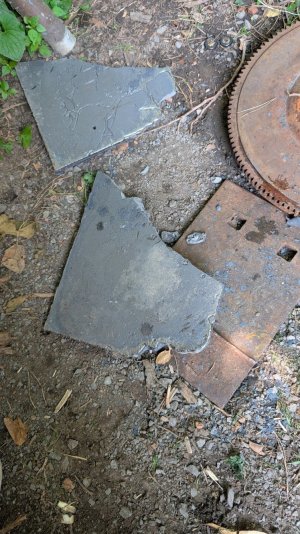
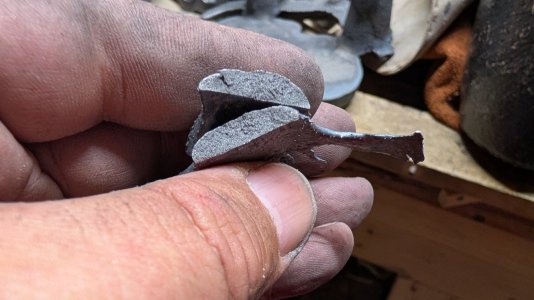
I used a little borax for flux and some perlite as a slag coagulant, but after conferring with a couple of other iron casters I think next time I'll skip both and see how it goes. I added 40g of 75% ferrosilicon inoculant based on the initial 20# charge of iron, though only about 15 ever got poured. So maybe a little more ferrosilicon than I needed. But everywhere I fractured it I saw nice soft grey iron. No wedge to break, so I smashed up some of the gating to have a look inside it.
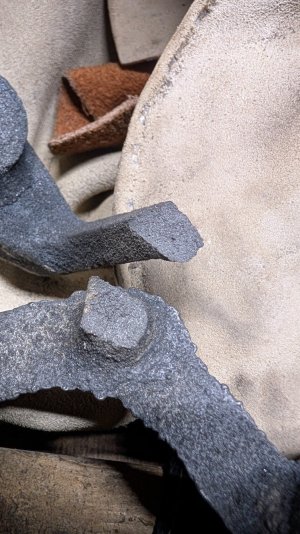
PXL_20250608_164210341.MP_copy_748x1330.jpg

The only white (chill) I saw was in a small puddle of frozen iron that ended up on top of the mold, not inside it. I'm happier about that than I am upset about the first 2 molds not filling, next time I'll simply try for hotter to fix that, but chilled iron would have been a bummer trying to solve if too much ferrosilicon didn't get rid of it...
PXL_20250608_164517059_copy_1330x748.jpg

To sum up, it's not quite ready for prime time yet, but I can sort of cast iron now!

I'm leaving out some details about the wardrobe malfunctions that happened during the melt. Not quite as scandalous as Janet J's, but I will say that my assless chaps were just about hanging down around my ankles by the time I poured these. :)
185f3bbc-fb7b-41d3-a699-95cc75302578_copy_1009x1346.jpg

Jeff
 
Last edited:
Nice results! Seems like a long journey to get there, but worth it I'm sure. One day I would like to have Iron casting capabilities, but it's a long way down the priority list right now. Following in the footsteps of people like you that share their trials, and tribulations will shorten that journey though, so thanks for sharing.
 
Following up after buying ingredients for iron

Just curious about nozzle size of your burner also were did you get your ferrosilcon.

Looks like you got good results almost no white and I would be curious to see how much porosity is in your cast iron if it would be any good for machining.
 
Just curious about nozzle size of your burner also were did you get your ferrosilcon.

Looks like you got good results almost no white and I would be curious to see how much porosity is in your cast iron if it would be any good for machining.
No nozzle at all, it's a gravity fed drip injector that requires a preheated furnace, not an atomizer that requires compressed air or a fuel pump. I use a little propane to preheat, and once the furnace is glowing hot enough to vaporize oil drips I ease the oil on and the gas off and add more forced air.

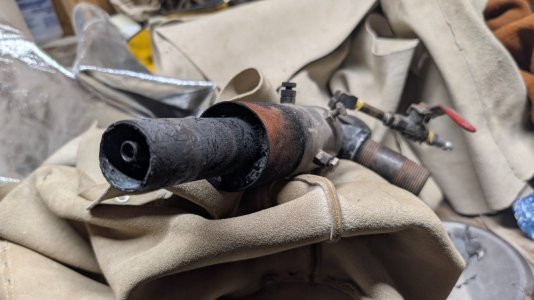
Oil regulated by a needle valve runs through the tiny central tube. Air (and propane, during preheat) come through the 1" black pipe.

PXL_20250628_012736758.MP_copy_1330x748.jpg

Ferrosilicon came from Foundry Supply Source in Milton ON.

Is it good soft machinable grey iron and internally sound? Too early to start bragging yet after just one melt, but that's always been the goal. The ingates showed no voids and the bits of gating I tested hacksawed and drilled easily enough, is all I can say for sure so far. I'd love to know too. But that's all the "machining" I'm really equipped for. I know I can make aluminum and bronze castings without (significant) porosity issues revealing themselves during machining, and that's mainly about proper gating and melt practices. So I think I should be able to do it right with CI too... but I'm new to iron and may have blind spots I don't know about yet. There's definitely some different chemistry going on than in nonferrous casting. I'm told looking for chill on factures or even a proper chill wedge only gives limited useful info about how machinable the casting might be. So, more testing is in order. I don't have a programmable kiln yet that I can use to stress relieve iron castings either (or burn out investment molds). Someone's probably gonna have to take a chance and bring me a pattern for an iron part they want to machine before we can really find out for sure :).

I do already have someone coming on Tuesday to get as many molds poured in iron as we can manage during the day, but that is for another artist project, not parts.

Jeff
 
No nozzle at all, it's a gravity fed drip injector that requires a preheated furnace, not an atomizer that requires compressed air or a manage during the day, but that is for another artist
MK wasn't sure if if you were spraying me and my buddy are screwing around with an old oil furnace pump melting stuff nothing came out great yet still lots to learn. End goal being iron but I think we need to resign what we got lol.

Pretty simple to build a heat treat oven basically PID and thermocouple and elements. Other option is find old pottery kiln and use it they come up cheap from time to time.

I would try casting lathe backing plates and let others ave suggested angle plates or other fixturing stuff could even try making vee block blanks all kinda of small stuff to be made lol
 
I've been waiting years for my father in law to realize he's never going to use his old pottery kiln again that's been used as a shelf in his basement since the late 80's... :)

It should be possible to use a home heating furnace burner with a bit of tinkering if you stick to burning ie..diesel, but the nozzles for pumped fuel will clog up if you use waste oil, that's why most people use the siphon type nozzle instead for foundry. There used to be a great YouTube video showing how to make a burner like that on a channel called SVSeeker, featuring the late great (Super) Dave Allen, who I knew as Dallen on the old alloyavenue forums. RIP. Sadly it appears the SVSeeker channel got taken down. Keith Rucker also has a video where he builds a similar siphon nozzle burner for waste oil based on Dallen's design, so that should still be easy to find and copy if you want to mess with oil burners and are willing to use compressed air to run the siphon. There is an O-ring somewhere in the nozzle or maybe the adapter you need to go with it that will burn up if you don't pull the burner out of the furnace as soon as you turn the blower off, something to watch out for. You do need a blower for combustion air as well as the compressed air that runs the siphon.

Here's David D's diy version of an atomizing siphon nozzle, which he calls the Kwiky all fuel.burner:

And here's a hot shot burner similar to mine. I have some videos about my drip burners too, but this is the guy I copied a lot of my setup from years ago and learned how to run these burners from. He still posts on the home foundry forums occasionally as Rasper:

Jeff
 
. Someone's probably gonna have to take a chance and bring me a pattern for an iron part they want to machine before we can really find out for sure :).
wish I'd seen this sooner, I have some relatively small parts (65mm / 2-5/8" OD) want cast in iron and I have 3d modeled but probably need to scale for shrinkage and need to add draft angle to them and maybe just more mass on the outside... Might be too tricky as they have pretty small cross sections (wheel spokes). still, I'm not in a hurry and can connect with you in time as I'm in the east end but won't be available on or before Tuesday.
I wanted to CNC them, but the machining time is crazy as its using 1.5 and 2mm end mills and basically making dust to carve the part.

1751231065626.png
 
Awesome! If you can add a couple degrees of draft, fillet/radius any sharp corners, and add any machining allowance needed, I'd be happy to give it a try. Send me a DM if you want to try and set something up. My weekends in July are pretty slammed this year but for this kind of thing I can make time for.

From what I've read, the shrink allowance for cast iron should be 1/8" per foot, or (googles the math) 104%. At the size part you're talking about it's probably easier to machine the entire central hole out of the casting rather than cast it in place. The spokes might be tricky, but there no better way to find out for sure than to try it!

Not sure if you're talking about making dust cutting the final parts or just the patterns on a CNC, but if building the pattern(s) is a problem, I might be able to 3D print it/them. If so the shrink allowance can be done in the slicer software. Not the most ideal way to go due to layer lines (especially between the spokes) and sometimes warpage, but I've had some success molding 3D printed patterns before.

I have a friend who made a similar pattern out of fiberglass, using a mold he milled out of homemade machinable wax. :)

Jeff
 
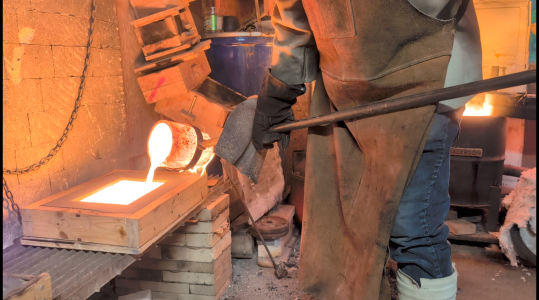
Artist lady from Montreal stopped by on Wednesday for an iron casting session. 7 back to back iron melts in a day is a lot, it's hard to explain how hot it gets. I don't think it's a good idea to go that hard again, for the sake of both my body and my wood framed casting shed.

PXL_20250702_171625434.MP_copy_1330x748.jpg

PXL_20250702_144529688_copy_1330x748.jpg

PXL_20250702_173258690_copy_1330x748.jpg

Screenshot_20250702-191019_copy_640x356.png

PXL_20250702_173905130_copy_748x1330.jpg

PXL_20250702_211248534_copy_1330x748.jpg

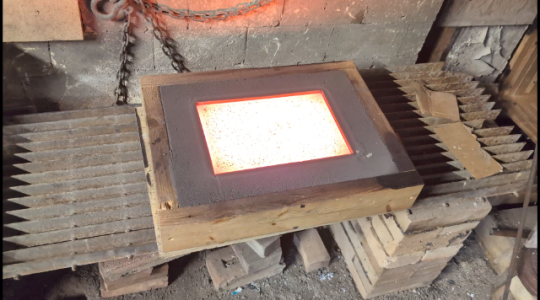
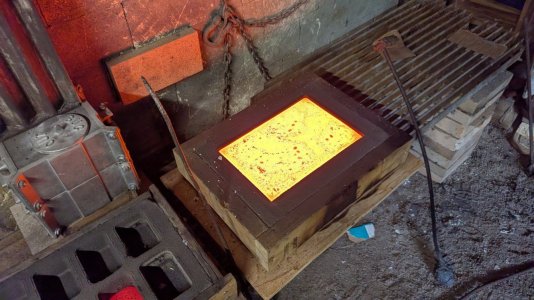
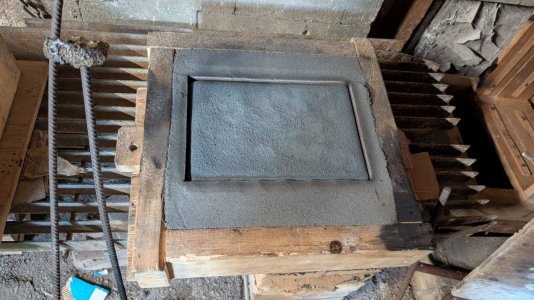
These were just simple open molds, 6 out of 7 pieces came out good, but the biggest one she miscalculated how much iron we'd need and we came up a little short.

PXL_20250702_173907657_copy_748x1330.jpg

She's back this Sunday for more, she has 8 more pieces left to make, but we will be splitting that up over 2 days, not doing another marathon.

Jeff
 
Day 2 with the new artist client.

We used the heavy duty oil fired furnace that was actually built with iron casting in mind this time. Takes longer to heat up for the first melt of the day but holds up a lot better over time and becomes more efficient on subsequent back to back melts because it holds the heat from the previous melt for a long time. (We wrapped up at around 4pm Sunday and 24h later it was almost too hot to touch inside).

Got some additional high tech heat shielding hung behind the furnace before day 2. It's totally not just the sheet metal exterior I saved from an old appliance that was replaced years ago...

IMG-20250706-WA0000_copy_712x1267.jpg

PXL_20250706_201303634.MP_copy_1330x748.jpg

This time some new rules went in place.

1) Take a 10-15 minute break between pouring and starting the next melt, not just one midday break (after an iron melt, even after a break this long the heavier duty furnace will still be hot enough to just turn the oil drip and blower back on and go)

2) call it a day after 4 heats, 7 was madness.

This seemed much less insane and dangerous, while still.beong technically insane and dangerous. It's hard to explain hot how it is working near that furnace and handling molten iron. Beautiful and terrible to behold.

We figured out the secret to not getting my crucible to stick to its plinth - The classic trick is to put down a layer of cardboard first, the ash and carbon layer will allow the crucible to release. But after the first heat, a layer of cardboard doesn't last long enough in an iron casting temperature furnace to pick up and set down a crucible on...

We had tried wetting the cardboard on day 1, still no good, it turned to ask and blew away before I had the crucible in my tongs. She (Maggy the artist) had to be ready with her big hammer to knock the plinth brick off the crucible every time so it would fit into the ring shank.

But for day 2, I pre-soaked the pre-cut cardboard squares in a bucket of water. Really soggy saturated cardboard does last long enough to grab and set a crucible on if you move fast, so no more issues with it sticking.

I now have 12 iron melts under my belt and I'm starting to get used to how hot iron needs to be to actually pour well. All 4 open molds filled this time. 4 more pieces left to do, she's coming back to wrap it all up and pour the last 4 plates on Thursday evening next week

Screenshot_20250707-081139_copy_624x356.png

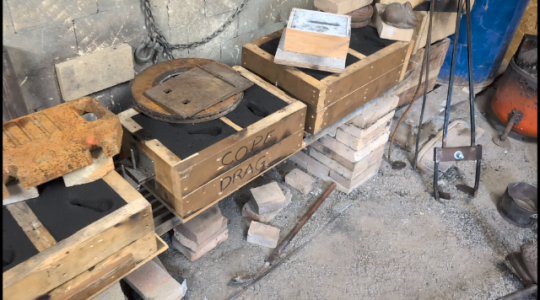
Next time I have the chance to pour a mold with a proper cope and drag in iron, I hope I'll do better than 1 in 3 molds filling as in my first test pour, now that I have a better idea when it's hot enough to pour.

Screenshot_20250706-195215_copy_640x356.png

Screenshot_20250706-195327_copy_1940x1080.png

Screenshot_20250706-183555_copy_640x356.png

PXL_20250706_185323617_copy_1330x748.jpg

PXL_20250706_182323577_copy_1330x748.jpg

PXL_20250706_182315163_copy_693x604.jpg

72 pounds of iron melted this session. The castings and the one little ingot we got weighed 52 pounds, ie. 20# lost to slag.

Jeff
 
@Wanderer has his own iron furnace, but I am eager to learn if I'm pouring iron that is machinable, and the art pours above aren't really going to tell me that.

So yesterday I had him over and we poured some model train parts. For the most part it was molds he'd made at home and brought with him.

Screenshot_20250803-200503_copy_529x356.png

share_7115691492499550988_copy_640x356.png

Screenshot_20250803-220550_copy_640x356.png

Had some issues with the oil burner, the gravity feed wasn't feeding right. It stopped altogether at what should have been very near the end of the second and last pour we did, right when the iron finally seemed good and hot. Luckily I had a spare propane tank handy and we were able to keep it hot long enough to top up the crucible a bit more and pour, but by then I think it could have been a little hotter, and would have been if the oil burner was running properly.

The brake rotor iron seems to make a LOT of slag. For both melts the crucible would be full (if not threatening to bubble over with slag), so I'd skim off the slag only to find only half a crucible of clean metal. I'd add more and loads more slag would fill the crucible. Lather, rinse, repeat. Then of course the fuel would stop flowing and that would add half an hour to the melt. I don't know if it was really half an hour but it was a long day and just 2 melts, so it had to be longer than I thought. I wasn't running a timer.

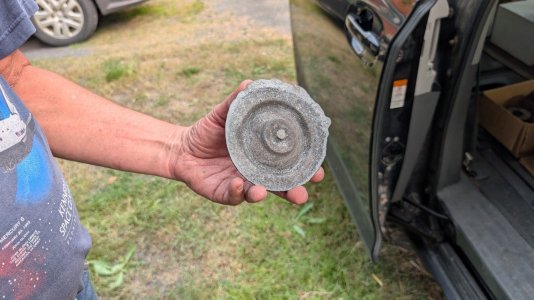
In the end we had (I think) 2 short pours and we might have got 6 or more usable train wheels poured. Maybe @Wanderer can confirm that once he opens the molds. Fingers crossed... Only 2 were demolded yesterday, the rest stayed in their molds and went home with Doug, aside from the obvious short pours that I forgot to take photos of.

PXL_20250803_222513709_copy_1330x748.jpg

PXL_20250803_222517157.MP_copy_1330x748.jpg

PXL_20250803_222501253_copy_567x1008.jpg

PXL_20250803_222504231_copy_748x1330.jpg

The first A12 melt was inoculated with 40g of ferrosilicon. The chill wedge test showed a little white on the tip and a few mm up the sides.

PXL_20250803_224423789_copy_1359x2020.jpg

So I dosed the second melt with 50g, and only the very tip of the wedge chilled.

PXL_20250803_224445445_copy_540x739.jpg

The wheels are pretty chunky, so I'm fairly confident they'll be good grey iron, but I'm very much looking forward to seeing them machined to confirm this!

All in all a fun day, despite a few frustrations and a stupid burn on my finger from touching a hot firebrick while tidying up.

PXL_20250803_234611462_copy_748x1330.jpg

Jeff
 
I need to learn more about iron and castings, but if I'm wanting small castings with thin detail areas of only a few mm's (spokes on 2" wheels), then its almost certain they will have chills in them. Does it matter, if the area with chills isn't going to be machined? Does it lead to fractures etc. later on?

I guess the other question is what are the methods of managing chills? Is it literally that the iron cools too quickly in thin sections? I'm guessing there are simple and more complicated methods for managing chills, from adding mass to the casting or having a small casting placed with a larger one in the same mold. Lots to look up and learn.
 
@Wanderer has his own iron furnace, but I am eager to learn if I'm pouring iron that is machinable, and the art pours above aren't really going to tell me that.

So yesterday I had him over and we poured some model train parts. For the most part it was molds he'd made at home and brought with him.

View attachment 68124

View attachment 68123

View attachment 68122

Had some issues with the oil burner, the gravity feed wasn't feeding right. It stopped altogether at what should have been very near the end of the second and last pour we did, right when the iron finally seemed good and hot. Luckily I had a spare propane tank handy and we were able to keep it hot long enough to top up the crucible a bit more and pour, but by then I think it could have been a little hotter, and would have been if the oil burner was running properly.

The brake rotor iron seems to make a LOT of slag. For both melts the crucible would be full (if not threatening to bubble over with slag), so I'd skim off the slag only to find only half a crucible of clean metal. I'd add more and loads more slag would fill the crucible. Lather, rinse, repeat. Then of course the fuel would stop flowing and that would add half an hour to the melt. I don't know if it was really half an hour but it was a long day and just 2 melts, so it had to be longer than I thought. I wasn't running a timer.

In the end we had (I think) 2 short pours and we might have got 6 or more usable train wheels poured. Maybe @Wanderer can confirm that once he opens the molds. Fingers crossed... Only 2 were demolded yesterday, the rest stayed in their molds and went home with Doug, aside from the obvious short pours that I forgot to take photos of.

View attachment 68126

View attachment 68127

View attachment 68128

View attachment 68129

The first A12 melt was inoculated with 40g of ferrosilicon. The chill wedge test showed a little white on the tip and a few mm up the sides.

View attachment 68131

So I dosed the second melt with 50g, and only the very tip of the wedge chilled.

View attachment 68130

The wheels are pretty chunky, so I'm fairly confident they'll be good grey iron, but I'm very much looking forward to seeing them machined to confirm this!

All in all a fun day, despite a few frustrations and a stupid burn on my finger from touching a hot firebrick while tidying up.

View attachment 68132

Jeff
Jeff, would you elaborate a bit on A12 and the chill wedge.

Edit
Mike posted as I typed but it seems inquiring minds need to know.
 
A12 is the size of the crucible I'm burning up doing cast iron :)

The A in A12 stands for Aluminum and the 12 is in pounds. That's brim-full not actual usable capacity. Multiply that by 3 to get a crude approximation of how much iron or bronze it might be able to hold. The sizes are only loosely standard and all the different brands are a bit differently shaped. Some are listed online with other notation, like "#x, yKg" where x is pounds of aluminum and y is kg's of brass. But not always brass... Always confusing though. Read the small print carefully.

Chilled iron is mainly only a problem on surfaces that need to be machined. Not being an engineer, I can't say for sure that in some applications it might not be an issue elsewhere though. I'm pretty sure there are loads of iron castings out there doing what they're supposed to do that have all kinds of horrible chills on corners and thin areas that froze too fast in the mold before the carbon in the iron could arrange itself to form soft grey iron.

The wedge test is poured into a small open topped mold. Once it freezes and cools to a certain point it is fractured to examine it and look for white (chilled, too hard) iron. No chill at all would be a great sign because the thin end of the wedge freezes very fast. If that does not chill, the castings probably won't either.

One could return the crucible to the furnace while waiting to see the results, then based on that decide how much if any ferrosilicon to add. My understanding of it all still has some big holes still but I gather that the silicon mimics carbon doing what we wanted it to do to the iron, fastwr than carbon by enough to result in soft grey iron instead of chilled white iron. But you have to pour within a very short time after inoculating the melt, a quick stir, then skim and pour ASAP or it won't have the desired effect. Too much FeSi can apparently cause shrinkage issues too.

I'm still very new to cast iron and trying to get a baseline idea of how much to use, so seeing x amount of chill and knowing this melt needs y amount of FeSi isn't happening yet. So I just poured the molds right away after the first test wedge was poured with the 40g dose, and didn't break the wedge until before the second melt began. Seeing some chill, I decided to try the slightly higher dose I had prepared for it to see how much difference it made with that particular type of cast iron.

A bit of chill on the tip of the wedge might not always even mean any inoculant is required, it's a matter of degree - how high up the wedge it extends vs the nature of the castings being poured, thin vs thick.

Next time maybe I'll try 55g to see if I can make the chill go away entirely. I'm thinking about basically always using the scrap brake rotors for the sake of consistency, and because of their availability. From there I will work on dialing things in to get repeatable results.

Jeff
Thanks Jeff, very interesting.
If one was to need to cast a part that was basically the same as a chill wedge, could one limit the chill by orienting the the molds differently ? For example if the wedge was upright (Christmas tree profile) and filled from the bottom.
 
Good question. I'm not sure how much effect that would have, the thin tip of the wedge is still going to freeze very fast. The 2 part mold required for that alone would insulate the mold cavity a little better and cause slower freezing that might help a bit. By enough to make a real difference if you can't get FeSi? I couldn't say.

Different iron alloys might do better in thin casting applications too. Such as high phosphorous pig iron.

Jeff
 
Looks like a fun day.

As for chills, would a heated mold help prevent that? I wonder for thin section castings if you could have the mold in an oven and control the rate of freeze to prevent chills.

Also wonder if the large amount of slag from rotor stock could be from the vents being full of rust. I've got a couple large stacks of brake rotors I've been saving over the years for casting stock, And just dug some out for another project this week that will need some cleaning up. All the vents are just packed full of rust. Might be worthwhile to hit them with a sandblaster first to help clear them out before melting.
 
Back
Top