Bofobo
M,Mizera(BOFOBO)
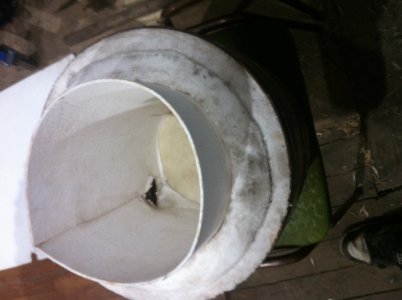
No I'm not. The only hole on the bottom is for my torch and it's not quite at the bottom and sits 5* downward. And now allow me to explain why. I've watched all these you tubers try and I see the reason but most just catch the lawn on fire. I did not put a hole in anything for containment purposes. And with what I see happening in my current rendition I don't see a reason to change it. When I'm placing material into the crucible, some times as it's to long and thick I'll leave it alone and process my next piece of scrap, well I have little messes and some times while scrapping dross I'll spill a little and I've had a few critical failures in smaller scale , the surface tension of the material keeps it in a mercury like state unlike water, I figure even if the whole crucible empties I should only have a little spill and the material will likely not bond to the refractory material. If it does lesson learned, I may simply have to cut the soft refractory out (worst case scenario) but so far I've never seen that. I've used the fire brick as a crucible In A wood fire for an aluminum experiment, that worked great also.
I've used some hefty nuts to keep my crucible elevated and it's working but currently the bottom of mine is like a plaster refractory beach Lol
Lol
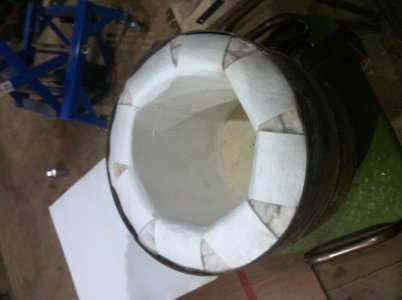
although it works I don't recommend the plaster and sand refractory, the time and materials alone but also quality dictate this to be a foolish venture. A simple yet very effective alternative is the brick forge here is one I started with
I've used some hefty nuts to keep my crucible elevated and it's working but currently the bottom of mine is like a plaster refractory beach
Lol although it works I don't recommend the plaster and sand refractory, the time and materials alone but also quality dictate this to be a foolish venture. A simple yet very effective alternative is the brick forge here is one I started with