• Spring 2024 meetup in Calgary - date Saturday, April 20/2024. discussion Please RSVP Here to confirm and get your invitation and the location details. RSVP NOW so organizers can plan to get sufficient food etc. It's Tomorrow Saturday! you can still RSVP until I stop checking my phone tomorrow More info and agenda
  • We are having email/registration problems again. Diagnosis is underway. New users sorry if you are having trouble getting registered. We are exploring different options to get registered. Contact the forum via another member or on facebook if you're stuck. Update -> we think it is fixed. Let us know if not.
  • Spring meet up in Ontario, April 6/2024. NEW LOCATION See Post #31 Discussion AND THE NEW LOCATION

Dividing head restoration

John Conroy

member
Premium Member
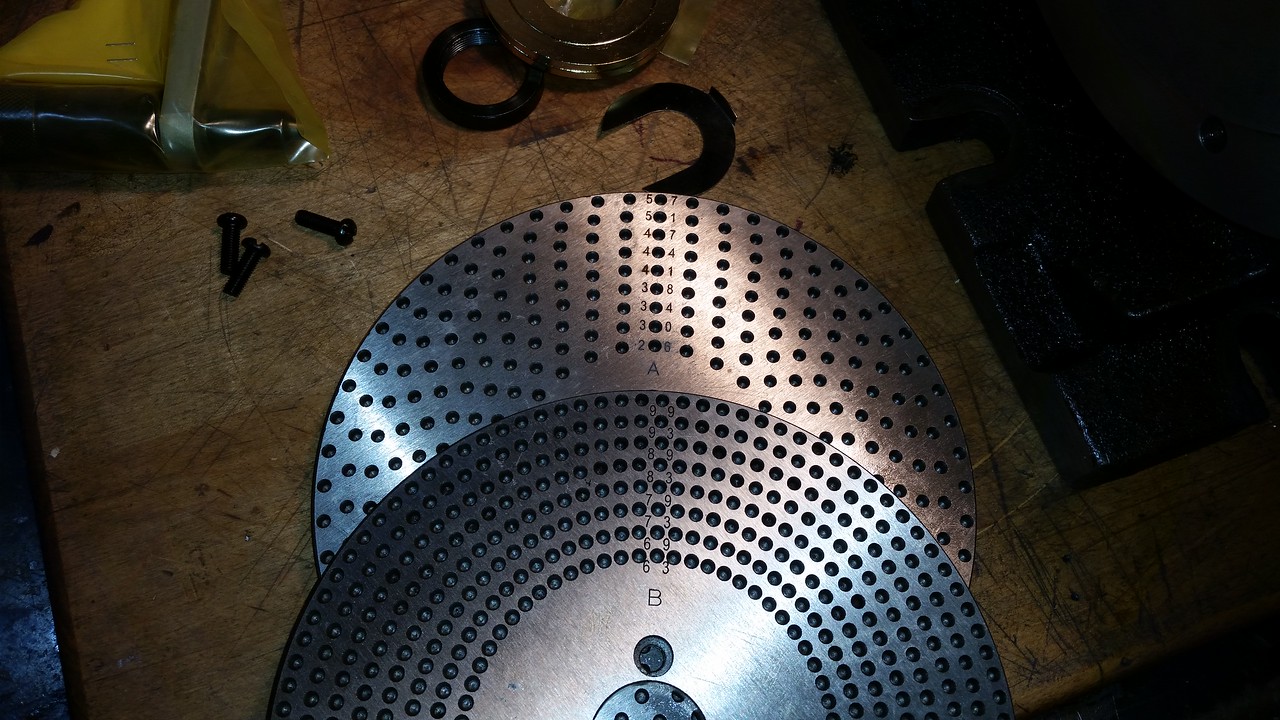
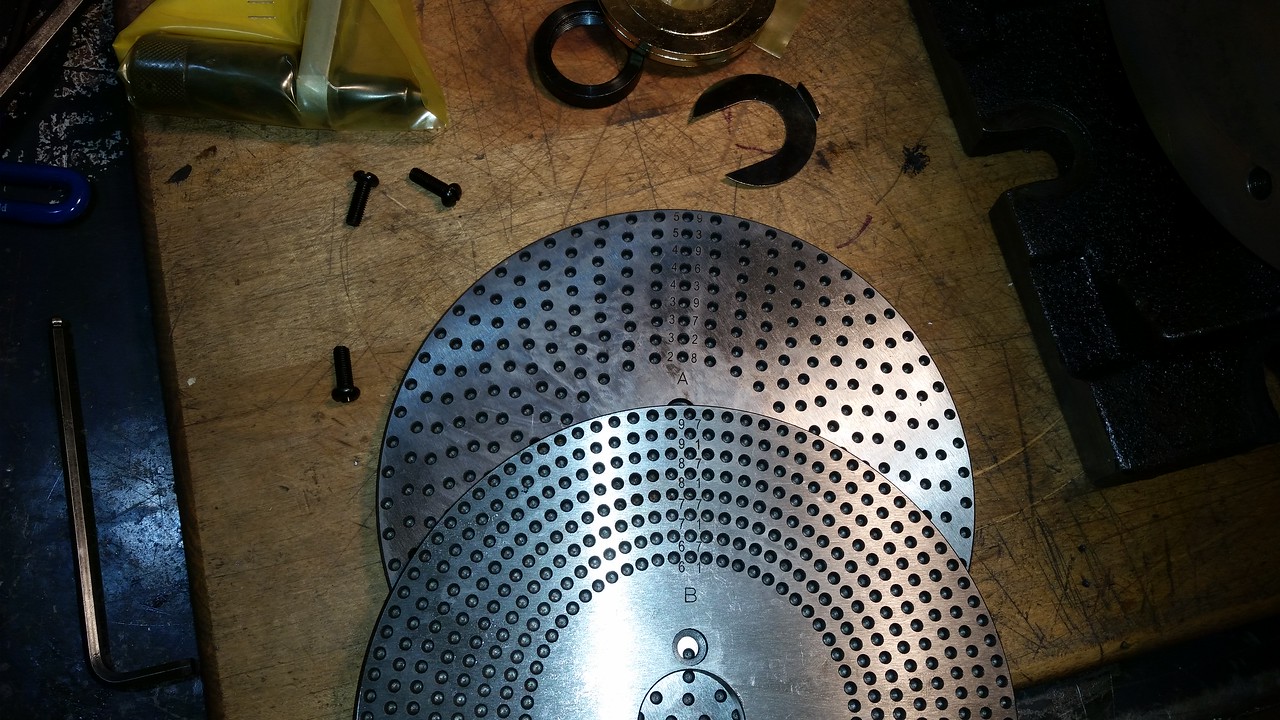
That indexing plate looks pretty similar to the ones for my Vertex super spacer. Since the import tools are almost always direct copies of older North American or European stuff they may fit. I have 2 plates each with 2 sides. The center hole is 1.130" diameter and the OD is 7.085" the 3 screw holes are on a 41mm (1.616") bolt circle . They are .475" thick.


That indexing plate looks pretty similar to the ones for my Vertex super spacer. Since the import tools are almost always direct copies of older North American or European stuff they may fit. I have 2 plates each with 2 sides. The center hole is 1.130" diameter and the OD is 7.085" the 3 screw holes are on a 41mm (1.616") bolt circle . They are .475" thick.

Mine has significant differences. Mine is one sided, center hole is1.175", the OD is 6.8125", screw holes are 0.25" and plate is 0.325" thick.
 
That indexing plate looks pretty similar to the ones for my Vertex super spacer. Since the import tools are almost always direct copies of older North American or European stuff they may fit. I have 2 plates each with 2 sides. The center hole is 1.130" diameter and the OD is 7.085" the 3 screw holes are on a 41mm (1.616") bolt circle . They are .475" thick.

So after thinking about it a little I started to wonder if my response should have been is it easier to adapt plates even if dimensions are not exactly the same or easier to make my own? Also what number of holes or divisions would be needed to cut spur gears assuming the 40:1 standard ratio?
 
So I have the whole thing soaking in a kerosene bath including a few parts I managed to remove. After 24 hours I removed some of the loose parts. The oily dirty coating had been removed but the parts still had a lot of rust on them. More than initially I thought was there in fact.

DSC_0001 (2).JPG

So what next? How do you get filthy old machine parts shiny and clean? My choice for treating the loose parts was either Evapo=Rust or oven cleaner. I tried both one each on the two index rings for comparison. The larger ring about 10 min with oven cleaner followed by brush scrub, water rinse, shake off excess water, spray with brake cleaner to knock off remaining water and prevent flash rust. The smaller ring one hour in Evapo-Rust followed by same treatment with water rinse and brake cleaner.

DSC_0002 (2).JPG

In my opinion the oven cleaner is the winner. It left slightly less rust, was quicker, and would have worked just as well without the kerosene bath first.
 

historicalarms

Ultra Member
I'm impressed with the look of that machine ...can bet it has a much more complicated inner working mechanism than a simple worm gear angle drive like the import Vertecs a lot of us have.
 

Dabbler

ersatz engineer
My way is to Evaporust 24 hours, then take Scotchbright brown with low odour varsol (sometimes with WD40 added) to remove the remainder. It leaves things very shiny, and the Varsol leaves a film. I immediately spray with SAE10 oil (3-in 1 type) on it for immediate rust protection and assembly lube. [I despise flash rust, it makes things seem pointless]

During assembly is when I use grease or way oil or appropriate lube products.
 

RobinHood

Ultra Member
Premium Member
I think the reason the oven cleaner worked better / faster is because it has built-in degreasers. EvapoRust does not. Kerosene is not really the best degreaser - it leaves a thin protective “oily” film. That is why it‘s so good to loosen things up without them subsequently flash rusting.

Some people use a heavy duty degreaser before they immediately soak parts in EvapoRust. It then does a better/faster job. If time is not a criterion, just let them soak longer as @Dabbler is suggesting. It does work in the long run. Having an agitator in the bath also helps; a little aquarium pump works well for that. (I have used my coolant pump from the Carolina bandsaw in the past). Make sure to have the parts fully covered by the ER. You’ll get a nice “witness line” where the ER ends and the air begins if you don’t.
 
Simple suggestion. Bucket of kerosene, couple of bottles hobbs number 9, let it soak couple of weeks. Let it work and soak.

After that high frequency vibration to allow further seepage. You should have some success at this this point.
 
Simple suggestion. Bucket of kerosene, couple of bottles hobbs number 9, let it soak couple of weeks. Let it work and soak.

After that high frequency vibration to allow further seepage. You should have some success at this this point.

Unfortunately don't have access to an ultrasonic cleaner. (assume thats what you mean by high frequency vibration?) Would have to be a big one because this thing is a big heavy beast! So far after about 10 days of kerosene soak no joy. No apparent difference whatsoever. It has an oil level glass so should have some oil in it. My impression is that there is none. Whatever oil used to be there appears to have turned into a light brown jello crap!
 
Unfortunately don't have access to an ultrasonic cleaner. (assume thats what you mean by high frequency vibration?) Would have to be a big one because this thing is a big heavy beast! So far after about 10 days of kerosene soak no joy. No apparent difference whatsoever. It has an oil level glass so should have some oil in it. My impression is that there is none. Whatever oil used to be there appears to have turned into a light brown jello crap!
Unfortunately, to get it to loosen the solvent is going to be needed.

Air hammer, with a flat head and a light touch can help with provided there are no hidden cracks, otherwise it will come apart in but not as desired.
 

Susquatch

Ultra Member
Administrator
Moderator
Premium Member
Unfortunately don't have access to an ultrasonic cleaner. (assume thats what you mean by high frequency vibration?) Would have to be a big one because this thing is a big heavy beast! So far after about 10 days of kerosene soak no joy. No apparent difference whatsoever. It has an oil level glass so should have some oil in it. My impression is that there is none. Whatever oil used to be there appears to have turned into a light brown jello crap!

Just checking back in.

Ultrasonic is always great but as you say not really feasible for a big rotary table.

A few bumps from different directions every so often with a deadblow hammer will accomplish similar results. Just give it a whack every so often - say every time you walk by. Bumps in the right places will send a vibration through the castings which will allow the penetrant to creep its way in along the part boundaries. Hit it hard enough to send a shock wave but not hard enough to dent or damage it. If you are worried about damaging it, add a flat plate between the hammer and the rotary table.
 
So the sticking point I had run into was 4 bolts that hold the outer clamping straps. Although I now suspect most parts on this machine are going to be difficult if not impossible. I've attached a general dividing head diagram below to hopefully help illustrate.

divhead.jpg

After about 10 days of soaking in kerosene without any apparent improvement I got frustrated and impatient. I lifted it from the kerosene dried it out and started drenching it with penetrating oil. after about 4 days of that today I finally managed to remove the bolts and clamps. The pair of clamping bolts on the bottom were quite rusty but relatively easy to remove. The upper clamping bolts turned out to be free of rust but obviously overtightened and the most difficult to remove. Now the nose that holds the dividing plate should slide off. Off course it doesn't want to come either. Gonna let that penetrating oil soak in some more and try again later!

Below is a pic of where its at now.


divhead2.JPG
 

Susquatch

Ultra Member
Administrator
Moderator
Premium Member
So the sticking point I had run into was 4 bolts that hold the outer clamping straps. Although I now suspect most parts on this machine are going to be difficult if not impossible. I've attached a general dividing head diagram below to hopefully help illustrate.

View attachment 24040

After about 10 days of soaking in kerosene without any apparent improvement I got frustrated and impatient. I lifted it from the kerosene dried it out and started drenching it with penetrating oil. after about 4 days of that today I finally managed to remove the bolts and clamps. The pair of clamping bolts on the bottom were quite rusty but relatively easy to remove. The upper clamping bolts turned out to be free of rust but obviously overtightened and the most difficult to remove. Now the nose that holds the dividing plate should slide off. Off course it doesn't want to come either. Gonna let that penetrating oil soak in some more and try again later!

Below is a pic of where its at now.


View attachment 24042

GREAT PROGRESS! WOOO HOOO!

Slow and steady wins the day. I feel very confident that you will win in the end.
 

trlvn

Ultra Member
I was taught to use penetrating oil, heat and shock to loosen stuck parts. In combination, if necessary. The heat and shock aspects don't have to be all that big, either. If you can heat the 'outer' part by say +100C, that creates a bit of differential expansion and helps to break the corrosion lock. Same with shock. If you can put some force on the fastener and then give the assembly a sharp rap anywhere near the stuck bit, the corrosion lock seems to shatter and away you go.

Of course, other times you just get that really long cheater bar and either break it or it comes off!

;)

Craig
PS I don't have much experience with kerosene. Maybe it isn't that good as a penetrating oil?
 
I was taught to use penetrating oil, heat and shock to loosen stuck parts. In combination, if necessary. The heat and shock aspects don't have to be all that big, either. If you can heat the 'outer' part by say +100C, that creates a bit of differential expansion and helps to break the corrosion lock.

After sleeping on it over night I decided the nature of the stuck parts, in this case basically concentric circles, lent themselves perfectly to @trlvn 's idea of using heat. So I pulled out my MAPP gas torch, tapped the joints a bunch of times with a hammer all around and had at it with the torch. Used a piece of wood and a hammer to try knocking off the nose, and voila! Off it came!!! :D

The inside though looks pretty horrid with tons of rust! There are some nuts and screws inside that will have to be undone and getting them off without further damaging the gears will be a trick!

divhead3.JPG
divhead4.JPG
 

trlvn

Ultra Member
Yahtzee!! But, wow, was that thing recovered from a shipwreck?!? If it were me, I'd put that in a garbage can covered with a rust removing solution. (Almost certainly a multi-day soak!) I like Rust911 as it works out to be a fraction of the cost of Evaporust or the others. One gallon of Rust911 can be mixed with 15 gallons of water. The only trouble is shipping. I had a gallon shipped to a cross-border service in Lewistown a few years ago. As I recall, the shipping was going to cost more than the product to have it delivered into Canada.


Craig
 
Top