• Scam Alert. Members are reminded to NOT send money to buy anything. Don't buy things remote and have it shipped - go get it yourself, pay in person, and take your equipment with you. Scammers have burned people on this forum. Urgency, secrecy, excuses, selling for friend, newish members, FUD, are RED FLAGS. A video conference call is not adequate assurance. Face to face interactions are required. Please report suspicions to the forum admins. Stay Safe - anyone can get scammed.

Daily Shop Improvement

Ghettto small part holding. Not sure I trust the method completely, it was more of a self-experiment. My usual method is Clickspring style - CA glue thin washer like parts to a machined mandrel face with CA, do the machining. It holds well, but too well. I have to heat the crap out of the assembly with a torch probably +600F to soften & fail the glue.

Pics show hot melt glue alternative, no glue between part & face, just peripheral bead. It was rigid enough to hold part during (light = 0.010") facing & turning, even a bit off center. Then I just pull the glue off with needle nose pliers. Seems to come away clean without messing up material.
 

Attachments

  • IMG_2830_edited-1.jpg
    IMG_2830_edited-1.jpg
    118.3 KB · Views: 0
  • IMG_2831_edited-1.jpg
    IMG_2831_edited-1.jpg
    139.9 KB · Views: 0
  • IMG_2832_edited-1.jpg
    IMG_2832_edited-1.jpg
    94.1 KB · Views: 0

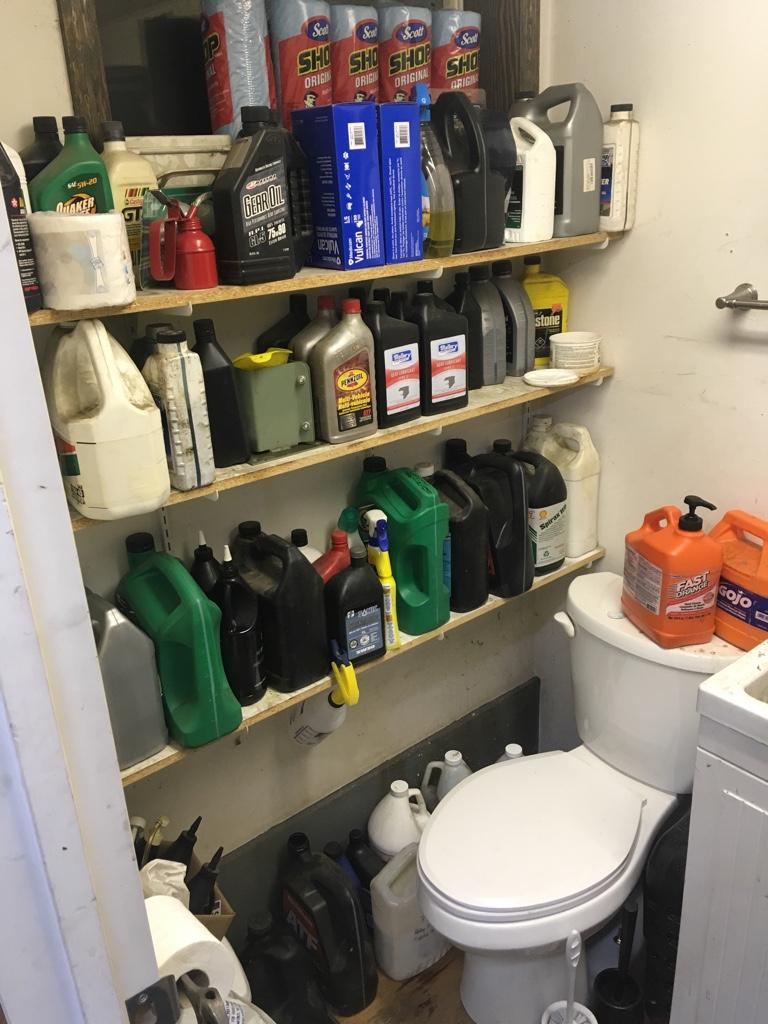
Nice! Do you have a mill in your washroom or a toilet in your shop LOL.
 
Last edited:
Toilet and hot water in shop. Toilet is also the oil storage room.

eed6e73e7398b7173c58a1a9c7e0b49d.jpg


Sent from my iPhone using Tapatalk
 
Last edited by a moderator:
Without reading the prior question & only seeing the picture, one could infer someone has some serious 'blockage' issues.
Hint: more fiber!! LOL.
 
I cant quite tell - did you machine flats on the threaded rod or weld nuts on?

@PeterT I machined the rod down so I could weld on a drilled out 1/2" nut (which needs a 3/4 wrench).
(the first time I did this I didn't drill out the threads - big mistake!! I thought I'd get away with it. but the zinc on the threads completely compromised the weld! So drilled out, then re-welded.

- when I used the Modern bars, my wrench kept slipping off; thus the nuts to support the wrench under the drive nut.
 
Turning precision shims...

.002 / .005 / .010 brass shims lathe turned with +/- 0.001" OD and ID

Scissor cut rough circles to fit left end of gadget, screw cap on to clamp
Bore shim ID
Fit bored shims over stub on right end of gadget, secure with clamp lid and SHC
Turn gadget and shims to OD

SHIM JIG.jpg


I've also used this method with sintered metal filter material to prevent spalling.
 
That's a nice fixture. I've got to make some 1/4 scale engine head shims of various thicknesses just like your sketch.
When you do the OD operation, are you coming in obliquely with something like a parting tool (red)? Or coming in from the end, cutting through the end cap to same diameter (so it would be kind of sacrificial).
 

Attachments

  • 2020-04-17_9-26-21.jpg
    2020-04-17_9-26-21.jpg
    14.9 KB · Views: 0
Peter

Part of the cap and part of the main jig body are sacrificial. In my experience parting tools aren't great for producing a precision OD.

Here's an after shot with a stack of shims turned to final.

IMG_2628.jpg
 
Like this. That’s a piece of 3/8 flat bar with the usual mil l scale. to show the colour difference. That’s after about 48 hours in the tub. I scrubbed it down twice with a 3M pad and steel wool. Then cleaned up with some rags and purple super clean cleaner spray.

View attachment 8616

here I am rinsing it off with just some water after scrubbing to loosen it more. I call that good.


I use vinegar to get the fire scale off of my forgings. It works great....24 hrs soak time and voila!
 
Hot off the mill...…...

JIG.JPG


My cemented/brazed carbide insert lathe tool sharpening jig.

Those diamond grit cut-off disks make short work of tuning up carbide tooling, the problem is presenting the tool to the disk. One method is to mount the disk in a drill press or mill chuck and present the tool to the disk using a vise within a vise (there are two angles that need to be addressed). That works but is a PITA to setup, so today I decided to craft a jig to perform the same function. Works great:)

Craig
 
Last edited:
Craig that is bloody awesome! I love it! How are you setting the angles? Just visually?
What RPM are you using?
 
Last edited:
Craig that is bloody awesome! I love it! How are you setting the angles? Just visually?
What RPM are you using?

Visually and/or by feel. For the most part I find I toast those tools by chipping a point off and need to grind them back to the same form. The shape you want is there, it's just a matter for removing material to reform the point.

I haven't found it to be RPM sensitive what so ever. I've been running anywhere from 1000-2000 RPM (low range on my mini-mill) and could probably go higher. The diamond grit disk isn't showing any sign of wearing out.

I don't have a green grinding wheel to compare it to, but it sure removes material fast and eliminates the irregular faces you get when trying to hand grind something.

I wonder if this would work for forming HSS tools? May have to try that.
 
Make sure cover The mill table/ways to protect from the grit.

My little experience with green wheels is that they dont really sharpen carbide but rather break little bits off leaving a new edge.
I‘ve been meaning to try sharpening with a diamond wheel. I have one that fits a dremel tool. Is yours larger than that?
 
Let us know about grinding HSS too. I want one of these jigs. Typically I resharpen with a diamond file - not all that consistent. I can imagine another version with a dove tail holder so you could just put the tool right in straight from the lathe tool post. Maybe with a ball head for setting both angles at once? like on a tripod..

Hmmmm…… I used a couple of defunct 3/8 tool shanks for my jig. I could mount that thing directly onto my tool post and chuck the diamond disk on the lathe come to think of it now. I'll go try that.

Ya, I have a diamond file to - not all that consistent for sure.
 
Last edited:
Did you know you can copy and paste pictures into the forum ? - you don't actually have to save it to a file and upload that. If it's an image on the web just copy the image and paste it into the text editor reply. This makes screenshots easier to post.
1587230994322.png
 
JIGLATHE.JPG


JIGLATHE1.JPG


All manner of mounting options happening here. In reality you probably don't need a jig that offers two angles to be set, one would suffice. Still, mounting on the mill table gives you the most options.
 
Last edited:
DC65B347-8AFF-4F17-8A79-456E4FAFA4B6.jpeg
5FC13454-F37B-4CE5-8070-3C687DB88780.jpeg
4BFE963A-0D31-41BE-B591-F8549079DC4E.jpeg

Buddy of mine is storing some truck parts in the corner. Helped him move the frame under the cab today. Of course the frame was facing the wrong direction so pulled it outside to spin it around. Then used my spreader bar with a flat sling to move the cab
 
Back
Top