• Scam Alert. Members are reminded to NOT send money to buy anything. Don't buy things remote and have it shipped - go get it yourself, pay in person, and take your equipment with you. Scammers have burned people on this forum. Urgency, secrecy, excuses, selling for friend, newish members, FUD, are RED FLAGS. A video conference call is not adequate assurance. Face to face interactions are required. Please report suspicions to the forum admins. Stay Safe - anyone can get scammed.

Chinese mini metal lathe differences?

I kept on hearing stories from users about Vevor offering cash if there's anything documented that needs fixing. And I'm up for the adventure.

Not trying to put the machine down but you could start with telling them it’s 2250 RPM not PRM. I hate Chinglish lol.
I heard that too. I was hoping to find something wrong (but fixable) with it to followup with them for a rebate. But so far, I haven't found anything wrong.

No chips yet.
 
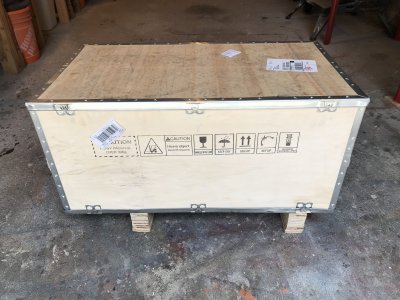
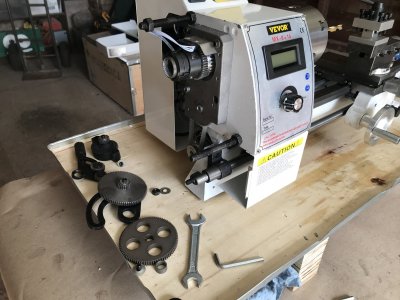
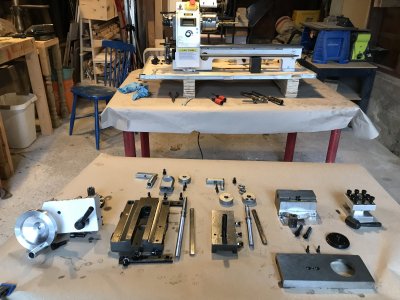
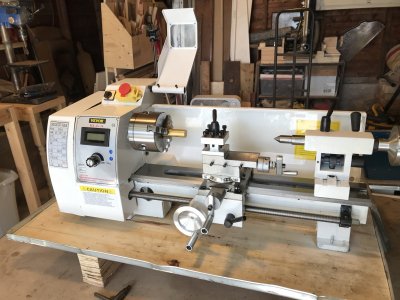
Vevor MX 8x14 Chinese mini lathe rookie update. Pics attached.

- I took a day and stripped everything down. There was a lot of what I'd call, "factory grit&oil" on all the bearing surfaces, gears and everywhere.
- All the gibs were loose. A couple of bolt/screws had come undone and were rattling around.
- Washed all components (detergent and hot water), then put it under heat to get them all absolutely dry.
- Then applied a coat of machine oil everywhere. The 'manual' called for "non-detergent 20W". I'm using a light oil made for sewing machines. Seems fine. Recommendations?
- Day 2. Re-assembling it all was a good exercise in getting to know how this all works, especially the gib adjustments. HIGHLY recommend.
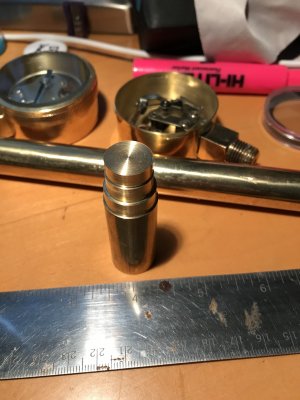
- Day 3 First chips off 306 brass 3/4" round bar. Did a facing cut and turned a few diameters. NOTE: Learned how to sharpen the brazed carbide cutting tools that came with. 7 degrees.

Conclusion, for me it's been fun. I can see the appeal of diving into upgrades on this class of machine. There is so much on YouTube for that. Next step will be looking for precision.
 

Attachments

  • IMG_6784.jpeg
    IMG_6784.jpeg
    505.2 KB · Views: 15
  • IMG_6801.jpeg
    IMG_6801.jpeg
    397.2 KB · Views: 12
  • IMG_6808.jpeg
    IMG_6808.jpeg
    437.5 KB · Views: 13
  • IMG_6809.jpeg
    IMG_6809.jpeg
    401.2 KB · Views: 14
  • IMG_6814.jpeg
    IMG_6814.jpeg
    346.6 KB · Views: 14
As someone completely new to machining, this forum has all been really helpful. I thought I'd add to my story for anyone else getting into the hobby.

I decided to give my new Vevor MX8x14 a new home. Built this custom bench with integrated tool drawers and a small space to store some stock. The lathe is up on blocks to raise it to a comfortable working height and provide some additional space under the drip pan. 15 hours, made with trimmed spruce studs and some 3/4" plywood.... and 5 coats of varnish on top!

The key for me was to keep it moveable, as I'll want to move it to my basement for the winter. So, everything comes apart and can be reassembled as needed.

My first mini learning project was to turn this chunk of aluminum into a bezel ring, replicating the one in brass shown on the left. After I figure out my process in aluminum, I'll try it in brass. And get a knurling tool to see how that works. And get a QCTP... and spend more $ (!)
IMG_6825.jpeg


IMG_6830.jpeg
 
Back
Top