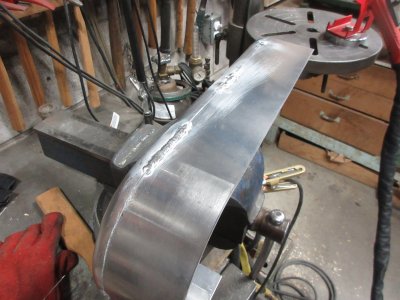
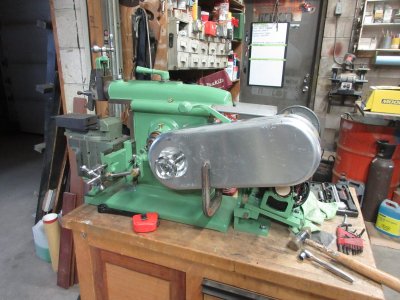
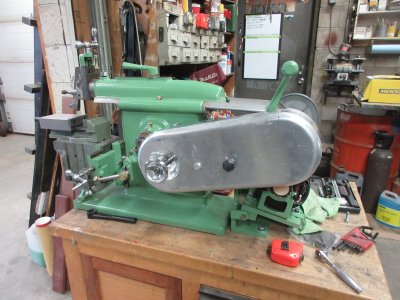
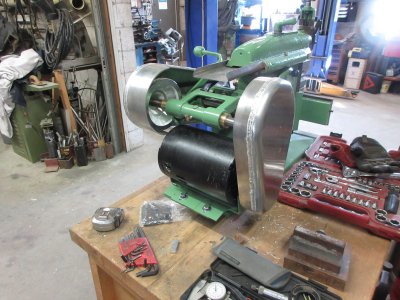
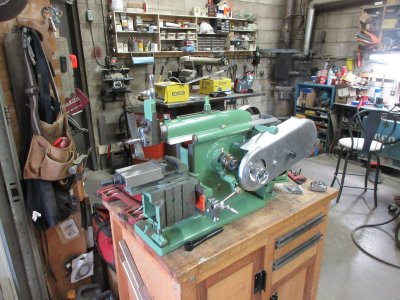
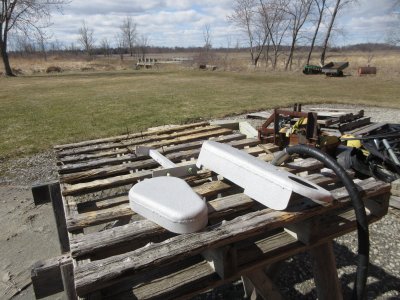
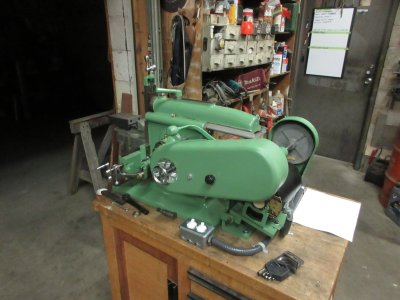
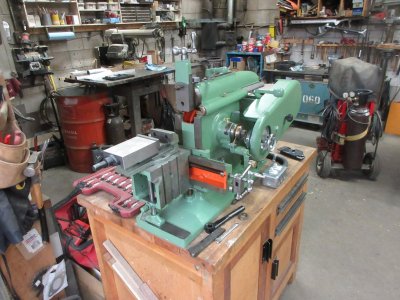
Pulley drive belt covers. The Ammco shaper was missing any kind of belt guard cover and as I studied many pictures of different variants over the years. I considered making a pattern and casting a cover. The issue is the size of the cover and number of holes through it. Gravity casting on a larger thin part would be prone to stress and cracking, 2% shrinking as the part cools contributes to this. The time invested in making the pattern would be considerable and would also have to be a custom part as in this restoration I have used the Atlas 7b belt tensioner/clutch arrangement. Based on the information at hand I felt that sheet metal cover would be the best option. However flat sections of sheet metal gives a true home made wing it appearance and seeing that I have so much time invested, I felt that I could produce something just a bit more suitable in function and appearance. To accomplish what I can see in my mind I need to construct a hammer form or Buck to shape the .125" 4045 aluminum sheet. So once again I digress from metal to wood to make a metal part. The hammer form is made from 9/4 (2 1/4") hard maple, sometimes referred to as sugar maple or rock maple in the Niagara Region where I live. It is the stuff butcher blocks were once made from before health regulations no longer allowed them to be used in the meat processing industry. There is a place called the Wood Shed in Smithville Ontario that stocks may kinds of rough sawn, live edge and tree rounds for all kinds of projects. Once located on Regional Road 16 in an old Chicken Barn they were forced to move into the Industrial Park of Smithville due to a complaint of being non compliant use. ( Don't get me started )
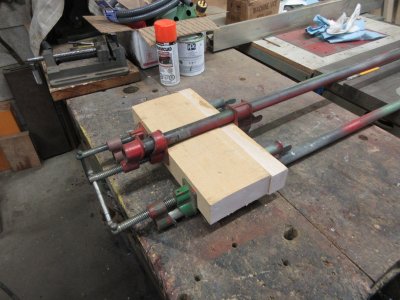
First up, glue up the blanks to be processed.
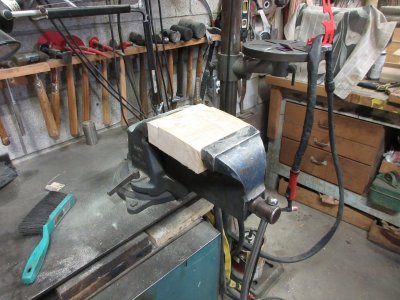

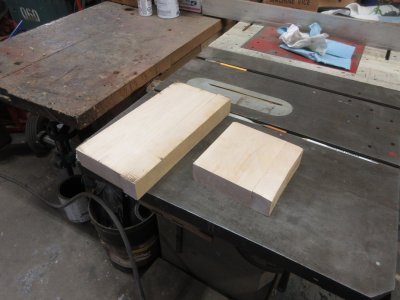
The blanks were pushed through my 3HP 20" thickness planer.
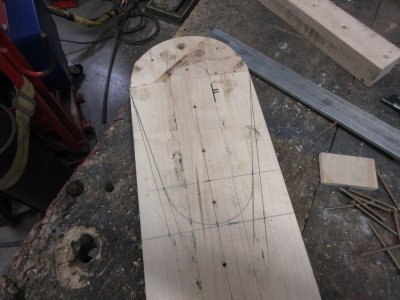
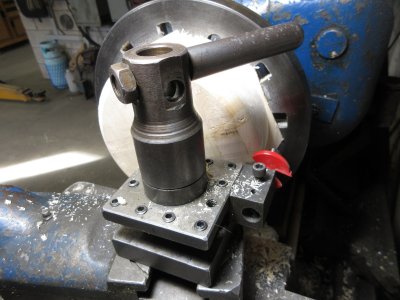
At this time consideration was made to the size of the radius of the pullies that the guard would cover. One issue is that the tensioner moves nearly an inch from engaged to disengaged and needs to cover the belts at all times. A diameter of 6 3/8" was determined to be the inside measurement and was turned on the Harrison and the outside edge was radiused with a router bit on the back side of the part, turned in reverse.
The round blank was cut in half.
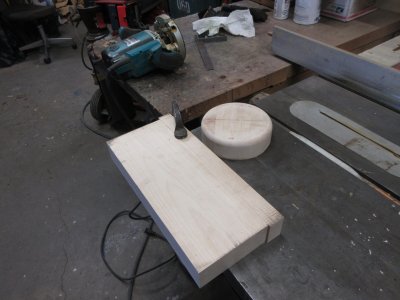
The length of the body of the belt guard is measured and fastened to the two radius ends with screws. A holding cleat is fastened to the body of the hammer form.
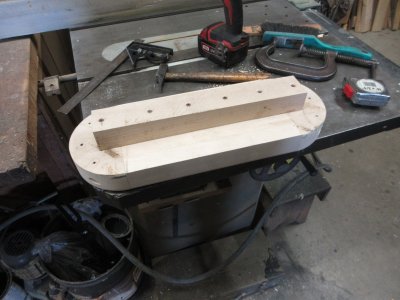
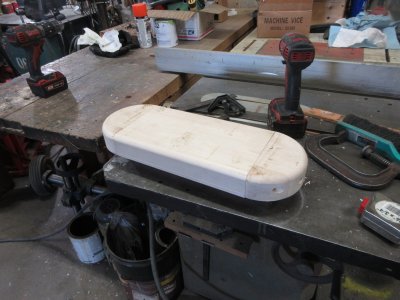
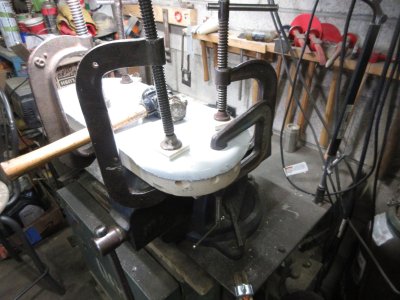
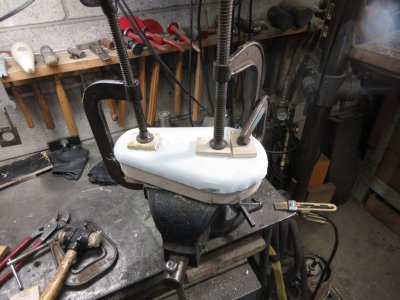
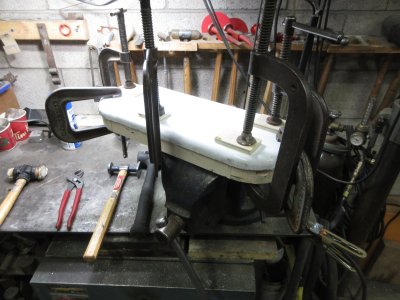
The sheet metal blank is cut 5/8" larger than the hammer form pattern on all sides and is clamped to the hammer form. Lots of clamps needed to hold position and must be tightened with leverage and checked through out the hammering process.
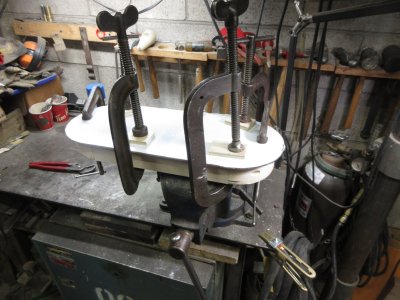
The hammering/forming is done with a leather mallet and or a dead shot rubber mallet. It takes considerable force to shape the metal. Alloys like 6061 and 7075 are not suitable for this kind of forming as they tend to crack and resist cold forming. At times hammer forming can work harden the sheet and annealling will be required to relief stress before tearing starts in the sheet being formed. As the metal is being formed around the radius it is being forced into a smaller area and to lay flat the extra metal must be taken up in the sheet. For this reason a soft face mallet is used. The sheet Mic'd at .124" when completed was now .135" it is now thicker than the base sheet being formed. In order to achieve a symmetrical shaped part the hammering is not concentrated to one location but rather moved around the work piece moving clamps as required to strike the sheet.
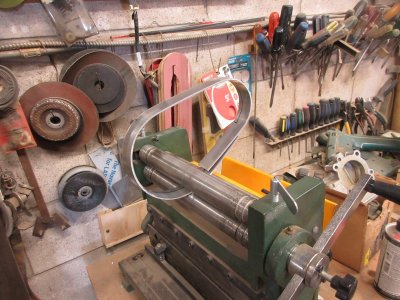
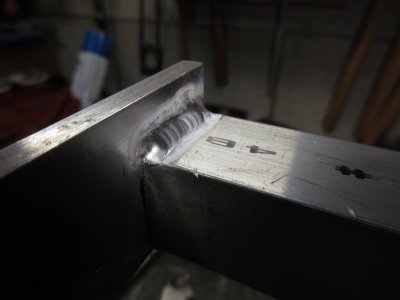
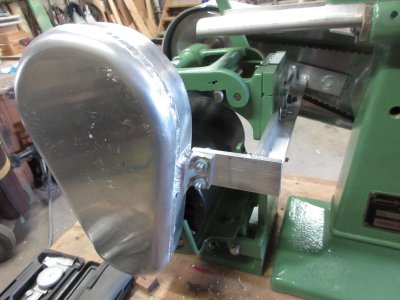
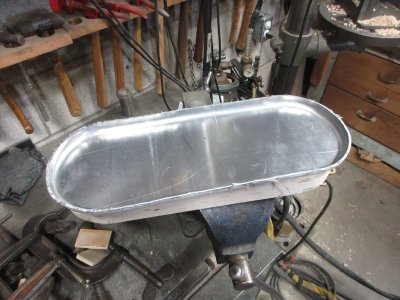
Once forming has been completed the clamps are removed and the part is viewed from the back. There are a few wavy edges, however a strip will be formed and welded along this edge so they will not be seen.
More to come in fabricating this part.
TonyK.
Grimsby Ontario Canada.
First up, glue up the blanks to be processed.


The blanks were pushed through my 3HP 20" thickness planer.

At this time consideration was made to the size of the radius of the pullies that the guard would cover. One issue is that the tensioner moves nearly an inch from engaged to disengaged and needs to cover the belts at all times. A diameter of 6 3/8" was determined to be the inside measurement and was turned on the Harrison and the outside edge was radiused with a router bit on the back side of the part, turned in reverse.

The round blank was cut in half.

The length of the body of the belt guard is measured and fastened to the two radius ends with screws. A holding cleat is fastened to the body of the hammer form.


The sheet metal blank is cut 5/8" larger than the hammer form pattern on all sides and is clamped to the hammer form. Lots of clamps needed to hold position and must be tightened with leverage and checked through out the hammering process.

The hammering/forming is done with a leather mallet and or a dead shot rubber mallet. It takes considerable force to shape the metal. Alloys like 6061 and 7075 are not suitable for this kind of forming as they tend to crack and resist cold forming. At times hammer forming can work harden the sheet and annealling will be required to relief stress before tearing starts in the sheet being formed. As the metal is being formed around the radius it is being forced into a smaller area and to lay flat the extra metal must be taken up in the sheet. For this reason a soft face mallet is used. The sheet Mic'd at .124" when completed was now .135" it is now thicker than the base sheet being formed. In order to achieve a symmetrical shaped part the hammering is not concentrated to one location but rather moved around the work piece moving clamps as required to strike the sheet.

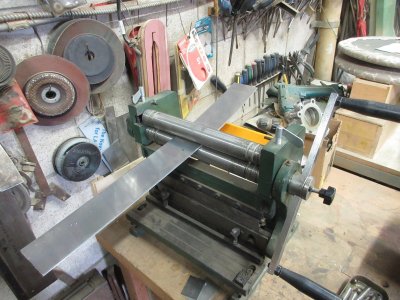
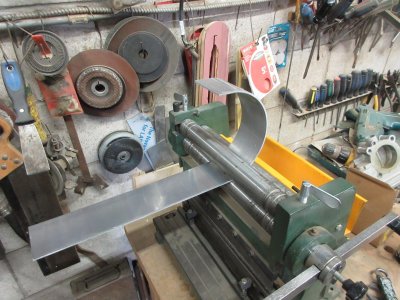
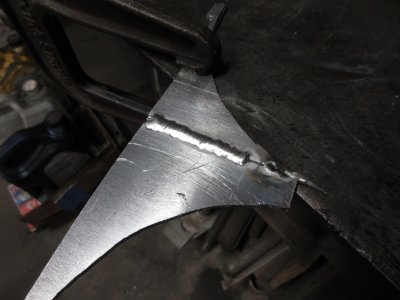
Once forming has been completed the clamps are removed and the part is viewed from the back. There are a few wavy edges, however a strip will be formed and welded along this edge so they will not be seen.

More to come in fabricating this part.
TonyK.
Grimsby Ontario Canada.

