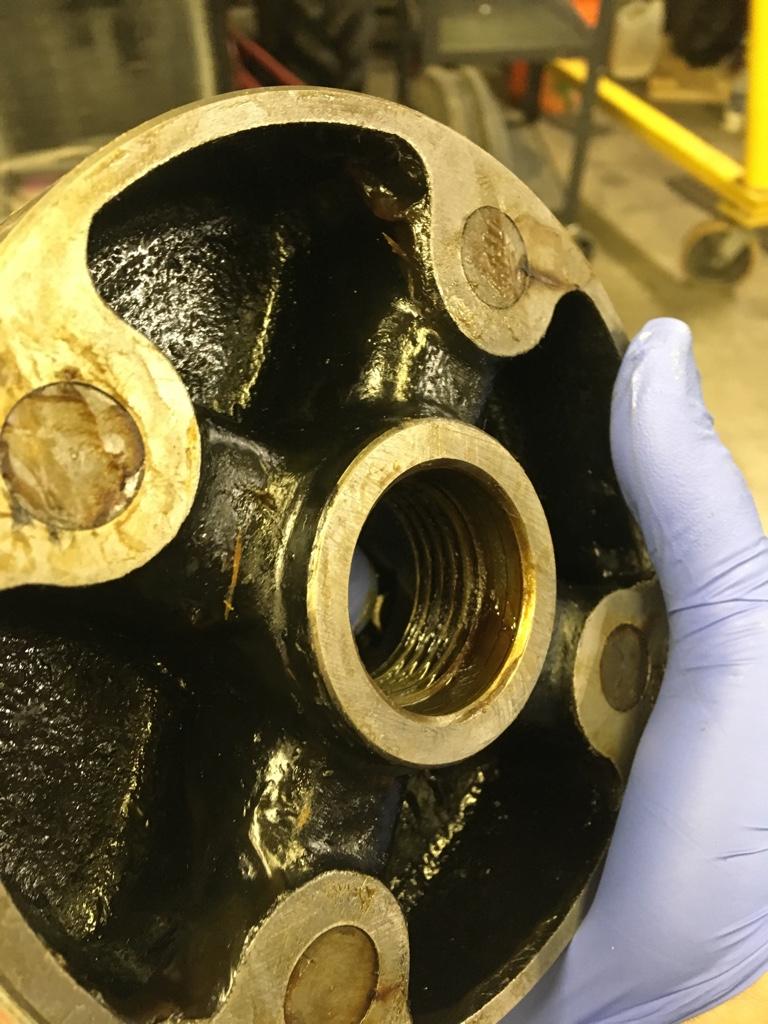
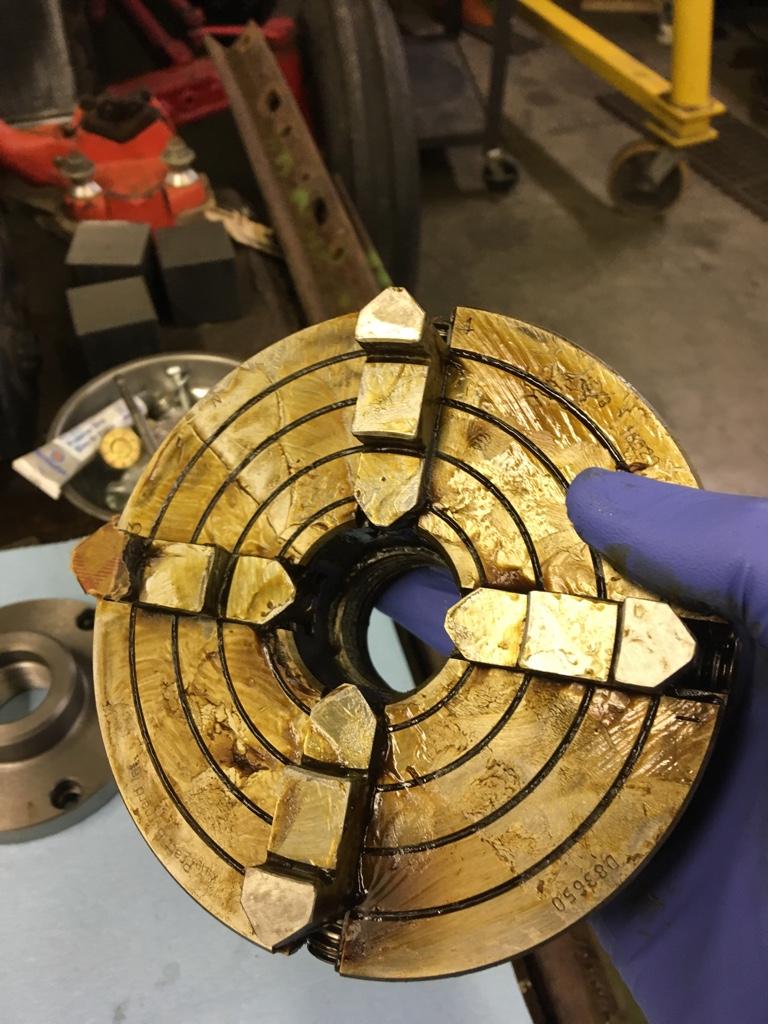
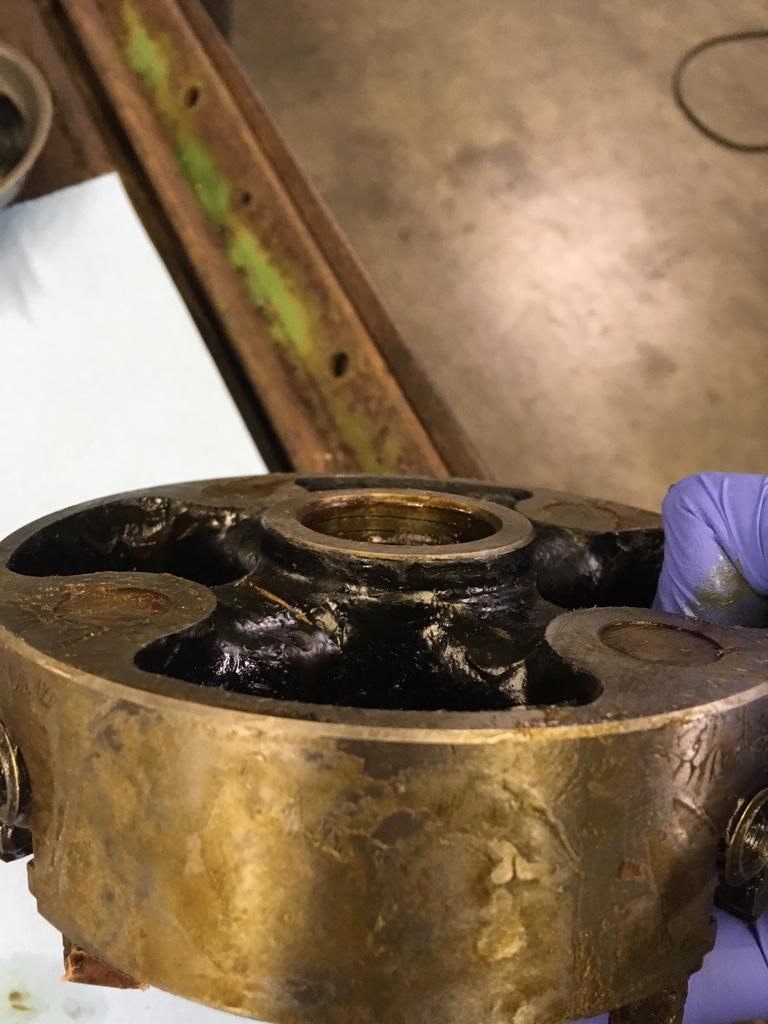
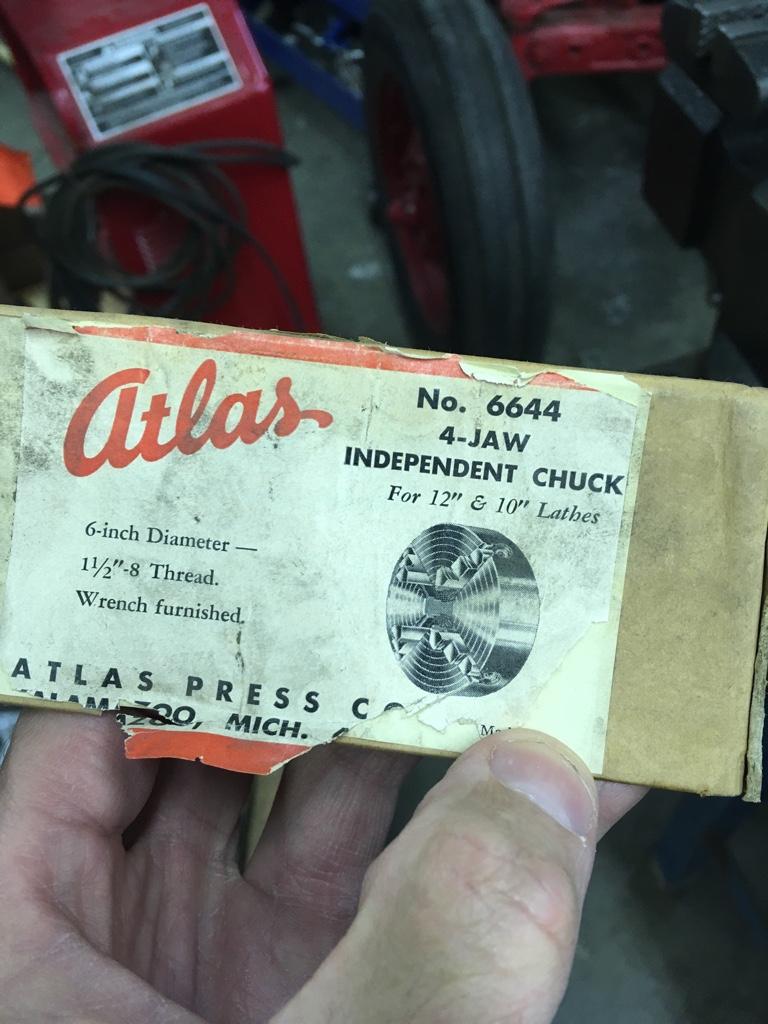
That's why I asked. A while back I bought a faceplate that had the proper taper angle as evidenced by bluing, but it still had a small gap between the vertical face of the spindle & back plate. So when the cam locks tightened it would lodge at some slightly cocked angle. The spindle nose is 2 surface contact fit, the cone and the vertical face, simultaneously. I made a ghetto lap tool from low shrink epoxy putty using a known good spindle as a mold & slowly worked at it blueing & fitting. It was a PITA but it worked. If I did it again I would cast an entire circular plug & use lapping compound.
On a short distance like the width of taper nose you could probably set your compound up to replicate the actual spindle taper with 10ths DTI, ensuring you were absolutely on center, lock that setting & turn the taper. But yes you need a reliable way to measure the bore as it progressively opens up which is complicated in that it you are measuring a relatively sharp corner lip as opposed to a cylindrical bore. Having a dummy plug mimicking the spindle itself would be the best because you could just press it in & progressively creep up on flush. But it would have to be a very accurate plug. Buying a semi finished back plate with pre-machined taper isn't looking so bad now LOL I was thinking along these lines, buying an offshore D1-4 chuck backplate just to give me a head start on the spindle bore issue.
Let us know how you make out!