Doggggboy
Ultra Member
Polycarbonate?Tried printing a mason jar in vase mode this morning.
View attachment 79610
Now trying a vase of my own design for my Daughter to put her Lego flowers in.

Polycarbonate?Tried printing a mason jar in vase mode this morning.
View attachment 79610
Now trying a vase of my own design for my Daughter to put her Lego flowers in.

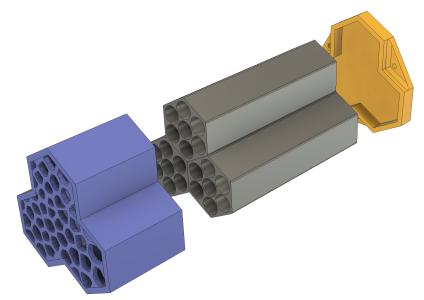
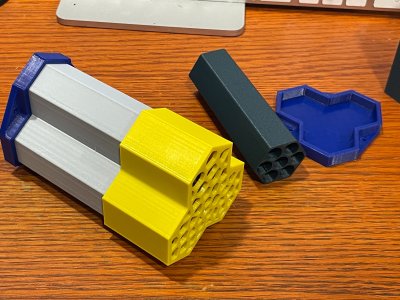
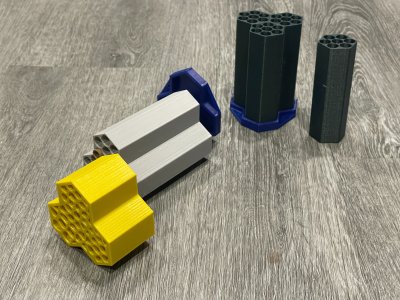
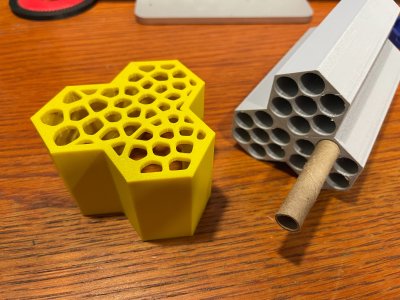

Holds a standard nut and to be used to make it quick install and removal of the side supports that I printed a few posts before.
Can a print be stopped, a nut inserted in a cavity, and then the print resumed knowing the cavity was filled, so that the nut gets buried?
Yes, with some caveats. The first layer on top of the nut will be unsupported - this is known as bridging. The filament does not bond to the nut at all. When bridging small gaps - say up to 5mm, the filaments can span the gap effectively without too much sag. Beyond that, the bridging will break down when the cooling filaments shrink and warp slightly. So yes it can be done but don't expect wonders with larger nuts.Can a print be stopped, a nut inserted in a cavity, and then the print resumed knowing the cavity was filled, so that the nut gets buried?

Yes pause at height in your slicer. Slice your part. Then using the slider go down to the height you want and set a pause. Then when printing the printer will pause at that height you can add the nut and then un pause. I have done it my self. Used Square nuts at one point. Regular nuts tend to turn in the plastic if they take to much torque. Now I use threaded inserts. Cage nuts can be used but I have not tried them Just found the threaded inserts are easy to install using a soldering iron. Mostly used pause at height to make raised lettering prints with different colors. Now most slicers have a manual color change function.Can a print be stopped, a nut inserted in a cavity, and then the print resumed knowing the cavity was filled, so that the nut gets buried?
I read somewhere that using a thicker layer height will make it more translucent as it is the space between the layers that causes the opacity. I've done a lot of PC but never adjusted the layer height.Translucent PETG. It's been sitting in the AMS for a couple weeks now after initial drying, so I'm sure I could clear it up a bit by drying it some more. Surprisingly strong though. Very flexible, and It survived my halfass attempt to break it. I wanted to see how tough it was, but I didn't really want to break it, so I didn't test it to failure lol

As others have stated, yes. As these are thumb nuts, unless one is uber strong, spinning the nut is highly unlikely. I did use 4-5 vertical layers which does strengthen the cavity.Can a print be stopped, a nut inserted in a cavity, and then the print resumed knowing the cavity was filled, so that the nut gets buried?
Im going to try with a .8 nozzle and thicker layer heights next time I do it. That plus drying it more should help clarity.I read somewhere that using a thicker layer height will make it more translucent as it is the space between the layers that causes the opacity. I've done a lot of PC but never adjusted the layer height.
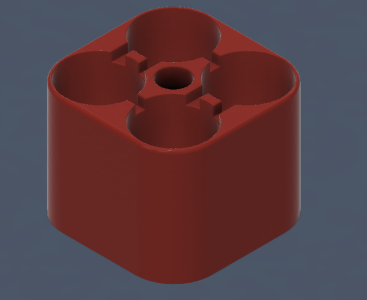
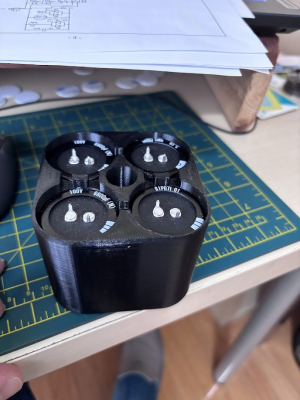
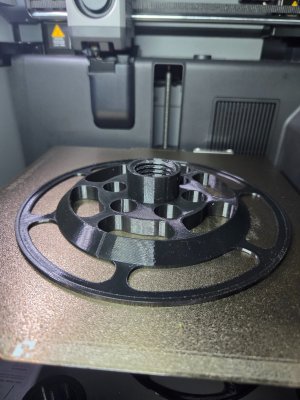
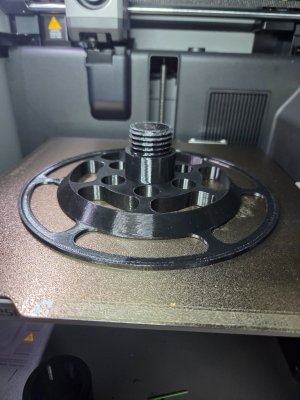
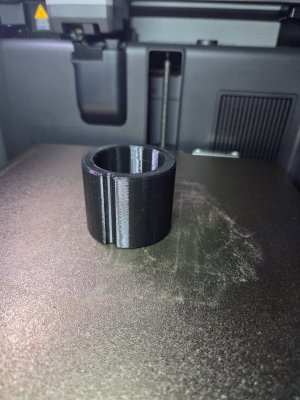
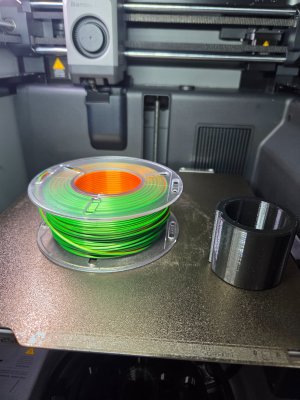
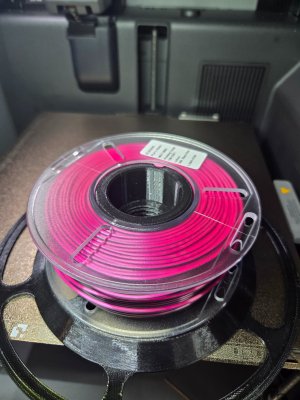
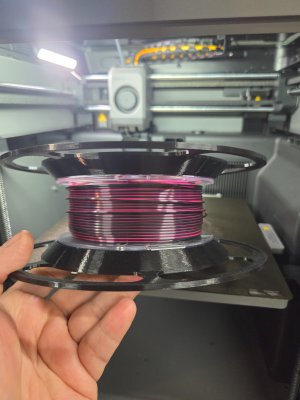

"HARK,"Anyone here doing resin printing?
Haha amazing. I have a small part that I'm interested in possibly modelling (which I have started) and prototyping. If you're ever bored and take on a small commissions let me know...."HARK,"
*A wild Frenchman Appears!
I have been summoned.
DM and I can have a look. I am fairly reasonable with helping out other nerds. . . especially if you draft it up yourself! 'I draw for a living' so charge the most for that. . .Haha amazing. I have a small part that I'm interested in possibly modelling (which I have started) and prototyping. If you're ever bored and take on a small commissions let me know....
I have an original Elegoo mars, But have not touched it in at least 3 years. No particular reason other than the projects I got involved in didn't really need it, and theres only so many hours in a day. I don't even know if the bottles of resin I have are any good anymore, or what kind of shelf life they have.Anyone here doing resin printing?
I'll see what my models look like and shoot you a message!DM and I can have a look. I am fairly reasonable with helping out other nerds. . . especially if you draft it up yourself! 'I draw for a living' so charge the most for that. . .