• Scam Alert. Members are reminded to NOT send money to buy anything. Don't buy things remote and have it shipped - go get it yourself, pay in person, and take your equipment with you. Scammers have burned people on this forum. Urgency, secrecy, excuses, selling for friend, newish members, FUD, are RED FLAGS. A video conference call is not adequate assurance. Face to face interactions are required. Please report suspicions to the forum admins. Stay Safe - anyone can get scammed.

Welcome to Westwood Metalworks, What is he building in there?

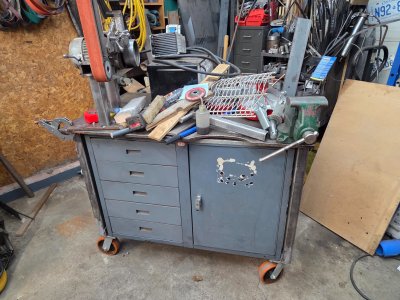
Lol it didn't take long. While I'm gaining floor space with this build, I'm also losing 8 square feet of table to pile stuff on....It's all gotta go somewhere, I just haven't figured out where yet....

 
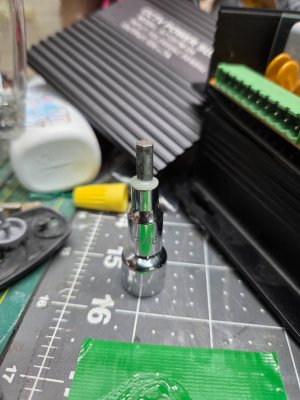
Cabinet installed. But getting the casters off it put up a good fight until I was able to enlist the help of a tiny person that lives here, consumes food and wifi. I had to make a hex socket driver because I can't find mine.....
20260201_143840.jpg

They used 14/20 button heads and nylocs so it was fun. Had to cut a few as the sockets were stripped out.....fun times....

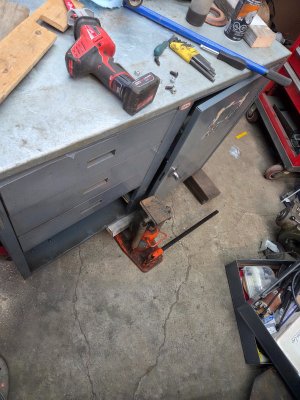
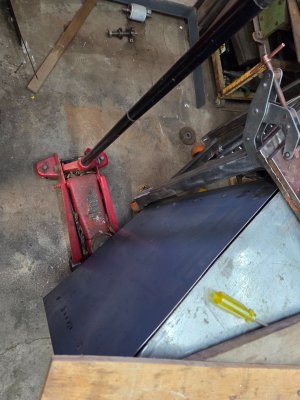
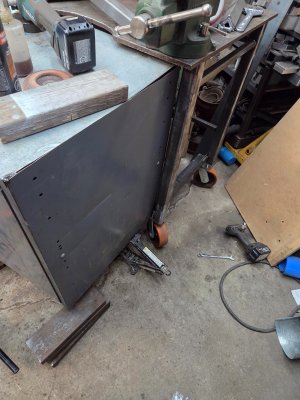
I used 3 jacks to lift it up, then slid it home.
20260201_155328.jpg
20260201_155330.jpg20260201_155336.jpg

20260201_165103.jpg

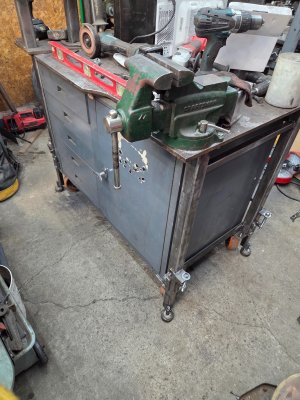
The rest of the shop is a complete mess. But at least the hard part is done. Ill chip away at the rest this week. I am already absolutely loving having this table on wheels. Makes it so much easier to create space in the middle of the floor for bigger projects. Let's file this one under stuff I should have done years ago.....
 
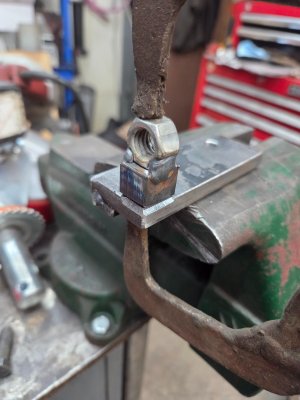
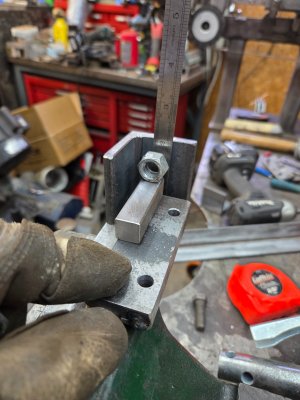
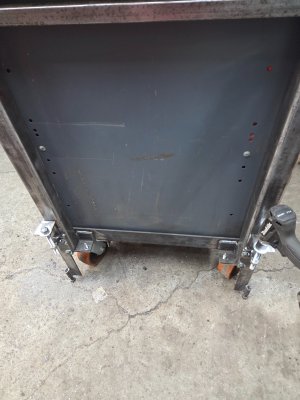
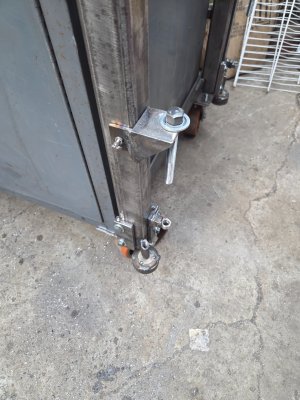
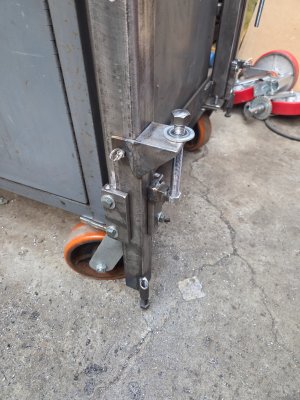
We have liftoff! If it looks pretty "pieced together" it's because it is exactly that. Bits and offcuts welded together to make it work. Truthfully I was hoping for a bit more stability, but it'll work. I think it'll be better once I make some bigger feet for it, but it's not bad now. Lifts easy with my small 3/8" impact, and it probably wont be long until I start bending the nut stand off, but I didn't want to commit a bunch of time to it before proving it worked first.
20260207_160731.jpg20260207_145858.jpg
20260207_173500.jpg

Had to break for dinner, will head out after to finish some more odds and ends and maybe get some better pictures of them (thought I took more than just those 3....sorry....)
 
Nice. I like the idea, just worried that they turn into ankle scratchers even though they are up against the bench.
Things have a way of catching me that have no right to do so, but somehow I manage it anyways. 😕
 
Nice. I like the idea, just worried that they turn into ankle scratchers even though they are up against the bench.
Things have a way of catching me that have no right to do so, but somehow I manage it anyways. 😕

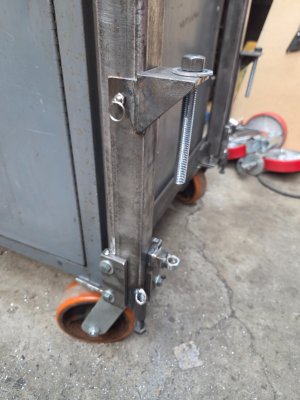
Thanks. They're pretty tucked in. That was one of the major points to doing this this way was to tuck them in as close as I could, yet have them as spread out as far as possible. But, I also have no doubt I'll catch one at some point.... lol
 
And it's done, finished, complete (except for tool hangers on the side....)

I added some spring plungers to hold them in the "up" position.
20260207_185356.jpg
20260207_185408.jpg

Then started playing with an idea I had for the swiveling feet.....
20260207_191846.jpg
20260207_191904.jpg
20260207_191912.jpg

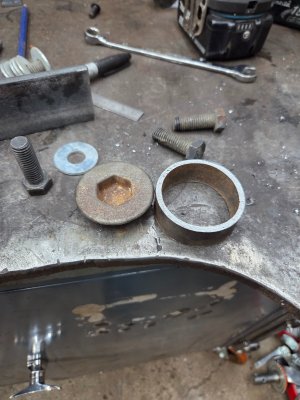
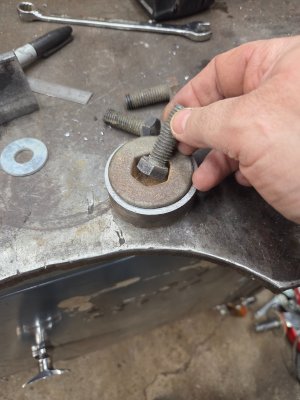
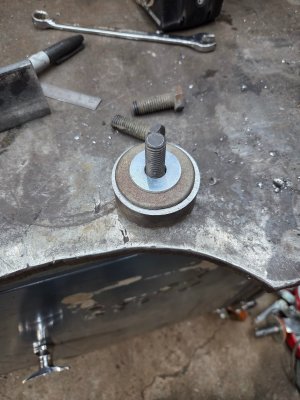
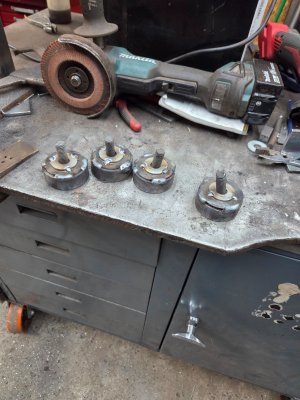
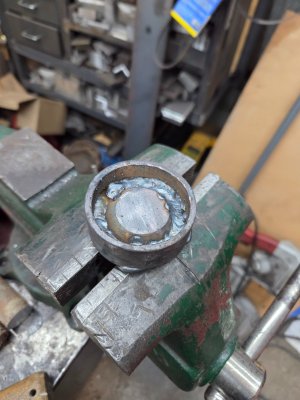
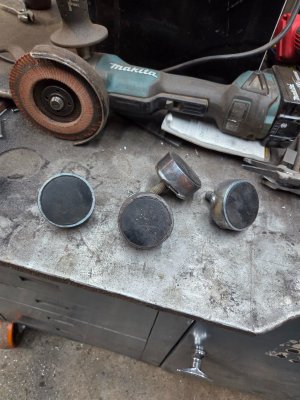
I think it'll work. That's an offcut head from a 1.25" FHCS I hauled home from a job last year sometime. I used the shanks for the axles on my grinder. The pipe are the legs from the old table. Nothing goes to waste here....

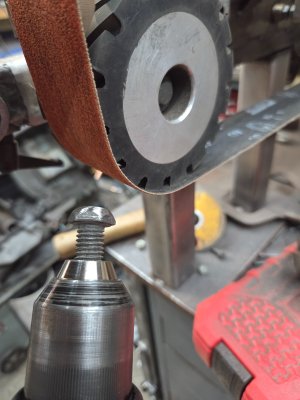
I also rounded off the heads of the 1/2" bolt.
20260207_194154.jpg

Welded up
20260207_195455.jpg

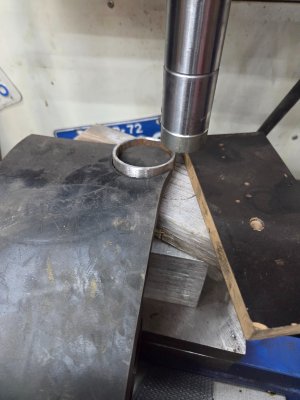
I cut an extra piece of pipe so I could mark the rubber out to cut, then while deburring it thought "why don't I just grind a cutting edge on it and punch them out?"
20260207_200954.jpg

Worked great

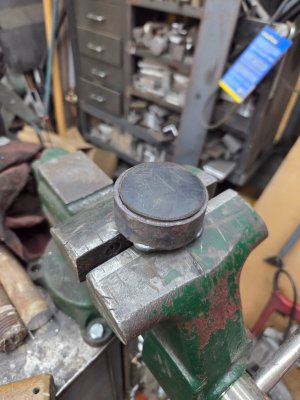
I also welded the underside of the feet to give more support for the rubber pad. Halfway through welding the last one I ran out of gas. Good timing....Now I get to see how much fun it is trying to exchange my old TSC (praxair) tanks at Praxair (now Linde)....
20260207_201235.jpg
20260207_201247.jpg
20260207_201336.jpg

20260207_201734.jpg

And here it is, sitting level sideways across my garage floor. Mission accomplished.
20260207_202247.jpg

There is a ~1.25-1.5" difference in height from side to side there. Didn't take long to lift it up with the impact, but I like the fact that the screw doesn't run all the way down. Just enough to where it touches the ground. Makes it a bit quicker to engage/disengage. The feet did make it a bit more stable too, so I'm happy about that.

Seems like a lot of work just to have the table sitting on the exact same "legs" that it used to be....😀
 
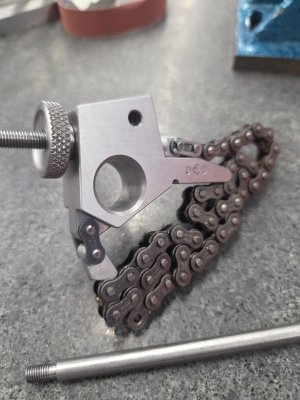
Clamp onto what?
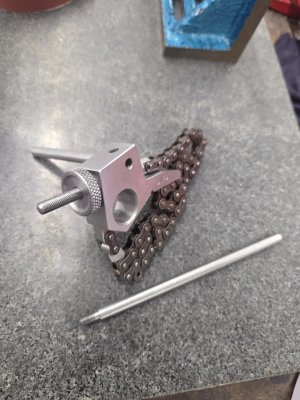
Shaft to shaft alignments, like a motor to pump, or gearbox. I'll try and get a demo pic when we're in the shop again on friday. The chain clamps to one shaft and The rod sticking out the back (or any other threaded hole there) holds an indicator to check the other shaft.

This is a pretty std tool/operation for a millwright. And this has been a pretty std shop project for apprenticeship for probably forever. I bought a gm retiree's toolbox about 15 years ago and it came with the exact same project from when he did his apprenticeship in 1976...

I've never used it though.....we mostly use lasers now. But the manual ways are still valid and the same principals apply.
 
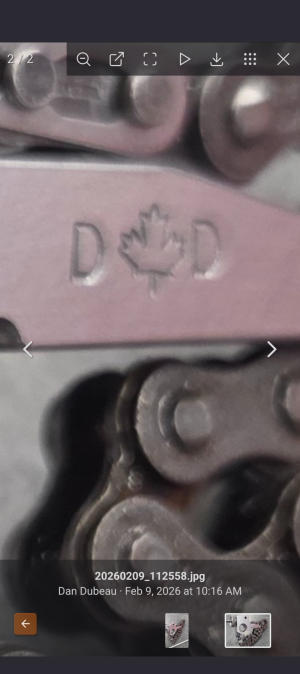
How did you make your maker's mark?
View attachment 77950
Just hand stamps. I bought the maple leaf one a long time ago I can't remember where. Nice touch on handmade tools. Made in Canada with Chinese steel, on Taiwanese machines.

I've been meaning to machine my own makers mark stamps for blacksmithing for a while now, but never seem to get around to doing it.
 
It's a whooooole lot easier to move stuff around with a mouse...

Current shop layout
1770864405102.png

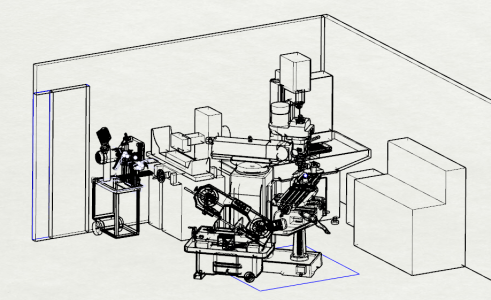
Proposed shop layout
1770863077045.png

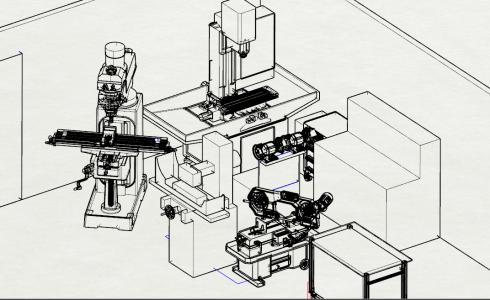
I spent tonight downloading machine models form grabcad, adjusting them to my actual machine sizes (close enough for these needs), and playing around with different layouts. If I hadn't lost the models for my sortmaster rack, toolbench hutch, and my stock rack, I'd have those in there too. A lot nicer moving stuff around this way than with rollers and a pinch bar.

I think I came up with something I like. I'll give it till the weekend, and maybe start shifting things around.
 
Back
Top