Before warned this is long winded.
To make the lathe a little more user friendly here are some photo's of a couple of accessories.
Please note:
1. That the parts except for the stretchable accordion apron used are my designs, done in Fusion 360 and 3D printed with a Bambu Lab X1C 3D Printer.
2. I try to keep my tolerances when 3D printing in the .01mm ( 4 tho) range.
3. No holes were drilled or tapped in the lathe or drip tray.
4. No back splash guard comes with this machine
A) Cross Side:
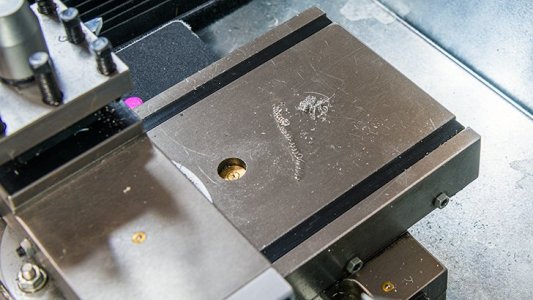
To eliminate the chips etc getting into the "T" shaped tracks. I made 2 slide in attachments.
B) Ways and gearhead drain plug:
This is sort of a combination unit that solves the problem of :
i) the drain plug which is in the back corner basically over the inside way with really no means of not getting oil over everything when changing / draining oil from the gearhead
ii) preventing clips etc from getting into the ways
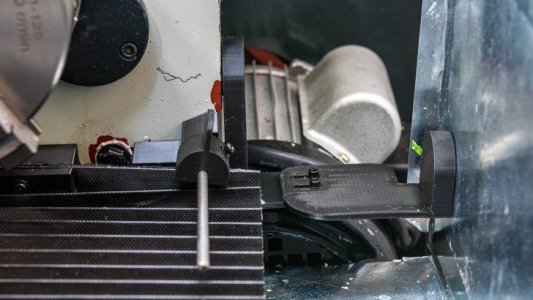
iii) preventing the stretchable accordion apron from billowing up into the chuck when the the carriage is moved closer to the gearhead
Photo Explanation:
Photo 1: "T" shaped cross slide inserts
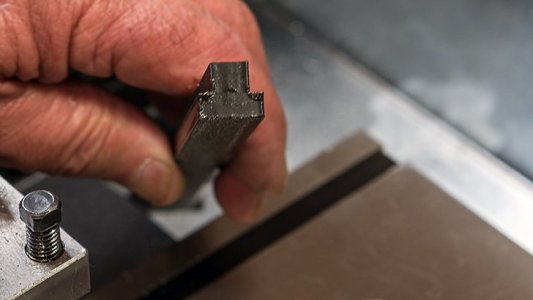
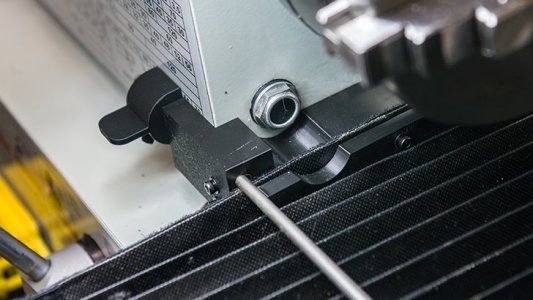
Photo 2: End view of "T" shaped inserts. The other end is half mooned as can be see in Photo 3
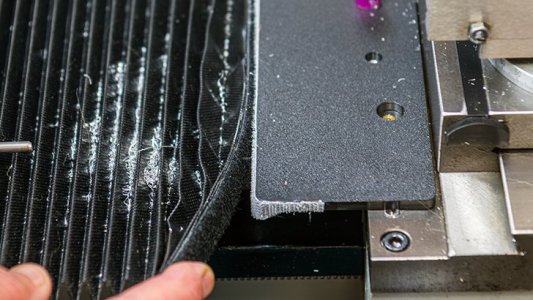
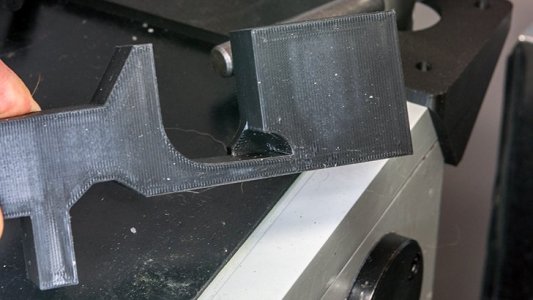
Photo 3: Spacer plate that has Velcro attached to hold the accordion apron with clips in the folds
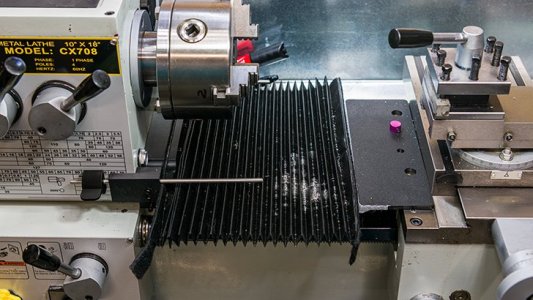
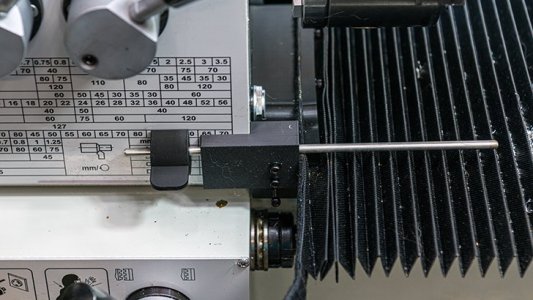
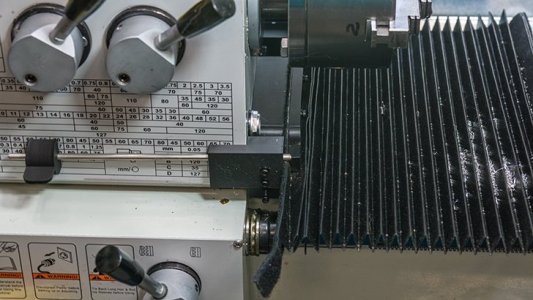
Photo 4: Showing the apron and the sliding apron rod
Photo 5: the sliding apron rod, thumb grip on the rod which has a 3mm setting bolt on the underside along with a 3mm brass insert
Photo 6: the sliding apron rod slide back
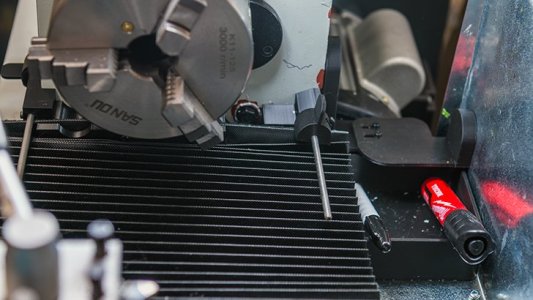
Photo 7: the rear sliding apron rod which can be set as a bumper so as not to allow the tool post bit to strike the chuck, the gearhead drain plug nut and the removable oil pan with Sharpies
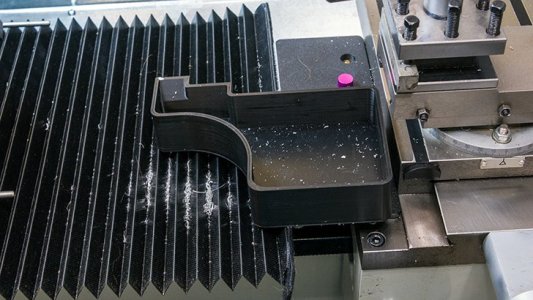
Photo 8: Oil pan
Photo 9: i) Backside showing the oil pan removed to show how the rear splash guard is attached to the gearhead. I used 1" round N52 magnets pressed into the 3D printed parts.
ii) The back splash guide and the oil pan prove protection to the motor to prevent oil / chips from being sucked in.
Photo 10: Shows the oil fill window on the front of the gearhead.
Photo 11: Shows how I get the oil drains to oil pan from the drain plug.
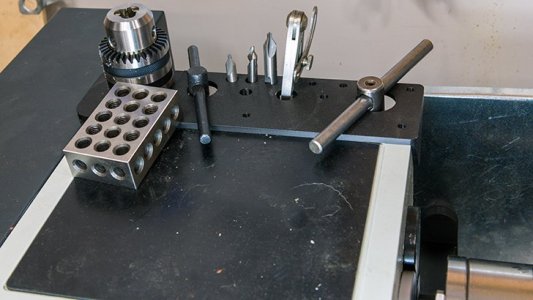
Photo 12: Show the top rear of the gearhead that I store some stuff on and is attached using the three existing holes in the gearheads top cover.
Thanks in Advance for looking, Any and all comments are always welcomed.


Last edited:
