Casting day with
@Gennady this past Sunday. He needed a bronze blank poured so he can machine a new half nut for his lathe. He also brought me back my old 3D printer that he got working again and upgraded a few parts on for me. Thanks!
🙂
Started with a blank drag.
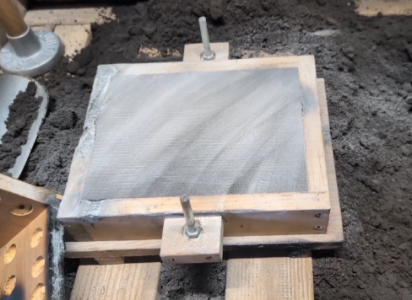
Had to screw another drag onto the cope to make it tall enough for this mold. I put in the sprue pattern and used my normal riser pattern / pouring basin cutter as the cylinder blank pattern as it was just the right diameter, and began ramming up the cope.
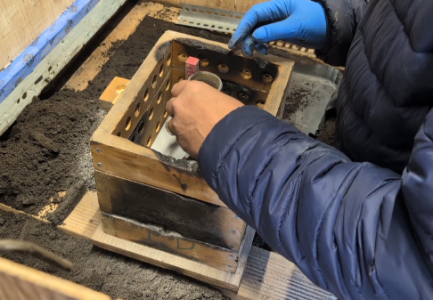
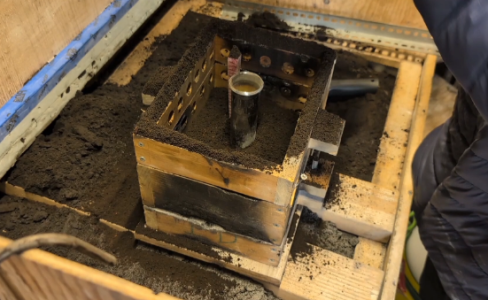
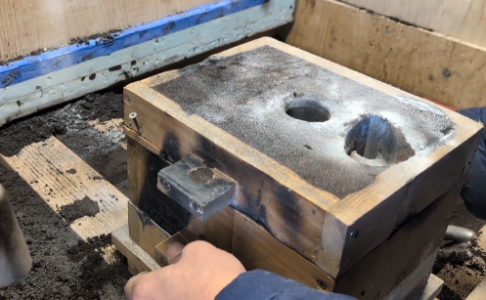
Once the cope was rammed up and struck off, I pulled the sprue and pattern out of the cope, cut the pouring basin (shown below), and opened up the mold to cut the runner.
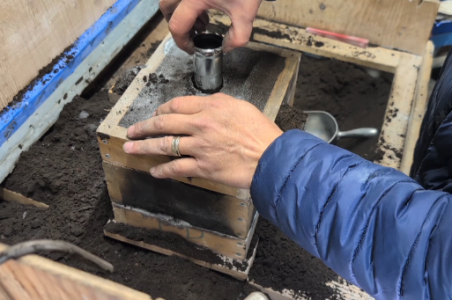
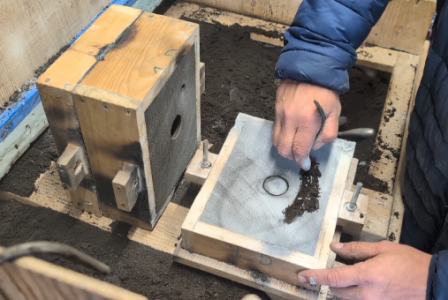
To locate the in-gate in the cope more easily, I dusted the drag then closed and reopened the mold. This optional step leaves a print on the cope showing clearly the location of the runner in the drag, which the in-gate must connect to.
I cut the in-gate at a tangent to the mold cavity wall. This puts the whirl in "whirl gate".
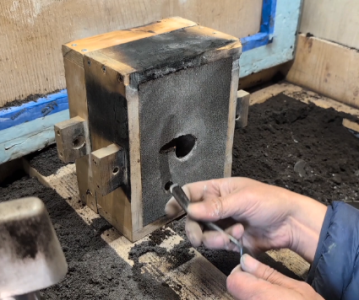
A whirl gate had been recommended for casting machining blanks. It is supposed to centrifuge any dross inclusions out to the skin of the casting where it will be turned away, leaving clean metal behind.
Closed the mold back up and that's it. That was all that this mold entailed, pretty simple. (There's that pouring basin)
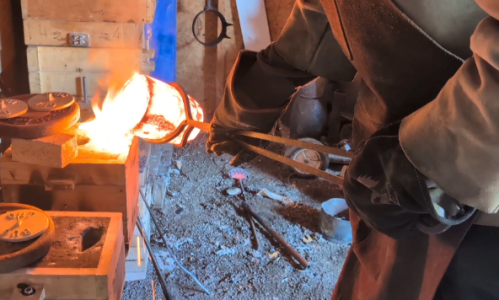
Fun shot of the green 'dragon's breath' that can be seen when copper is being melted...
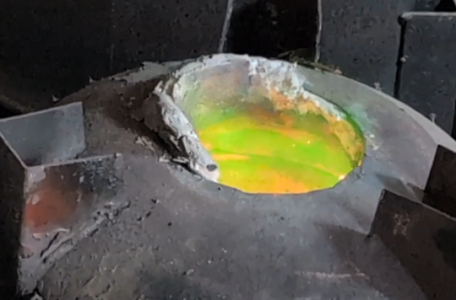
Gennady brought a bunch of copper and some tin/lead alloy to make the bronze. After the tin was finally mixed in, I degassed the melt with 10g of 7% phos-cu brazing rod and poured.
It isn't the prettiest thing yet, but hopefully that is because the whirl gate did its job, and it'll be nice clean sound solid metal on its interior.
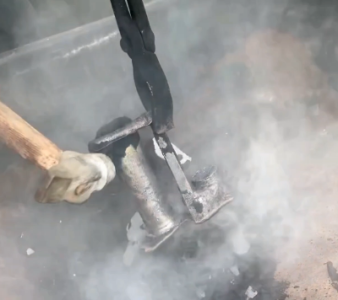
The shrink should all be at the top end of the blank, but we cast it longer than it needs to be to compensate, plus any remaining shrink voids left in the remaining needed length should be in the center, where the bronze will be bored away anyhow.
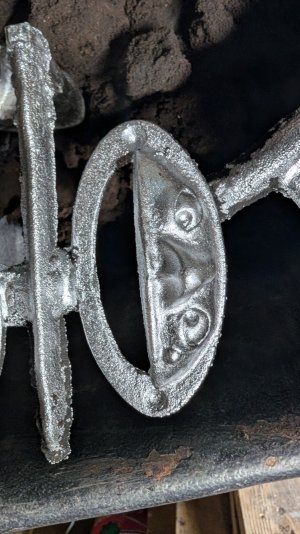
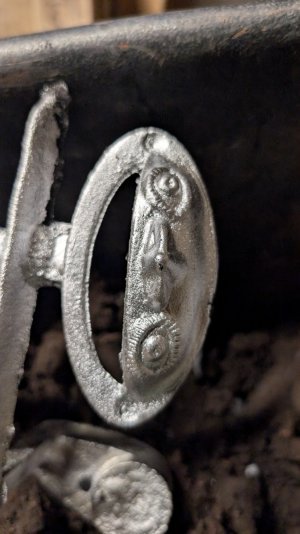
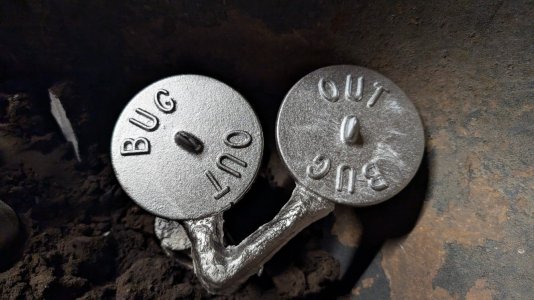
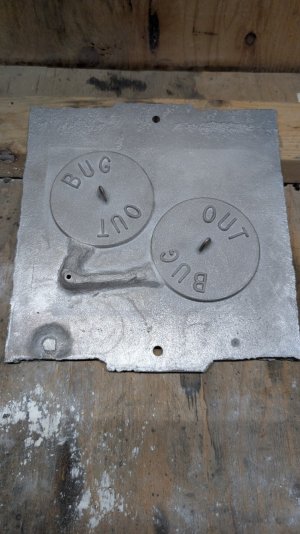
We made more bronze than we needed, so I also poured a couple of hook shaped ingots with the leftovers. I already happened to have a test mold prepared.
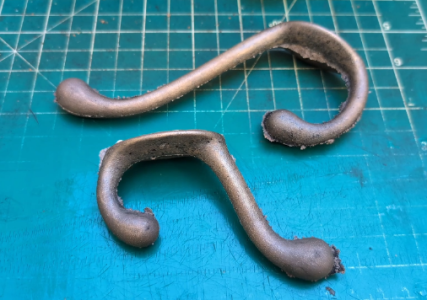
The old hook castings molded up fairly well as patterns despite having all the draft ground flat on the back sides (the reason why a test mold was needed).
Happy enough with the results on the hooks. I think I'll make a bunch of these for the house, to replace a bunch of low quality zinc hooks on the back of bedroom doors that keep snapping off.
Jeff