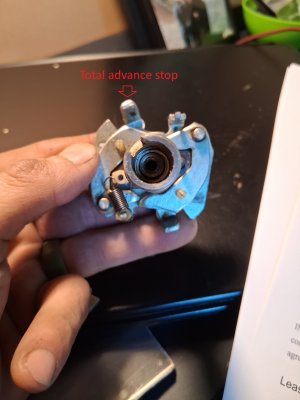
Been plugging away at the distributor upgrade, a billet HEI unit with adjustable advance (amount and ramp). Ive had this distributor/coil kicking around for about a year, but i didnt want to put it on as i don't have have enough faith in singular HEI, when hei fails that it, no spark. the solution i have decided to work towards is a dual pickup dual coil setup similar to what the corvair guys do using an msd 8210 coil joiner (which came with one of the corvair flight motors i bought, yey!) and a second pickup.
This is how the distributor comes, with a singular pickup/trigger, the plan is to put a second pickup opposite to the first , the trigger wheel has 4 lobes, so it should trigger the second pickup at 180 deg, the rotor will take care of sending the spark to the correct plug
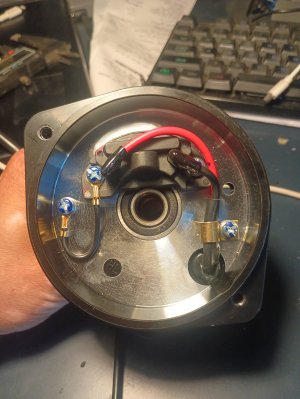
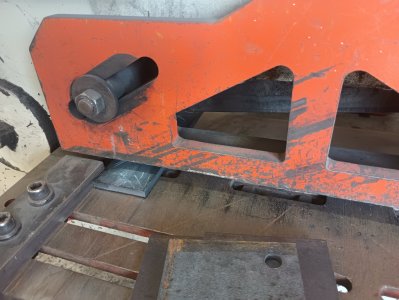
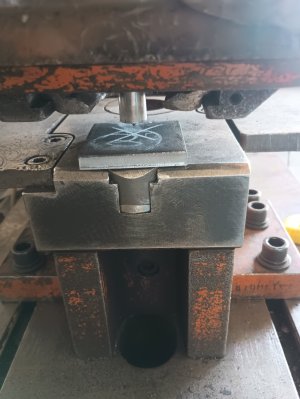
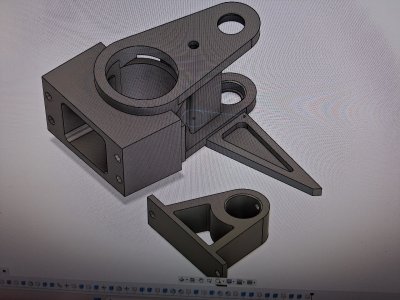
I did some measuring, made up a few pieces to check dimensions with the 3d printer, eventually getting to the point to make a drill guide for the second pickup using transfer punches. I was not sure how i could do this on the dro off the existing screw holes without the chance of monumentally screwing up. I figured the drill guide was probably best
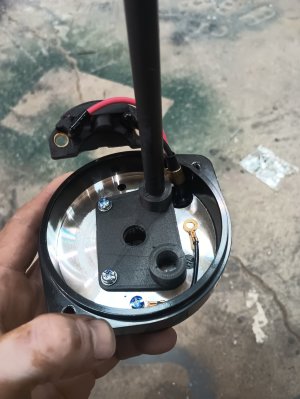
drill and tap for m4 cap head bolts
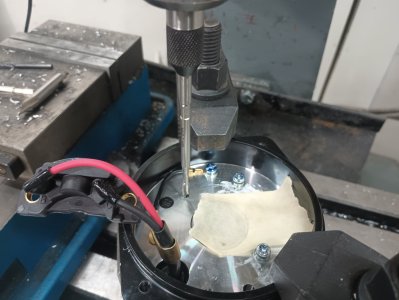
Whoops, forgot to take pictures.....you can use your imagination, there is a second pickup opposite to the first pickup
The next step was some sort of test rig, I am confident that both pickups wont be exactly 100% 180 degrees apart, so i know there will be some difference in the amount of advance each pickup see's.....the question is really how much difference, i would be happy with less than 5 degree's and i would accept up to about 8 degrees, after all this is a backup, if the primary goes down (28 degree's) and i am left with 20 degrees of advance on the secondary that will still leave me with some thrust, hopefully enough to maintain level flight, or at least give me much more time to find a suitable field
...... side quest .....
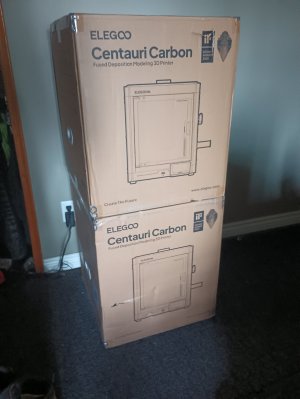
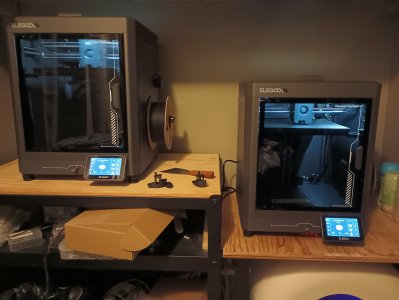
Mid project, after printing a few pieces i was surfing amazon, looking at 3d printers.....my mis mash of printers has been triggering some ocd for a while now, ive wanted a pair, same part, same slicer settings, cleaner look......well the elegoo centauri carbon was on sale.....a day and a poor financial decision later i had a pair...ive made a new shelf since these photos....the ocd couldnt handle them on two different levels (necessitated by the miss mash that was there)......boy these things fly...the short video is printing a specialty transmission tool for one of the in-law's
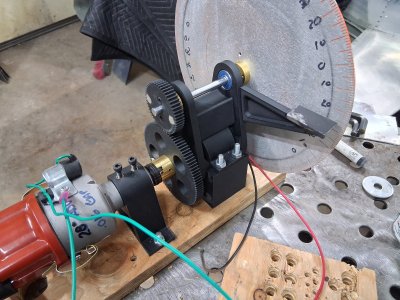
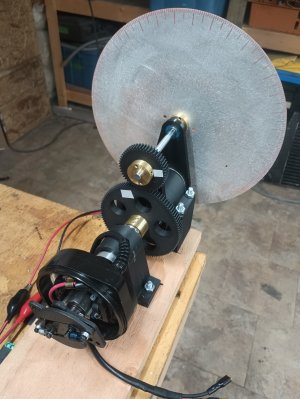
back to the main mission, here is what i have come up with, printed the gears, bearing holder (skateboard bearings), motor stand off and distributor mount with pla, the distributor gear and jackshaft ?blocks? out of brass on the late/mill and cut out and engraved the degree wheel on the printNC out of a scrap piece of 2mm aluminum. The spark plugs are installed in a scrap piece of aluminum flat bar tapped for m14x1.25 (standard plugs) with a m4 bolt tapped for the grounding wire that runs to the distributor and battery.
the blocks are threaded for set screws on to the motor shaft/jackshaft as well being tapped to bolt the gears on to the blocks
The jackshaft runs at 2x the distributor speed so that i can get accurate crankshaft degrees, i have a little bent wire to indicate TDC, without the cap and rotor i am able to get 3800rpm on the jackshaft using an optical tachometer, i need to have full advance by 3000rpm so thats plenty.
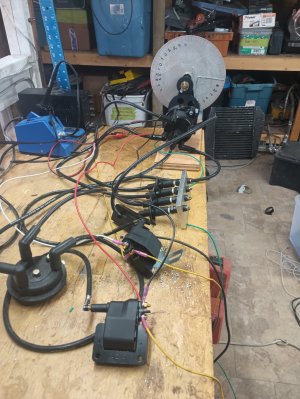
Its hard to read the timing disc in the video, but they are firing about 3-4 degrees off from each other, i cant confirm the rpm, my optical tachometer is seemingly on the fritz, a friend has a standard automotive tachometer for me on Monday, but i believe i am getting full advance quick enough, i will confirm with the automotive tachometer when i get it
You may not see in the video but the spark looks much better with both coils running (it starts with one, then i turn the second on), hopefully this combined with what i hope is more consistent timing will give me a few more rpms on takeoff
There are a few more things to do, the secondary pickup is lacking heat paste and a dedicated ground, and i believe it is over heating as a result, The secondary does not turn back on every time unless i give it a few seconds.....more testing when the amazon fairy's drop off my tube of heat goop. The body of the disty does seem to get a bit on the warm side so it will also need some cooling air ducted, i imagine thats because the pickup/ignitors use the body of the disty as a heat sink.....and now there are two of them! Its not quite ready for flight, but proof of concept is there
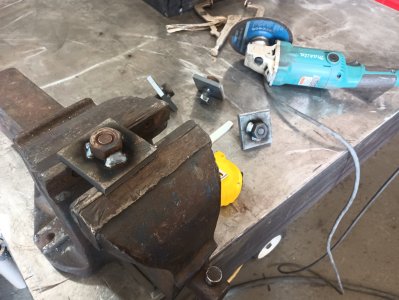
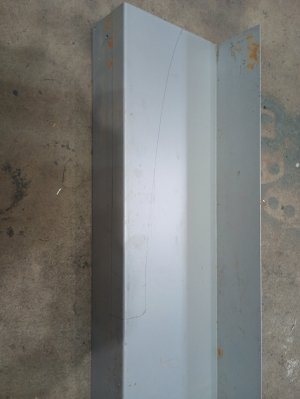
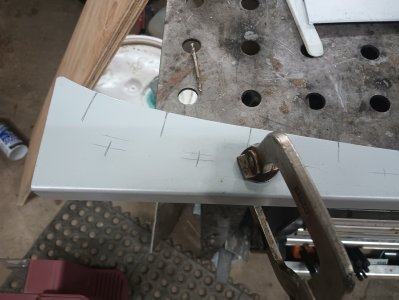
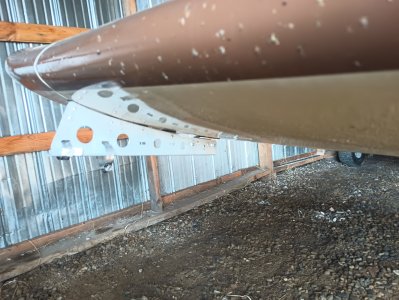
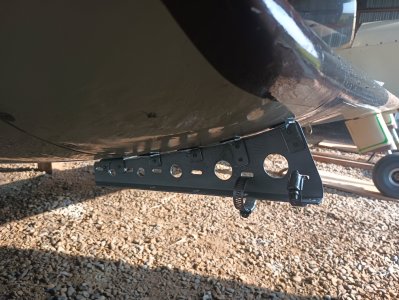
And a quick little airplane project....a new insta360 mount.....I want to try it out on a pole off the wing, see what those shots look like....but i dont want it to fall off....insta360's are expensive, and things falling off your airplane hitting other things is dangerous/expensive. This is out of a salvaged 1.2mm piece of aluminum, its uses some existing screws that hold the wing tips on as well as some 3m adhesive, the selfie stick (when i can find it) will clamp on using those two hose clamps. I have yet to fly with it to see what effects if any it has on handling as well as the video i get from it.
And some plane videos because why not ? I bought a "gps remote", which allows you to turn on/off recording on up to 3 cameras (good because they have limited battery life) as well as giving the videos telemetry data
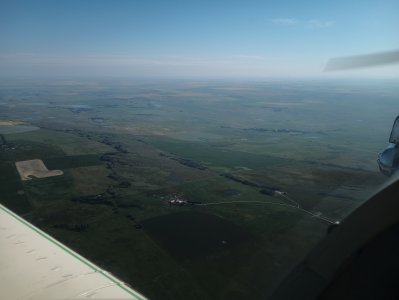
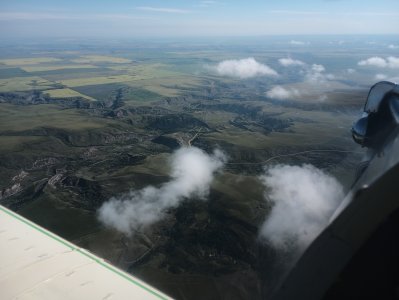
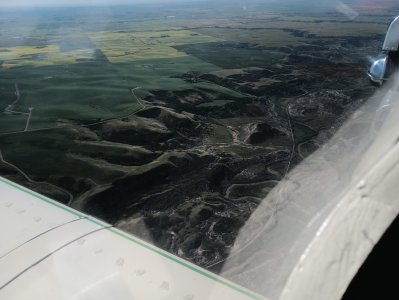
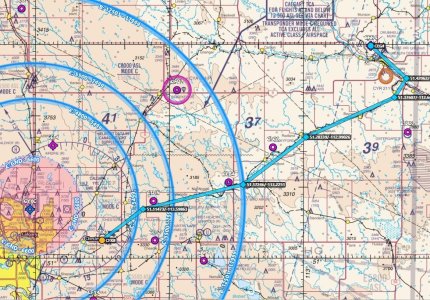
A friend was racing 125's on that weekend, I thought it might be neat to circle and see what kind of video i could get....apparently not that great...I was headed to brooks to see if i could see any storm carnage anyways so why not
I think the new camera mount might give me some neat videos on little flights like this (same trips as above)