Well here goes everything. I picked up the casting kit from TOBARApprentice a while ago and it's finally time to get going. This won't be a speedy build but I'll update when there's something to update.
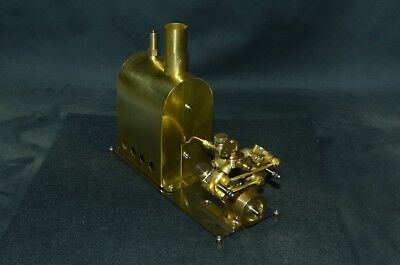
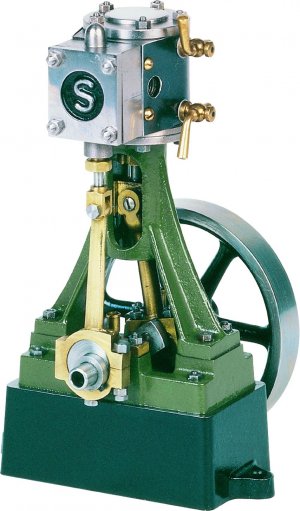
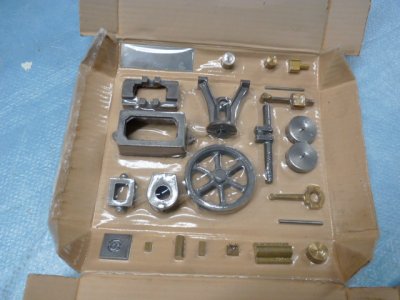
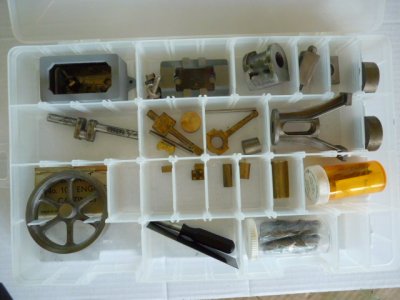
The first couple of pics show what I have in the kit and what it's supposed to be when complete. I put all the parts in a Plano parts box and made a list of every thing. I also enlarged the drawing and started a log book with one part per page so the dimensions were close and I could make notes, lots of notes.
I'm going to start with getting the hardware together so more to follow.

")