Some machining, some casting...

Tom O

Ultra Member
I’ve been watching Dave the pattern guy for a month or so although he is more into placing his patterns onto a board for casting alignment.
 

Dan Dubeau

Ultra Member
Ooo, that's a new guy I haven't found yet. Looks very promising, thank you very much for sharing. I'm looking forward to learn more from another source. I've 3d printed matchplates before for silicone molds for fishing lures, but not for casting metal. It's something that I want to pursue, but will have to wait until I build a few more better flasks. I'll work up to it.

Here's a few shots of that project from a couple years ago.
76XpGhfl.jpg

exyshATl.jpg

bbLy2Del.jpg

gDDcqITl.jpg

II5sMtfl.jpg
 

Dan Dubeau

Ultra Member
So, after ramming up another mold with better gating, sprue and risers (I think anyway), I just finished pouring it, and the results were MUCH better. I think my sand is starting to be a limiting factor, so that will be remedied moving forward, but I feel like I'm making progress. I had some corner blowout on this one, but they are both on machined surfaces, so I wasn't too concerned. Still have porosity on the outer corners. Not sure if it's due to sand, or turbulence in the mold, and I need to rethink my gating situation. I don't degass my pours, but there are a lot of you tube casters that don't degas either yet don't have those problems, so I'm thinking that's not the cause. From my limited knowledge I think it's from having my sand too wet, but my sand it too poor it won't bind properly until it feels too wet.
BG6e9Lel.jpg

ssFckCRl.jpg

7B6YkmPl.jpg

wK0Kjlzl.jpg

I'd be embarrassed to sell these as a finished product, but for what I need them for they will clean up just fine. I need 12 of them, so I hope to make some incremental improvements and try some new things over the course of the next 5 pours to see if I can better my results. I'm finding it really hard to split the mold after ramming the cope too, which is where I think I'm dropping the corners off. More draft perhaps on patterns moving forward wouldn't hurt either, as well as taking them to the paint and filler stage too, but my flask key design is pretty poor and tough to smoothly separate. I'm going to be making some new ones shortly, so will rethink that area for sure. I'm fighting problems from a few different issues it seems.

I finished melting through my bucket of scrap and poured 2 more melts of ingots after that mold (and a butterfly for my daughter) before taking a break right now to make dinner. Not sure I'll get back out there tonight for a few more pours or not. Enough rambling Dan, more pictures...
rDLAUfnl.jpg

k9KUpMbl.jpg

zcYo4oJl.jpg

If I don't get back to it tonight, it's been a really fun weekend. I still need to better organize my casting stuff, so I can get to it, and get setup quicker, but will chip away at that the rest of the month. Work has died off for a bit thankfully, and it's not baseball or golf season yet, so I will have lots of free time to spend out in the shop.
 

Dan Dubeau

Ultra Member
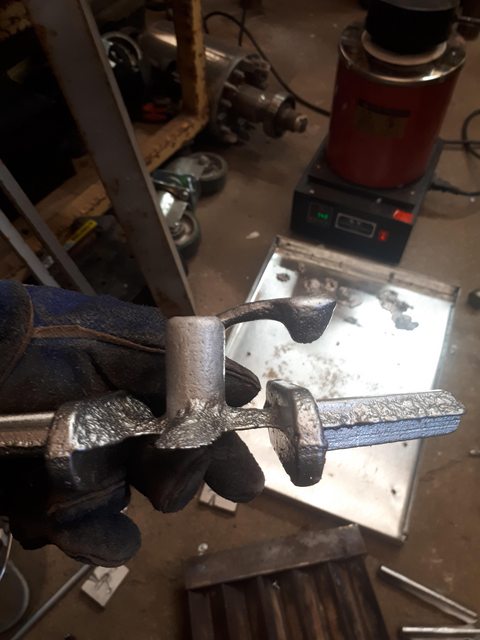
After dinner It was coin flip time. Cast the rest of the pieces I need, or machine the 2 good casting I have. I skipped to the good part and fired up the mill. :D

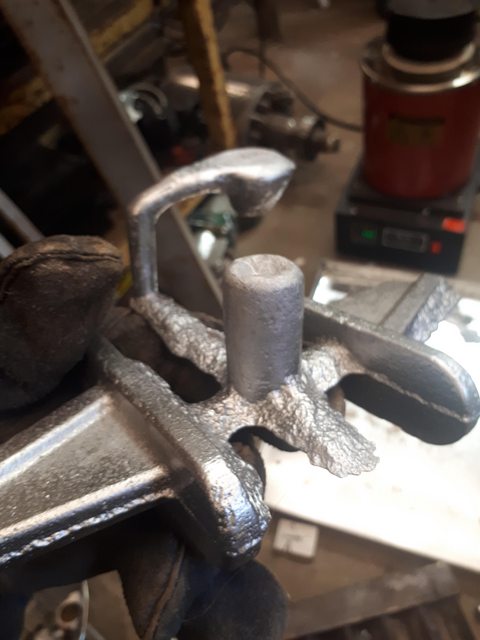
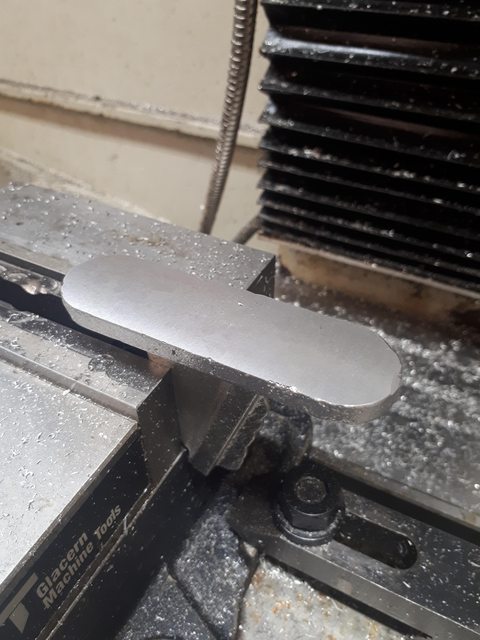
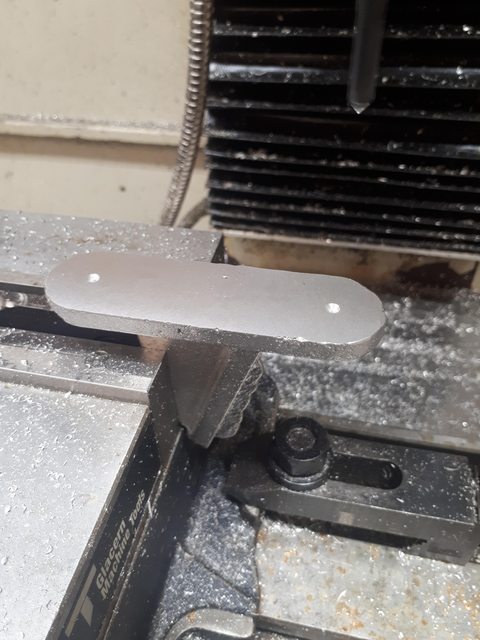
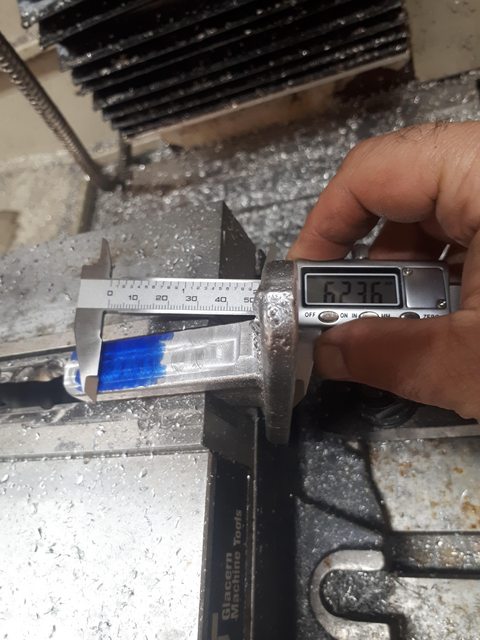
I should have planned this better and left a bit more holding stock for this op. Turned out ok, but I babied it. Used the spindle housing face (NOT bearing face) to align the lightly clamped part with a parallel, then snugged it down.
iDIu7QSl.jpg

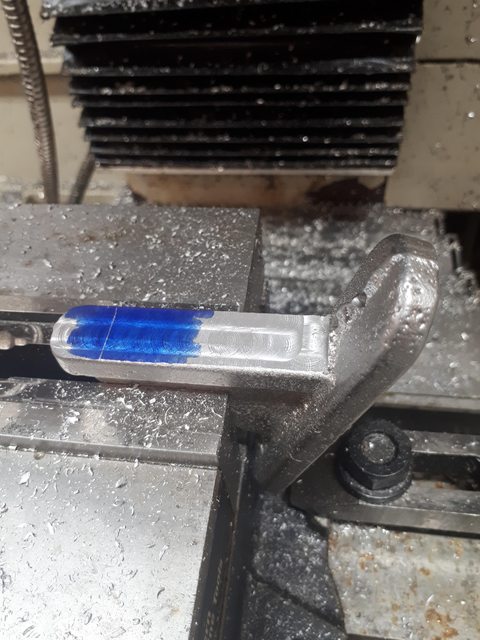
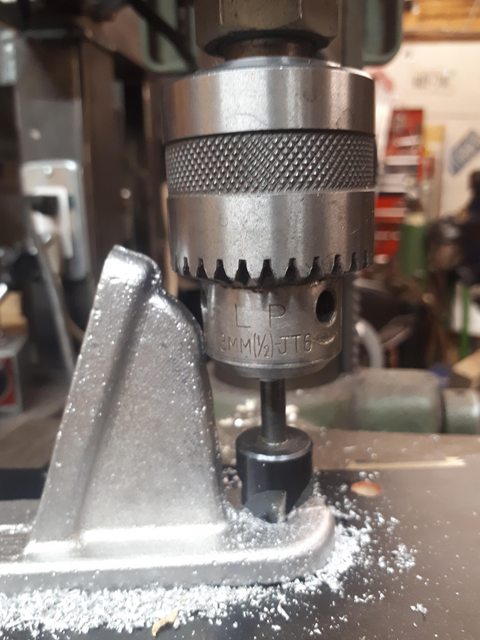
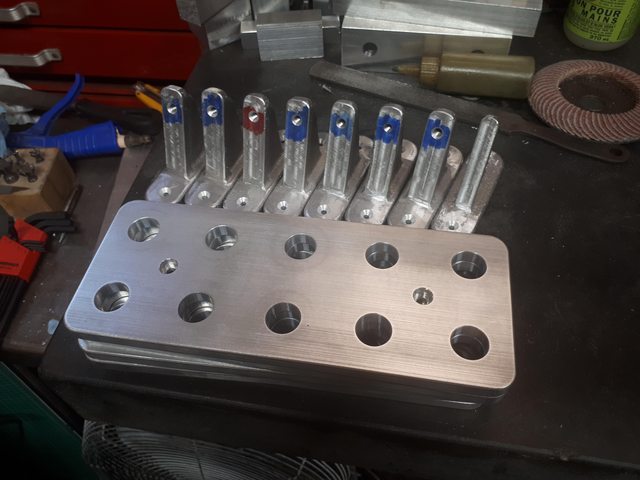
I chewed the bulk of it down with a 10mm 3lf, then I licked it clean with a fly cutter (Don't have a face mill for the tormach yet. Maybe my next build????). I picked up the center with an edge finder, and drilled my clearance holes for a #8 woodscrew.
WLysBGPl.jpg

Mrhrjevl.jpg

4MBG3FLl.jpg


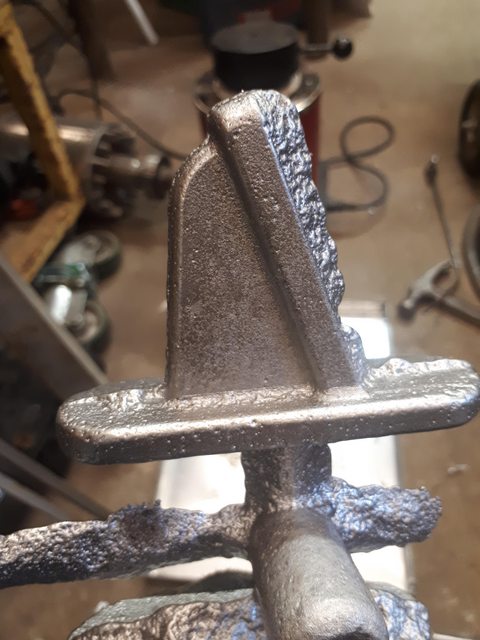
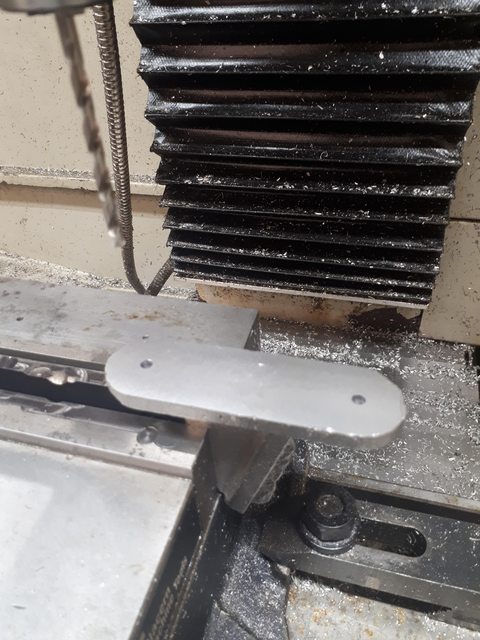
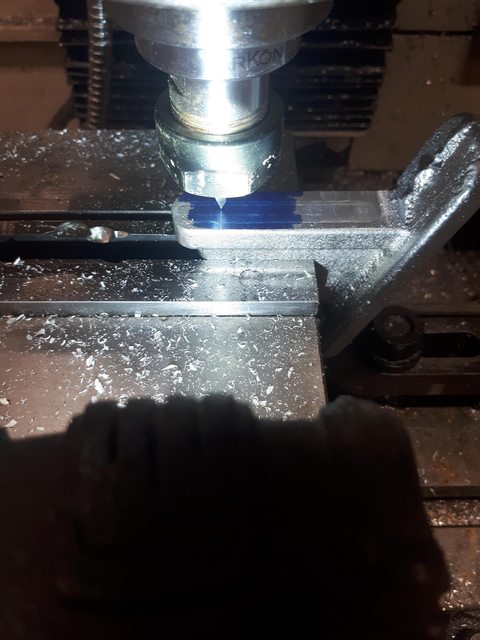
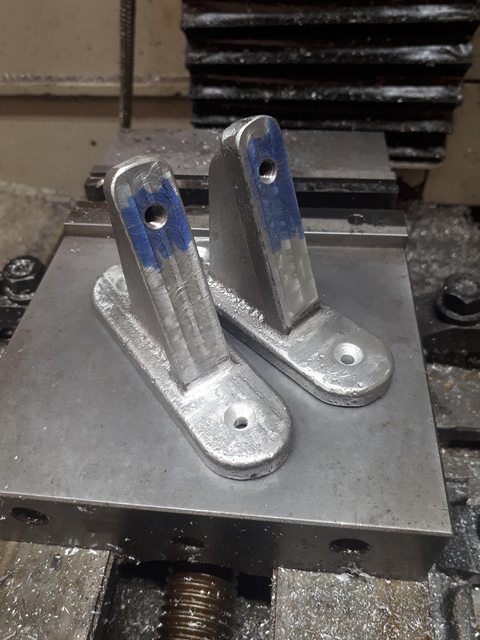
Then I did a repeat of the first op on the angled face. A bit more to hold in this op.
Nv92kX6l.jpg

WljALrXl.jpg


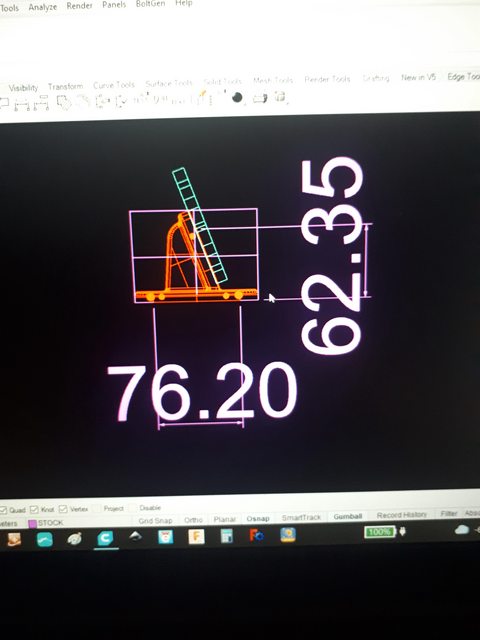
Next was laying out the x location of the 1/4"-20 hole. I snapped a quick pic from cad of the critical dimensions, and layed them out with a caliper and scriber. Then picked up that line with a single lip scriber. There are no really critical dimensions here, so no need to get fancier than this. I retained the y from the previous setup as I was holding the part the same way. Good quick and dirty time saver tip. Save the time and fuss for operations that matter, and you can really speed up your throughput.
CrwEntZl.jpg

7ugBvQEl.jpg

hXjHNItl.jpg

XUvU9f0l.jpg


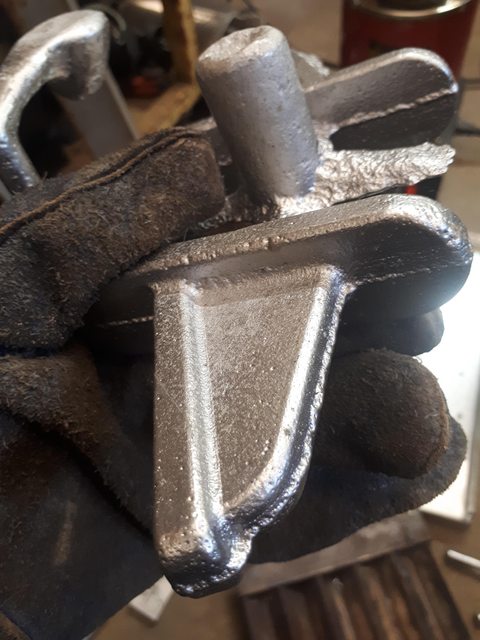
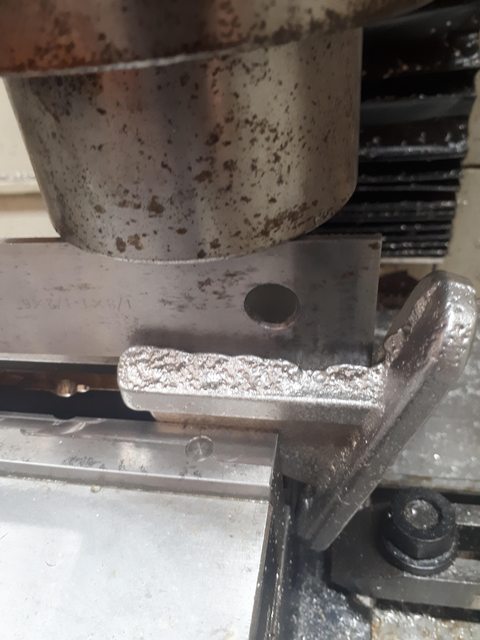
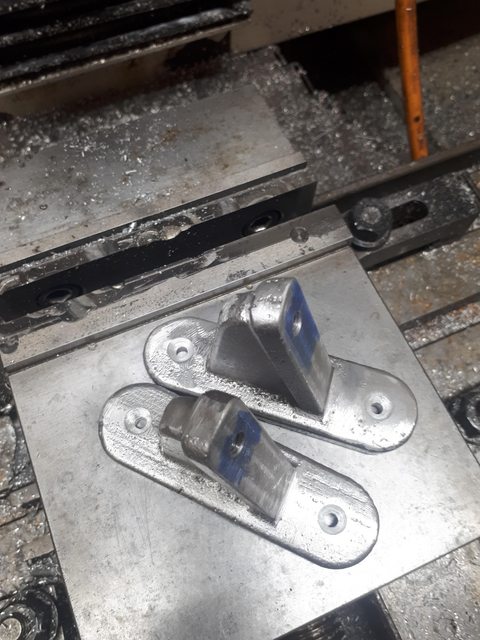
All done in the mill, I then tapped the holes with the cordless drill, and countersunk the holes in the drillpress. Clearance is clearance :D.
xqiqrq5l.jpg


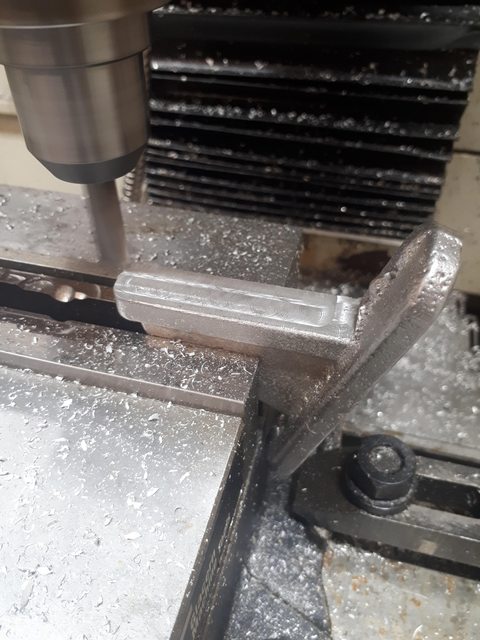
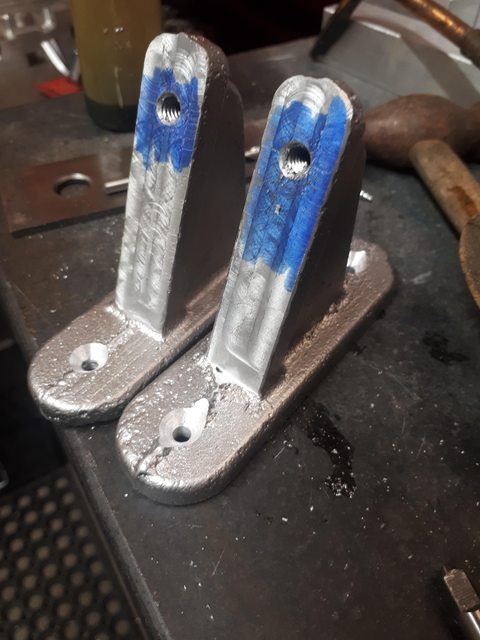
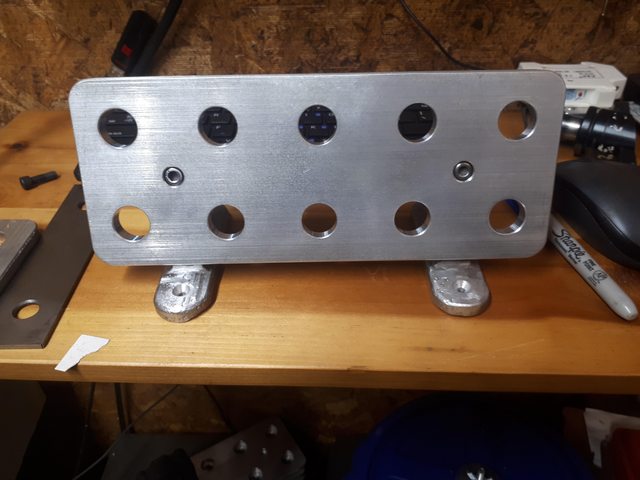
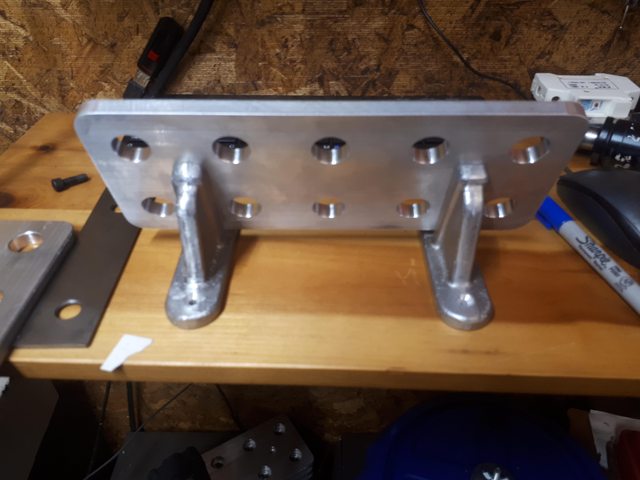
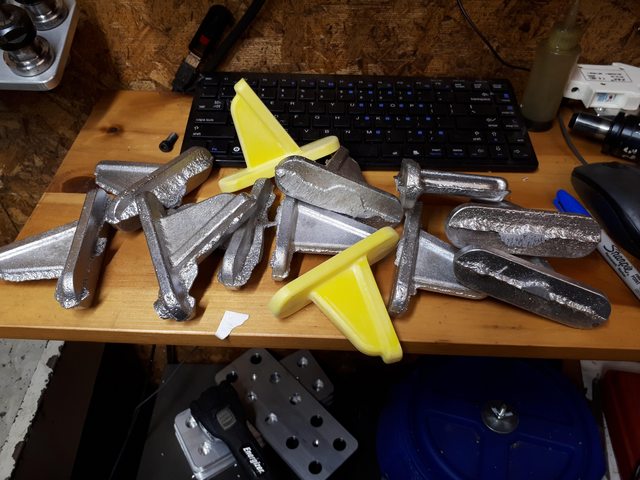
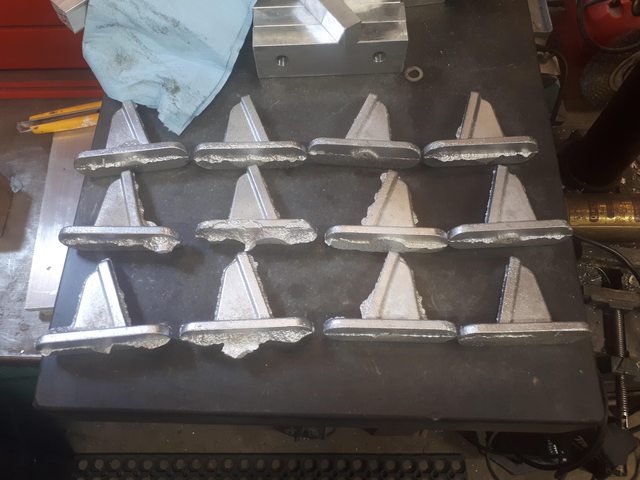
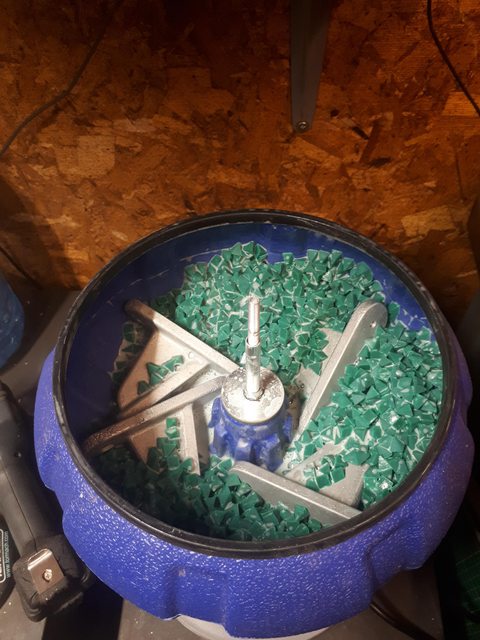
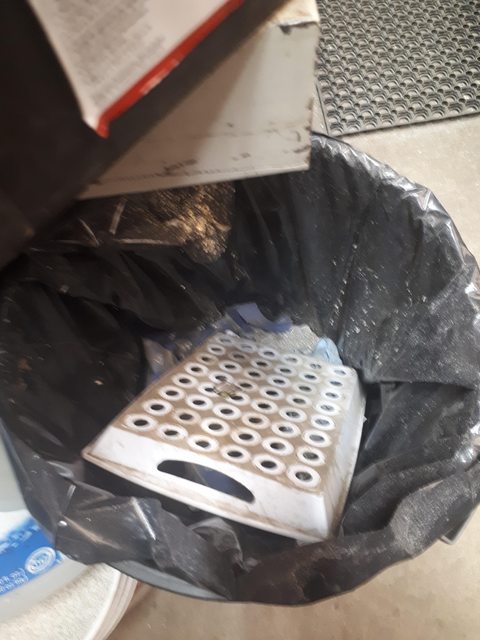
Both parts milled it was time to clean up some flash with a flap wheel for the big stuff, and a few different flavours of files.
m2YZ2RKl.jpg


Done, they looked ugly and rough in the beginning, but cleaned up pretty presentable after a bit of work :D. I'm kinda curious how they'd come out of the tumbler if they'll fit. I'll try the next set.
XfsvLDUl.jpg
1648431707911.gif y
t2CN7kzl.jpg


I brought my newly minted parts in the house to show the wife. She said "cool". Women are so hard to please. Don't you know how many thousands of dollars these brackets cost, woman? :D

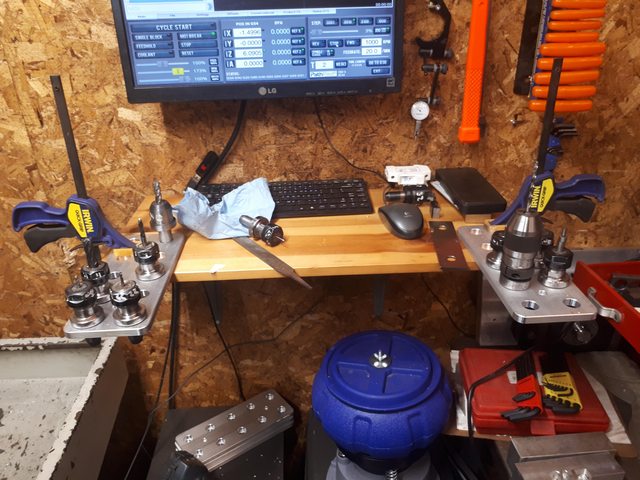
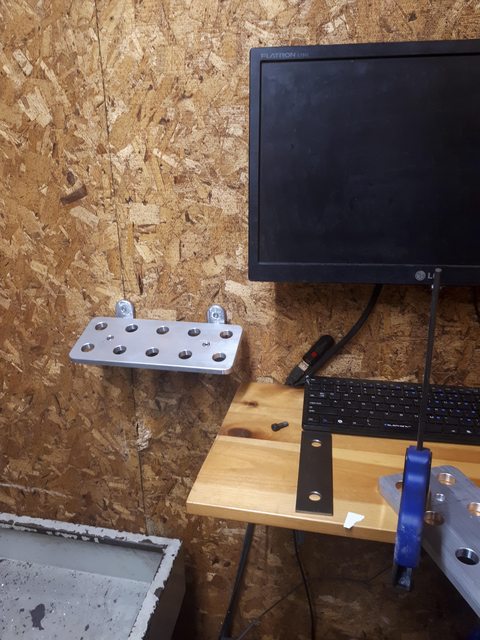
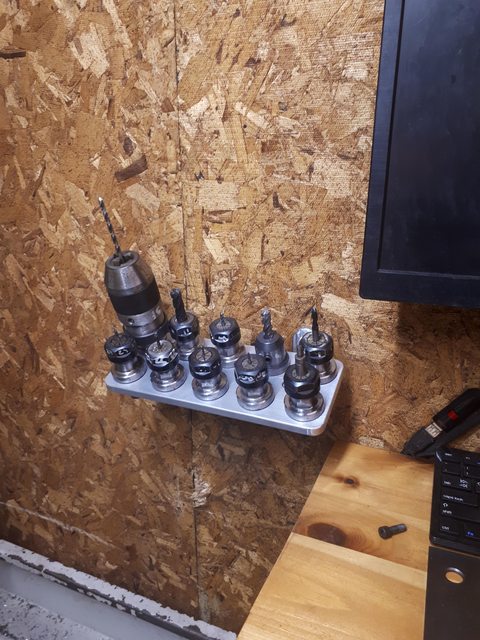
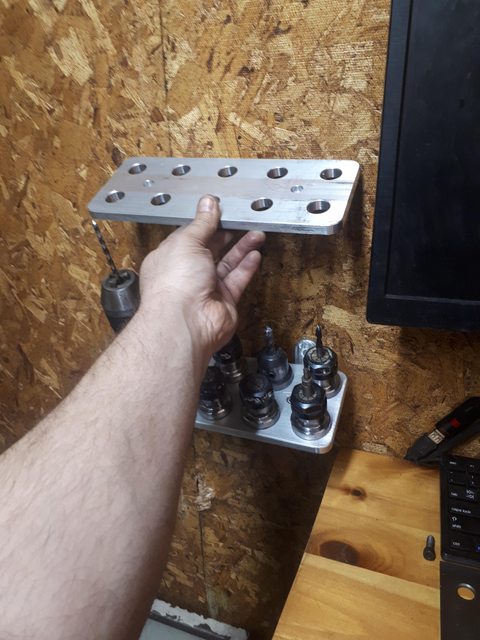
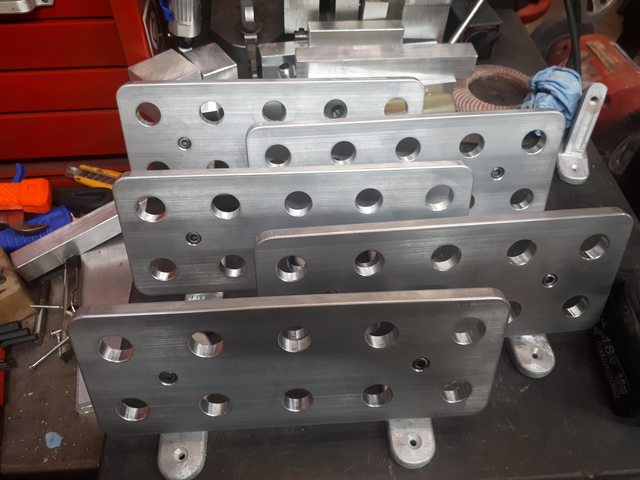
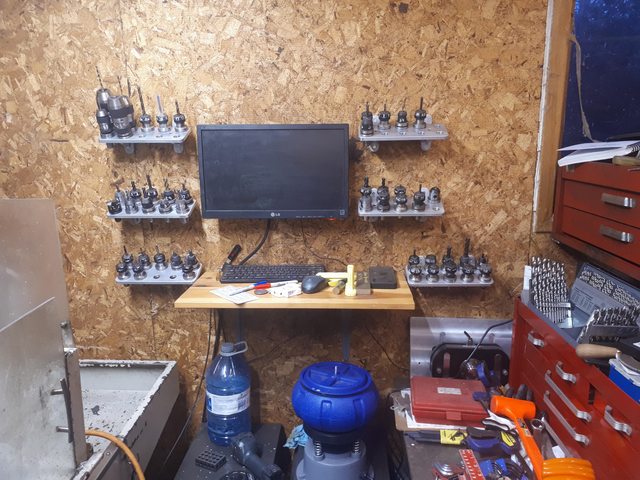
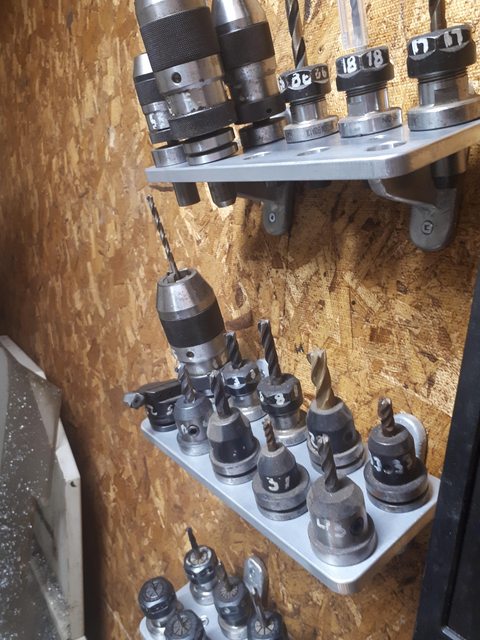
Back out to my shop It didn't take me long to get them put together and mounted on the wall. These should help clean up the mill control area. As you can see I've been temporarily using them for a bit already :D
VeNxR1El.jpg

zhTGaGxl.jpg

GF42dK0l.jpg

oOrSSX5l.jpg

4SBHt13l.jpg

uXDJYVpl.jpg

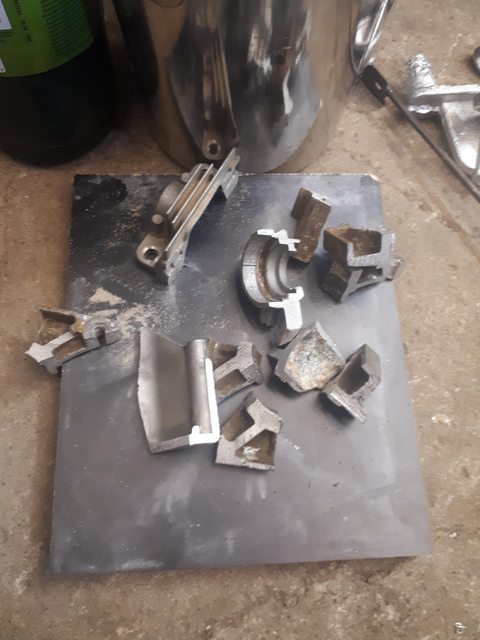
I still have 5 more sets to cast and machine (3 racks for each side of the monitor), but I'm pretty happy with the results of a weekends worth of work. I'll chip away at them through the week. A bit more effort and learning on the casting side of things, and I'm really looking forward to what is possible in my little shop now. I could have machined them all from barstock by now, or designed them different, but that wasn't the point of this exercise.

Thanks for following along this for this rambling work in progress. Cheers.
 

Tom O

Ultra Member
Don’t be afraid of using Parting dust and painting the parts fills the filament lines that will grab sand during ramming.
 

Dan Dubeau

Ultra Member
So, I just finished up the rest of this project. I'll let the pics do the talking.
njzqgr4l.jpg

qBMJTawl.jpg

abxNZgil.jpg

ovs092wl.jpg

L2avwMwl.jpg

IRJvlNdl.jpg

bR4PYNPl.jpg

pn2EAY8l.jpg

WJAIgzrl.jpg


That's a wrap. Pretty fun project even though it dragged on a bit longer that I initially hoped. It was good getting back into casting and exploring the limits of how quick and dirty can I make a 3d printed pattern to cast usable parts. A lot of useful lessons were learned on this project though. Looking forward to the next one.
 
Top