• Spring 2024 meetup in Calgary - date Saturday, April 20/2024. discussion Please RSVP Here to confirm and get your invitation and the location details. RSVP NOW so organizers can plan to get sufficient food etc. It's Tomorrow Saturday! you can still RSVP until I stop checking my phone tomorrow More info and agenda
  • We are having email/registration problems again. Diagnosis is underway. New users sorry if you are having trouble getting registered. We are exploring different options to get registered. Contact the forum via another member or on facebook if you're stuck. Update -> we think it is fixed. Let us know if not.
  • Spring meet up in Ontario, April 6/2024. NEW LOCATION See Post #31 Discussion AND THE NEW LOCATION

Lathe Storage

jcdammeyer

John
Premium Member
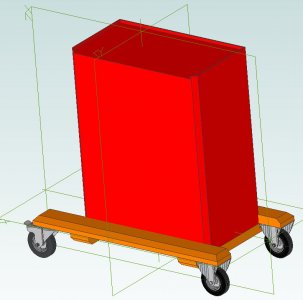
I splurged and bought, on sale, a Mastercraft roll around tool chest. The gamble was that the overall height was exaggerated and would just slip under the frame of the lathe stand.
Heavy10LSpace.jpg
No such luck. Short by about 1.25". I figured if that was the case I'd use smaller casters since it will rarely move or even just slide it into place without casters onto a wooden base.
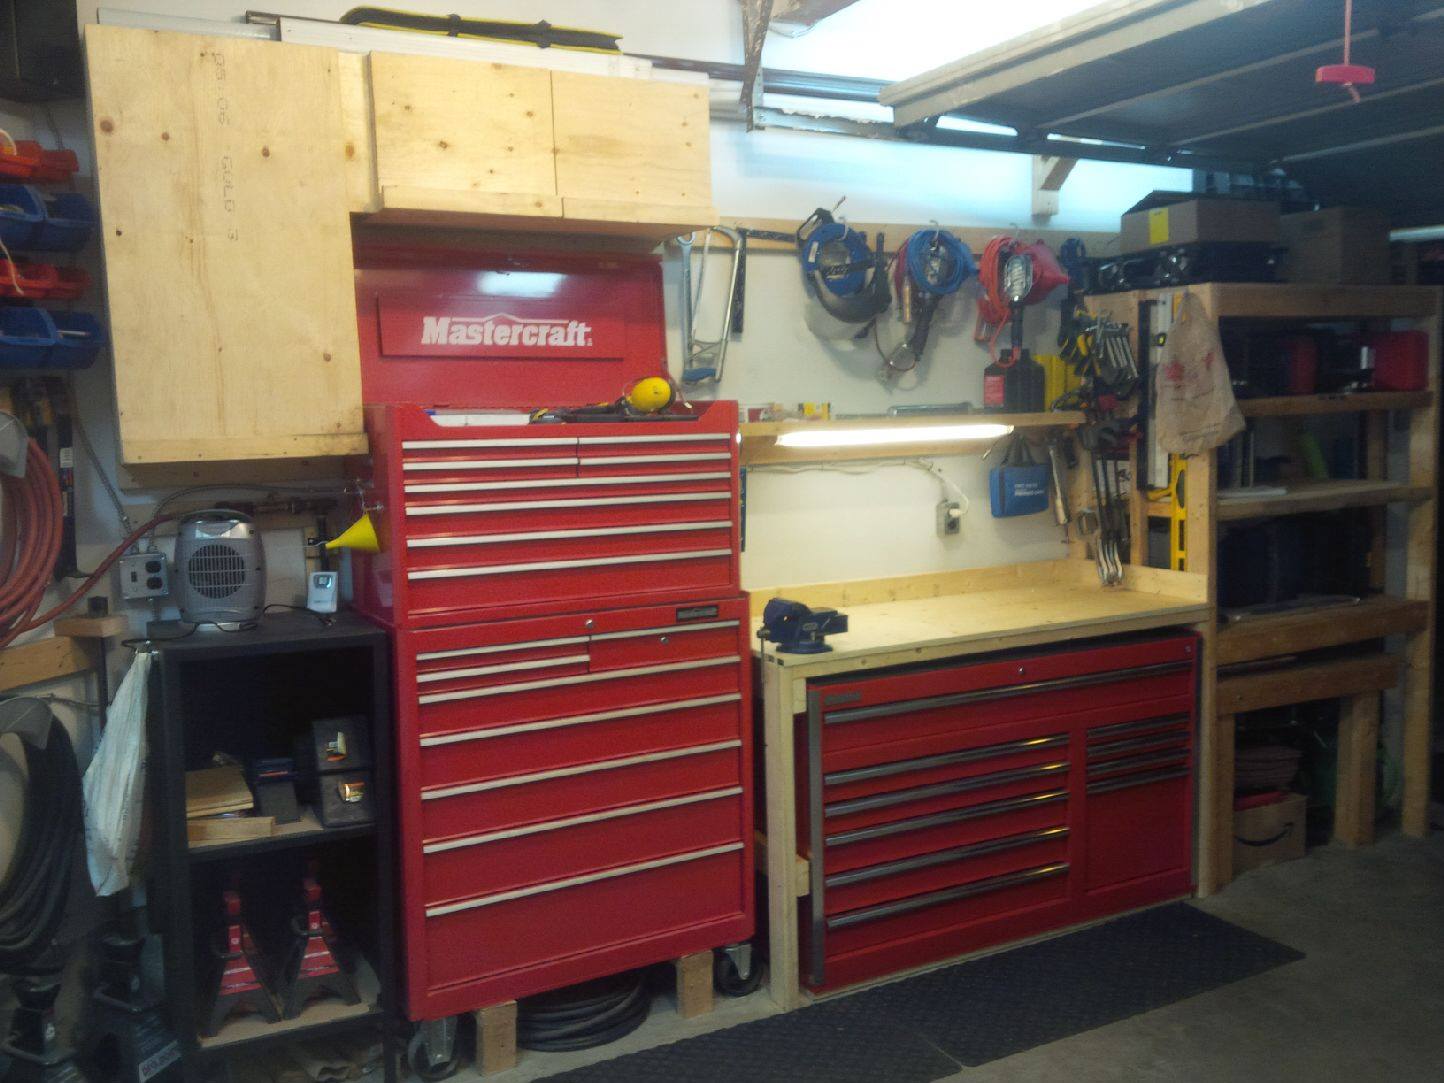
What I hadn't realized that if there isn't enough weight in the bottom drawer pulling open the top with all the quick change tool holders results in an instant tip over.
ToolCart.jpg

I could mount the lathe up on blocks. A bit higher wouldn't bother me but doesn't change the tip over problem. So the casters will have to come off and bolt it to something that will prevent it from falling over. The up side is it will hold all the lathe bits and pieces.
 

Susquatch

Ultra Member
Administrator
Moderator
Premium Member
Consider putting the tool box on 1/8" steel flat bar slides instead. They could be bolted to the bottom of the tool box in place of the casters. Removing the casters might be enough to clear the lathe stand. If the flat slides stick out the front a bit, it might be enough to stop it from tipping on its own. Especially since the current casters look fairly recessed back from the front. If it isn't enough, there are lots of ways of connecting the back of the tool box to the back of the lathe stand.

My only other comment is that tool holders are heavy. You could move them to the splash gaurd on the lathe leaving more room in the tool chest.

Attach74278_20220722_110253.jpg
 

phaxtris

(Ryan)
Premium Member
Premium Member
You could make a frame for the base of the cabinet out of angle that allows it to sit low to the ground with the castors outboard

I think you would have to go quite far forward with the frame to stop the tip over issue, a patio block or a chunk of plate in the bottom drawer might be the simplest fix
 

Dabbler

ersatz engineer
I have considered the same tipping problem for one of my chests. I'll be affixing a 1/4" steel plate to the back of the tool chest as a counterbalance.

One of my friends bought a 16X50 offshore lathe that was a good 6" too low to work with. He fabricated a box for each adjustable foot, out of a 4 1/2" piece of 6X6 tubing with a 1/2" plate welded on top. he hoisted the lathe up and put one under each foot. Very stable, and his lathe is just the right height.
 

jcdammeyer

John
Premium Member
When I first acquired the SB the seller still had flat head set screws to set the indicator dial. Royal pain in the neck for setting where to return the cross slide to 0 when it had been pulled out on the return pass for threading with the half nut not engaged. So the first thing I did when I got this lathe was turn a couple of knurled screws.
So now first scratch pass the compound and the cross slide is set to zero and the dials locked in. Then threading is done by advancing the compound slide.
At the end of each pass cross slide is backed out about a turn and carriage returned to start. Cross slide returned to the 0 position and compound adjusted for depth of next cut.
Then dial indicator watched for next line and half nut engaged.
thumbnut.jpg

Since the previous owner would have to do that with a small slotted screw driver instead he build this bracket. The screw goes into the cross slide and bottoms out so it's tight and doesn't turn.

The bracket is adjust so the head of the bolt is contacting the bracket during the initial scratch pass for threading and then clamped to the cross slide ways.

Now at the end of the pass as the cross slide is moved outwards it goes to the position seen in the photo.
When back at the start the compound is moved in for the next depth of cut distance (along the 29.5 degree slope) and the cross slide is just turned in until it is stopped by the head of the bolt.

Now the cross slide is at the same point as before and it doesn't matter what number is on the dial.
CrossSlideStop.jpg

If I want to make sure it doesn't somehow get pushed out or pulled in due to backlash I can also lock the cross slide in place with this.
CrossSlide-FullTravel.jpg
As long as the taper dovetail isn't clamped to the bed ways the assembly moves with the carriage and holds the cross slide solid. If I was doing a tapered pipe thread then of course the taper attachment would be clamped to the ways.

Now I always use the dial and thumb nut to set the dial into place.
 

jcdammeyer

John
Premium Member
My only other comment is that tool holders are heavy. You could move them to the splash guard on the lathe leaving more room in the tool chest.
Don't have a splash guard and I'm running a dehumidifier full time to prevent rust. So inside a cabinet appears to help since everything inside my other tool cabinet did not rust.
 

RobinHood

Ultra Member
Premium Member
That is a very elegant solution.

Monarch, Hardinge (and others) have that “threading feature” built right into the cross slide. Standard Modern had that available as an option on some of their models.
 

DavidR8

Scrap maker
Administrator
Moderator
Premium Member
If memory serves me correctly South Bend sold a threading stop as an accessory.
 

jcdammeyer

John
Premium Member
If memory serves me correctly South Bend sold a threading stop as an accessory.
Quite possible the previous owner just copied that and used the existing hole. Once I had the thumb nuts it became more of a pain in the neck to set up than to just move cross slide out and back to the same 0.0. But one does have to carefully track how many turns. At 0.050" per turn a thread with a 0.075" depth will require more than one turn so one has to remember that.

If I ever get around to mounting a stepper motor to the cross slide screw sticking out the back then the whole thing becomes moot since my ELS handles all that including tapering. But my ELS was originally designed back in 2006 for lathes missing gears or doing metric on imperial. The second axis control was added after many of the yahoo group request it be a feature. I've never really found the need to add it to the South Bend.
 

YotaBota

Mike
Premium Member
If you use smaller wheels, can you put a cross brace between the back legs and make a lock/latch assembly to hold the toolbox in place? Or even short vertical locking bars (one on each side of the box) from the front just under the tray.
 

jcdammeyer

John
Premium Member
The roll around cabinet is 13" deep so it should be pretty easy to line up the back with the top and an anti-tip bracket.
The bottom is 19" and there's about 2" below the bottom drawer for a 2x4 cross piece to move the casters outboard. The flare on the lathe legs and the arc at the top of the side leg casting should allow the RH casters to simply sit under and out of the way.

Now to figure out where to mount the control box.

SideLatheStand-1.jpg
 

DavidR8

Scrap maker
Administrator
Moderator
Premium Member
I was going to suggest hanging it off the end but then I saw all the control buttons on the face of the box...
 

jcdammeyer

John
Premium Member
I was going to suggest hanging it off the end but then I saw all the control buttons on the face of the box...
I could actually put it almost anywhere and just create an extension for a new panel.
ControlBoxInside.jpg
I don't recall if the VFD has only MODBUS or also a POT for remote speed control. I think it has MODBUS which means I could set the speed and get back motor RPM from my ELS. Since the ELS has a serial port (RS232) it might need RS485 converter but otherwise it's just software and has been project #42 since about 2008.
Inside the box, which is an old light fixture cabinet, I put a 220VAC to 110VAC transformer for the lamp and coolant pump. Also the transformer and power supply for the ELS and stepper motors.
Even mounting my ELS on an arm is also project #42...
 

Attachments

  • LathePowerSupply.pdf
    26.8 KB · Views: 2

DavidR8

Scrap maker
Administrator
Moderator
Premium Member
I'd hang it off the side then and make a switch panel for the front. I did a similar thing for my CNC router. The electronics enclosure is on the end of the table with all of the controls on the side of the enclosure that faces the operator.
 

jcdammeyer

John
Premium Member
So I did a bit of cad work. I think the STEP file casters are too big but this is the general idea for squeezing it under the lathe. And if I replace the castors with much smaller ones I should have the room.
 

Attachments

  • CabinetOnWheels.jpg
    CabinetOnWheels.jpg
    92.3 KB · Views: 5

SomeGuy

Hobbyist
None of you will have seen my old house's garage...but I put my big 56" box under my main bench (bench is level, floor is sloped if you're wondering about the gap)...all I did was screw some 2x4's to the bottom of it and slid it into place. Worked perfectly fine since it never moved until I moved houses.

10865979_698633811973_8401359400060873325_o.jpg


Side note: brings back some memories of what I used to have to work with.
 

jcdammeyer

John
Premium Member
None of you will have seen my old house's garage...but I put my big 56" box under my main bench (bench is level, floor is sloped if you're wondering about the gap)...all I did was screw some 2x4's to the bottom of it and slid it into place. Worked perfectly fine since it never moved until I moved houses.
Side note: brings back some memories of what I used to have to work with.
Yes. Part of me is wondering whether I've been overthinking this. Just remove the casters. Set it on a couple of 1x4's that are screwed to the bottom and extend out enough to keep it from tipping.

If I wasn't worried about tipping I'd just set it in place.
 

SomeGuy

Hobbyist
Yes. Part of me is wondering whether I've been overthinking this. Just remove the casters. Set it on a couple of 1x4's that are screwed to the bottom and extend out enough to keep it from tipping.

If I wasn't worried about tipping I'd just set it in place.

Can you just put some tools/weight in the bottom? I've never had issues with a filled box getting tippy.
 

jcdammeyer

John
Premium Member
Can you just put some tools/weight in the bottom? I've never had issues with a filled box getting tippy.
Yes but then one day I'll pull that stuff out to do something, then open at top drawer and have it all fall over. Thinking ahead of the day I'll do something stupid. Very likely.
 
Top