
everything is Greek to me too.Here we go again. 🙄
όλα είναι ελληνικά για μένα

everything is Greek to me too.Here we go again. 🙄
όλα είναι ελληνικά για μένα

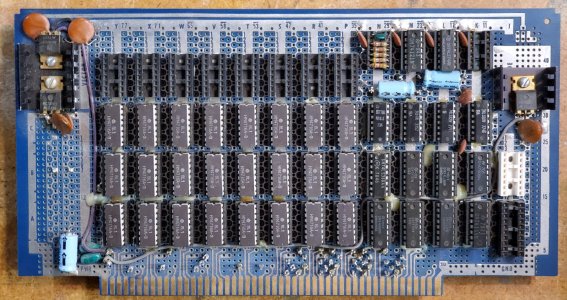
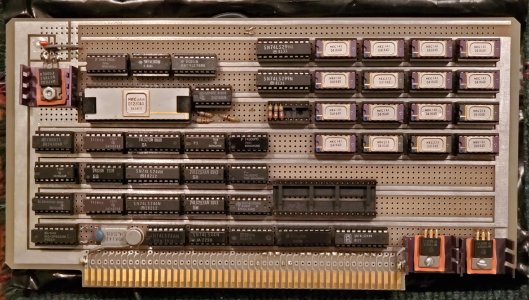
Cheating, just a photo grabbed online. But I have done that, my first computer was an RCA 1802 with 256 bytes of RAM on the motherboard and a 1k add-on card made by wirewap. Also built wire wrapped analog synthesizer boards back in the day. I still have a nearly-new roll of 32ga wire and all the tools to do wrapping, just no current projects that justify digging out the gear.So did you find that as a photo online or is it something you wire-wrapped yourself. And if you did make it what is it?
I've done a fair amount of wirewrap. My first was a 48K dynamic memory board that all the engineers I knew said it wouldn't work because of the transients etc. Used +5V, +12V, -5V power all wired with 22g wire soldered to the pins along with bypass caps. The rest was all wirewrap.Cheating, just a photo grabbed online. But I have done that, my first computer was an RCA 1802 with 256 bytes of RAM on the motherboard and a 1k add-on card made by wirewap. Also built wire wrapped analog synthesizer boards back in the day. I still have a nearly-new roll of 32ga wire and all the tools to do wrapping, just no current projects that justify digging out the gear.


"Water Resistant" Sure."It is made from layers of ground wood pulp fibers and asbestos fibres compressed with and bound by a water resistant adhesive then impregnated with liquefied coal tar pitch."
Who thought that was a good idea????
 www.fernco.ca

I think waterproof wouldn't be a problem but not sure about stretching.OK. Status report. Rain has stopped for a day or two. Dug a wider opening closer to the house beside the hole in the pipe to determine if it was damaged and to get a dimension.
Success.
View attachment 72211
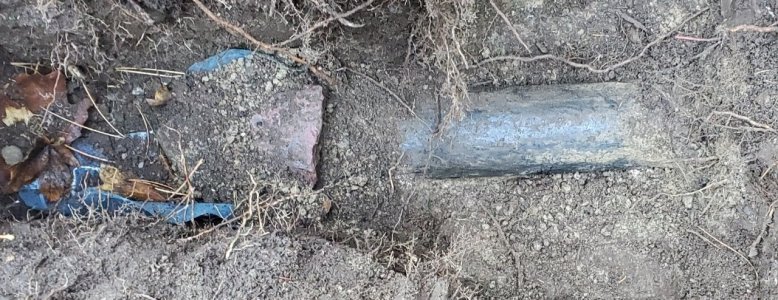
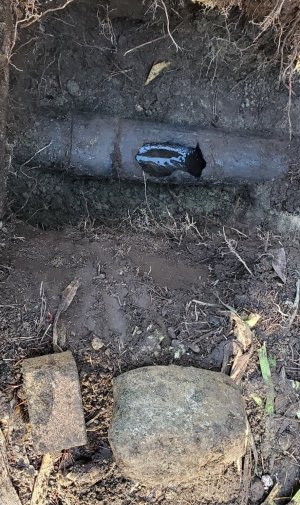
This black fibre based pipe is 4.75" in diameter. Under the rock and plastic is the hole.
View attachment 72209
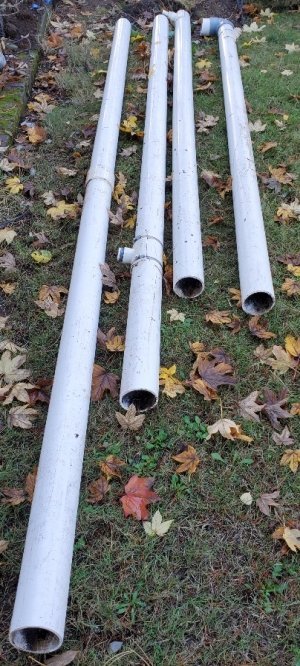
The spare old white PVC drain pipe gifted from a friend after his parents house was reworked is 4.5" diameter.
View attachment 72210
Total distance to cleanout if I wanted to replace it all is 13.5' Length of this stuff at Rona is 12' with the expanded flange for coupling at I think it was $35 each.
At the moment I'm tempted just to cut a short piece because hand digging 13' of hardpan clay/rock to release the existing pipe doesn't appeal to me. OTOH, widening the trench to the left of the hole is only another hours work. Once my back stops hurting.
So what to use to couple 4.75" pipe that is rough on the outside to PVC that is 4.5" and smooth on the outside. Will the rubber with stainless clamps stretch enough? Will they be waterproof?
www.fernco.ca
Looks it should be able to handle everything from rage pooping to Taco Tuesday.This one's explicitly designed for Orangeburg:
Hulk Coupling - Universal sewer and drain repair coupling by Fernco | Fernco - Canada
Stainless steel reinforced universal coupling The HulkUniversal Coupling One universal sewer and drain repair coupling per nominal size connects most common underground pipe materials — with serious strength, wide dimensional coverage and internally reinforced stainless steel shear rods. Cast...

I wish Canada had Mexican restaurants. I stopped in Whitecourt quick at a Taco Johns and instantly remembered how awful they are with the first biteLooks it should be able to handle everything from rage pooping to Taco Tuesday.
Only $246 each and I'd need two and they aren't in stock. Luckily B&G have two of the 1051-44 in stock for $19 each so I'm headed out now.This one's explicitly designed for Orangeburg:
Hulk Coupling - Universal sewer and drain repair coupling by Fernco | Fernco - Canada
Stainless steel reinforced universal coupling The HulkUniversal Coupling One universal sewer and drain repair coupling per nominal size connects most common underground pipe materials — with serious strength, wide dimensional coverage and internally reinforced stainless steel shear rods. Cast...
Ouch! I kind of thought the Hulk would be insanely expensive, but it’s been 30 years since the last time I sold Fernco stuff.Only $246 each and I'd need two and they aren't in stock. Luckily B&G have two of the 1051-44 in stock for $19 each so I'm headed out now.
I was wondering what would work to slide them onto the plastic pipe. Great suggestions.Ouch! I kind of thought the Hulk would be insanely expensive, but it’s been 30 years since the last time I sold Fernco stuff.
Installer trick - put some dish soap on the 1051 before you install it - makes it a lot easier to align.
I thought we were all quite happy to just blame David, were we not ?That rock was likely tipped into the trench by a back hoe. Damaged the pipe visibly where they glued a patch.
You're right. Normally I would. But in this case his sewer pipe seeking steel posts were no where near the actual damage.I thought we were all quite happy to just blame David, were we not ?

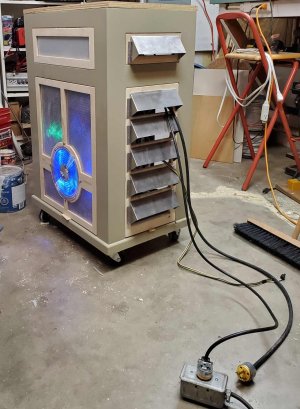
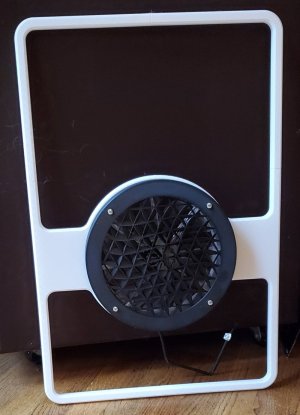

But the question is. Should the fan pressurize the cabinet or as it's set up now suck air out?